Decorating with oxides

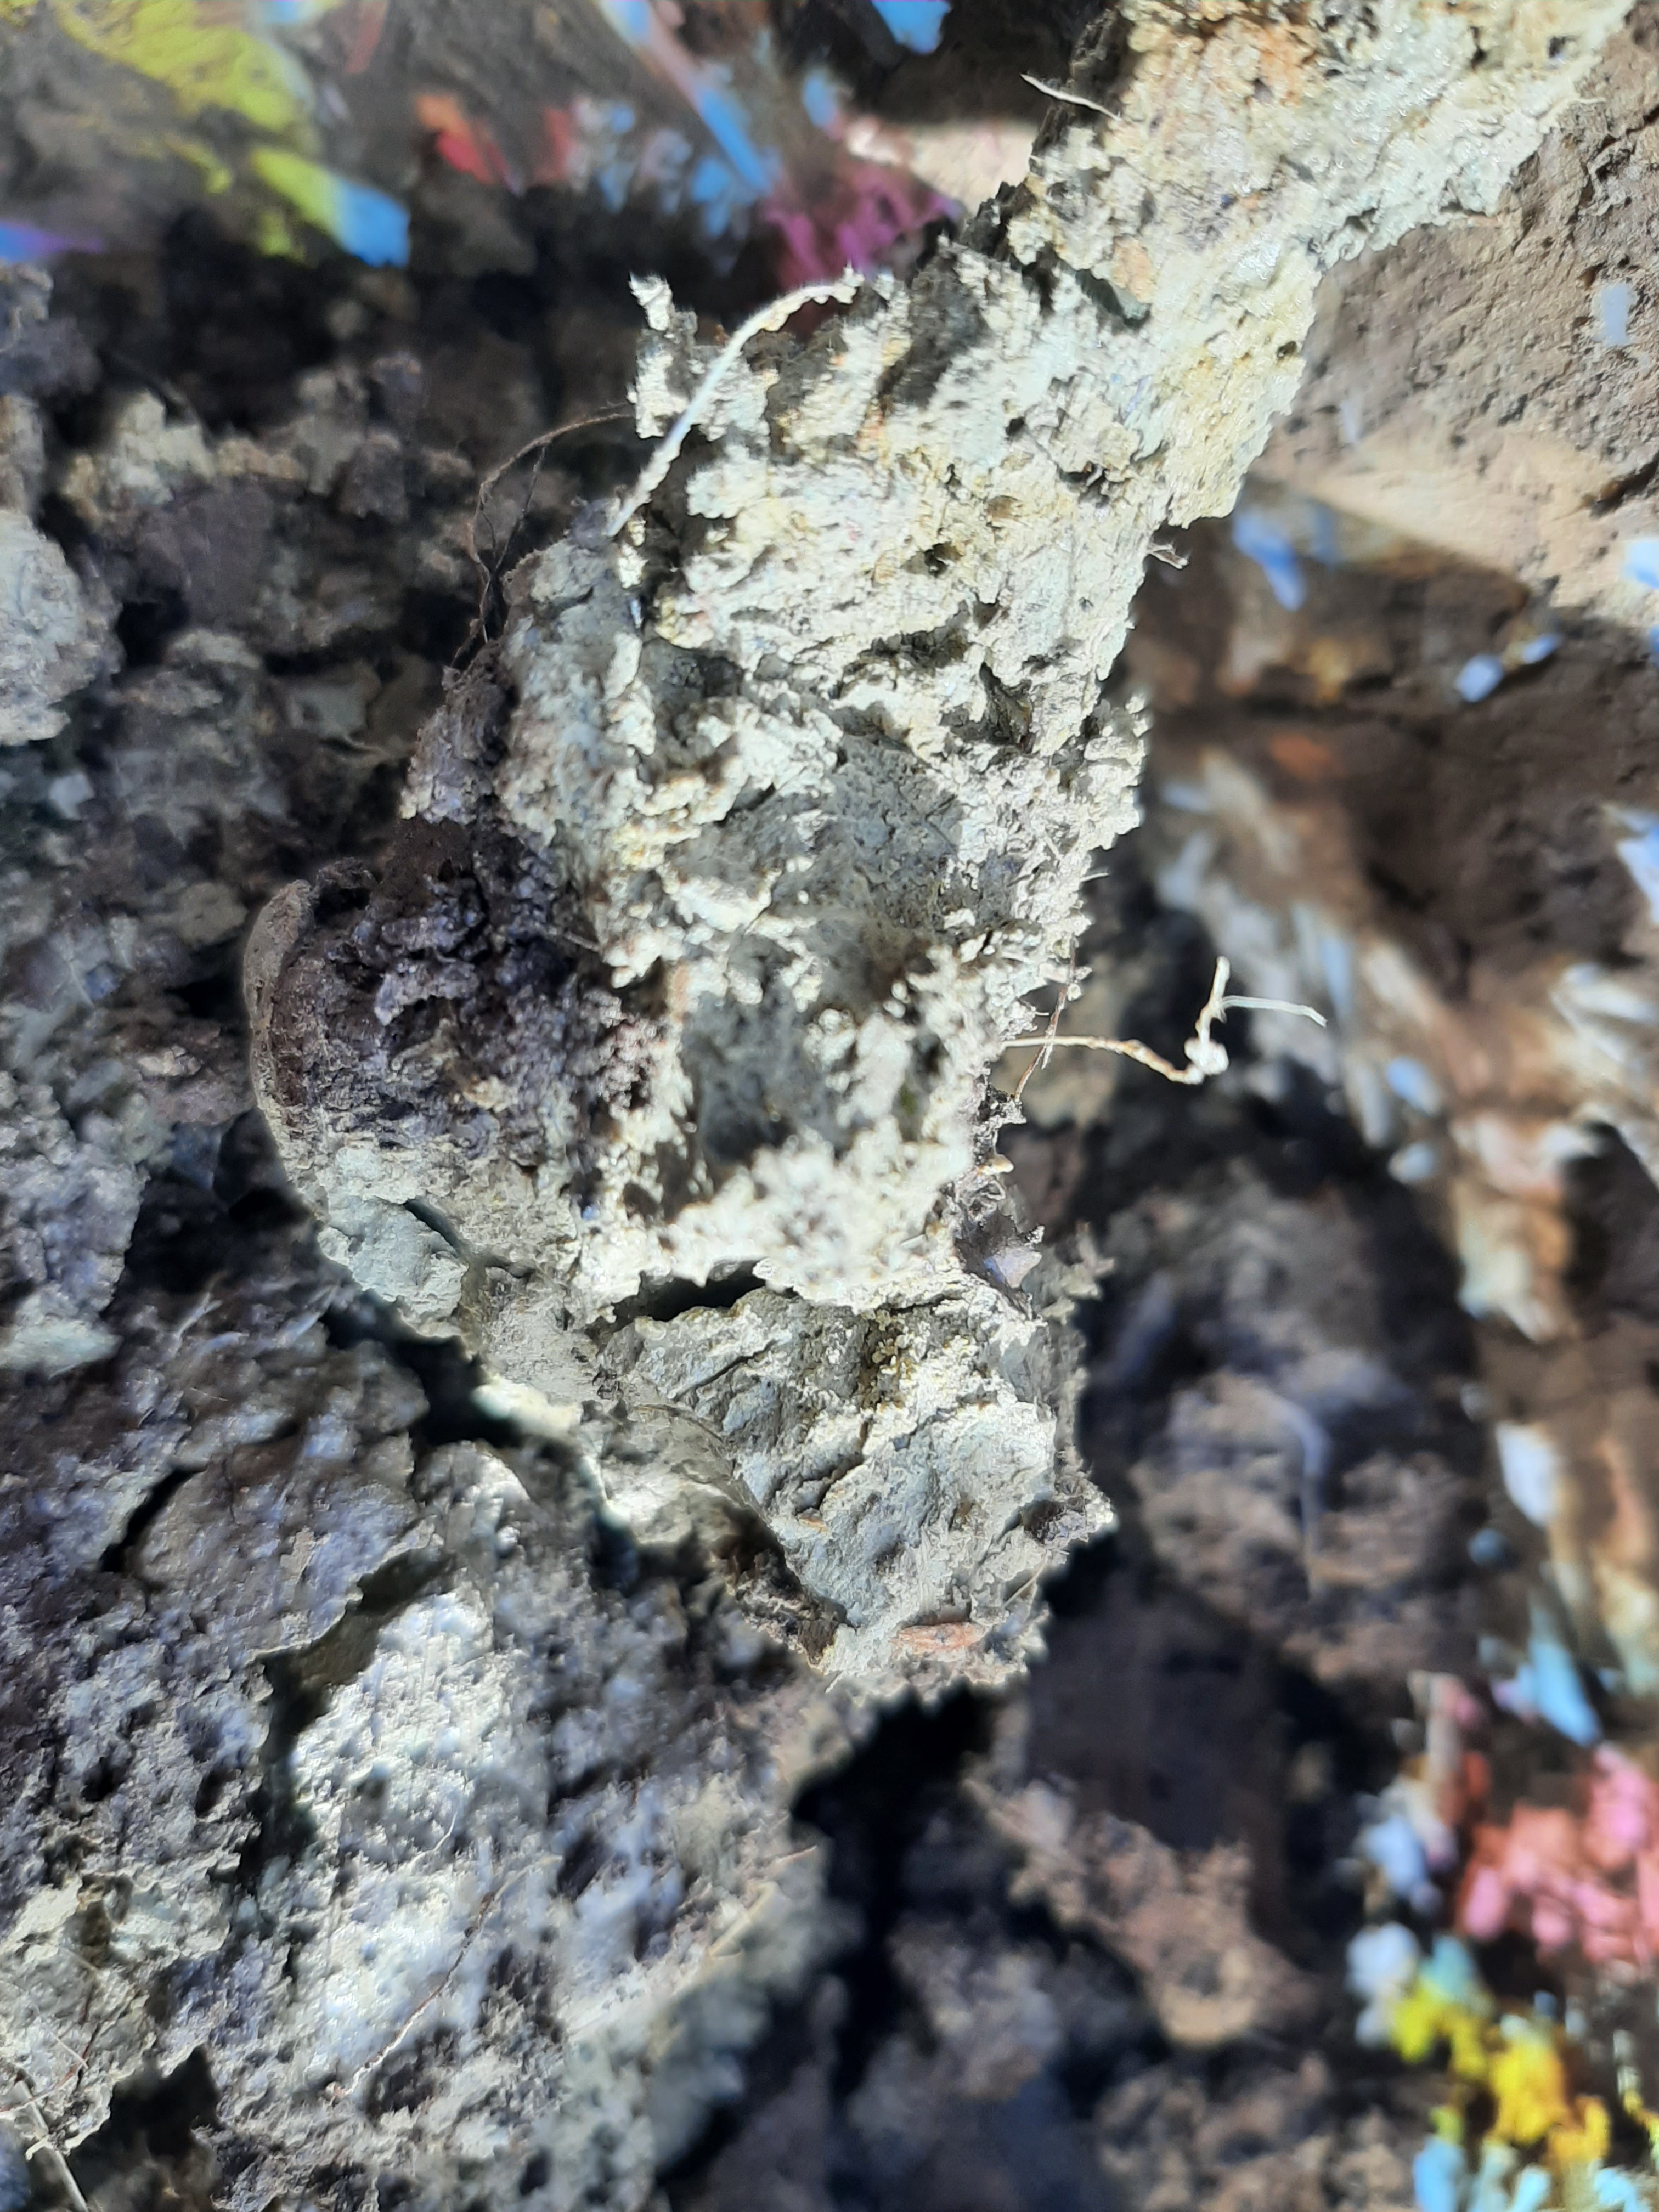
Since glazes are still for now off-limits (though I did see a pot in a gallery that was glazed and just had traces of firewood stuck in the glaze–intriguing), I have been working with other effects. These are very unpredictable, which is a bad thing and a good thing! I have been working a lot with white clay just so that I can properly see the effects, because it’s really interesting. My land-dug clay is an entirely more interesting beast on its own: it looks grey when you first dig it, yellow when processed and you’re working it, and then it fires as a rich mix of blacks and reds. One of these days I am going to figure out why.

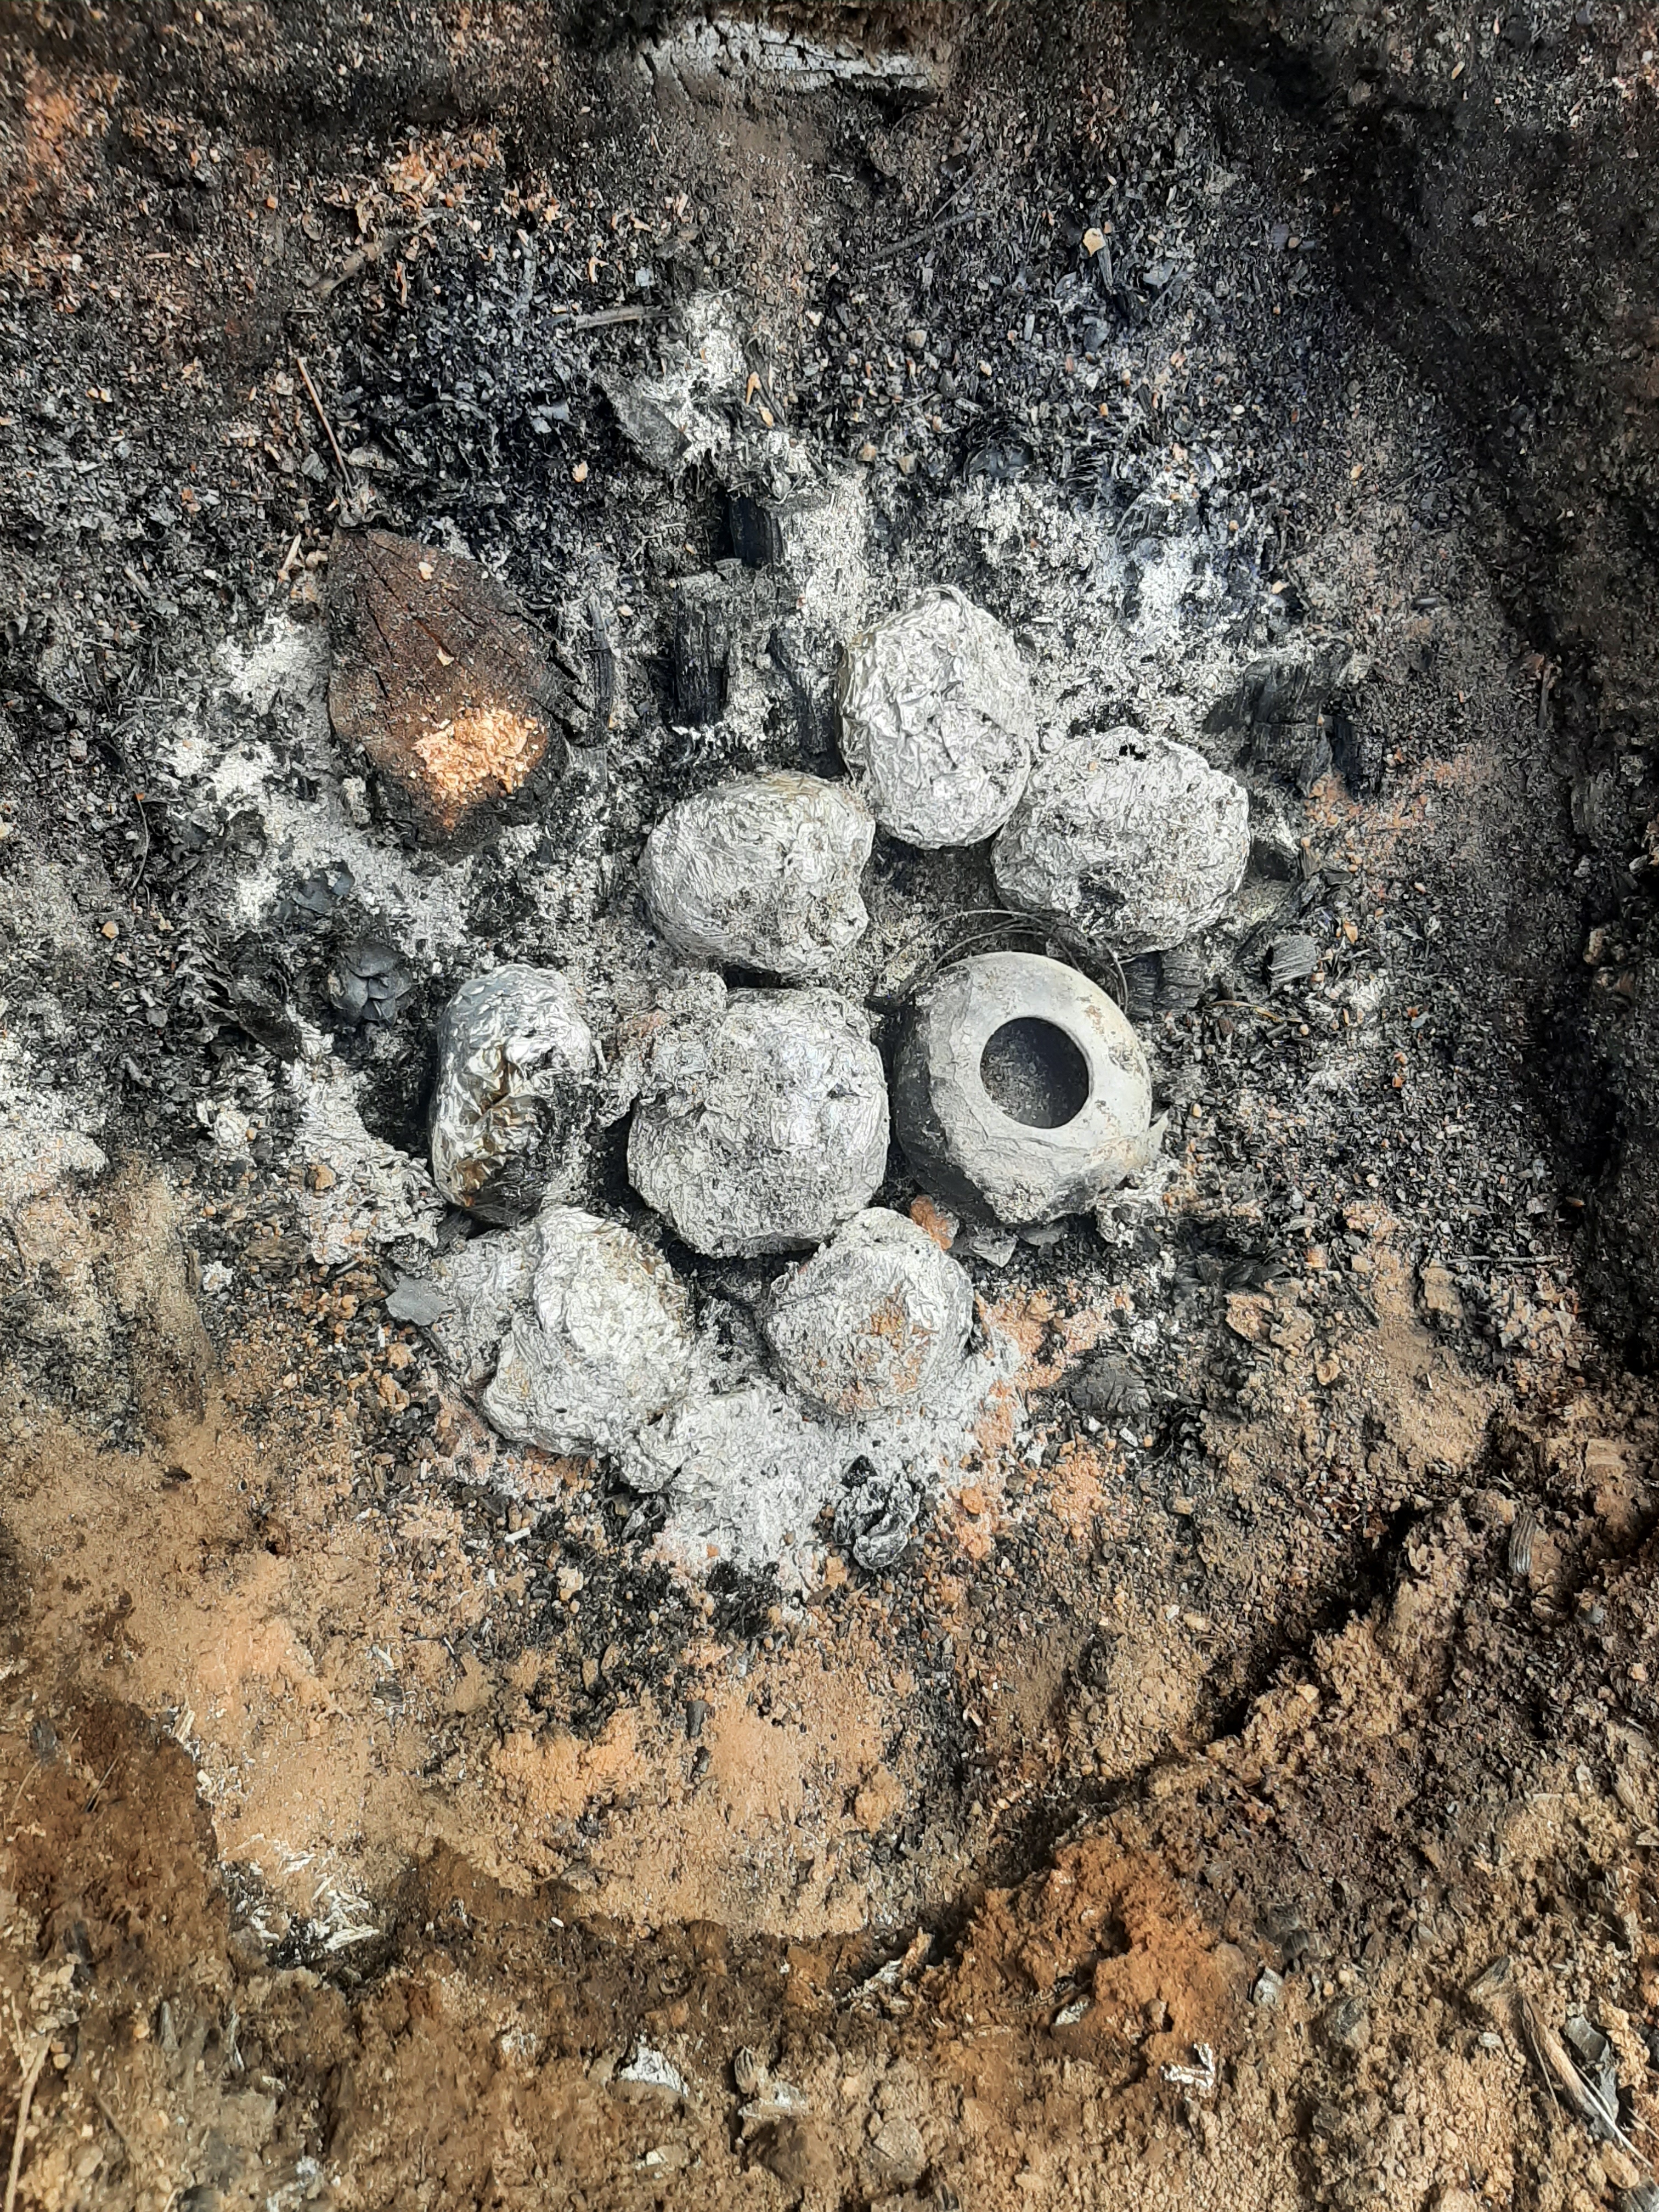
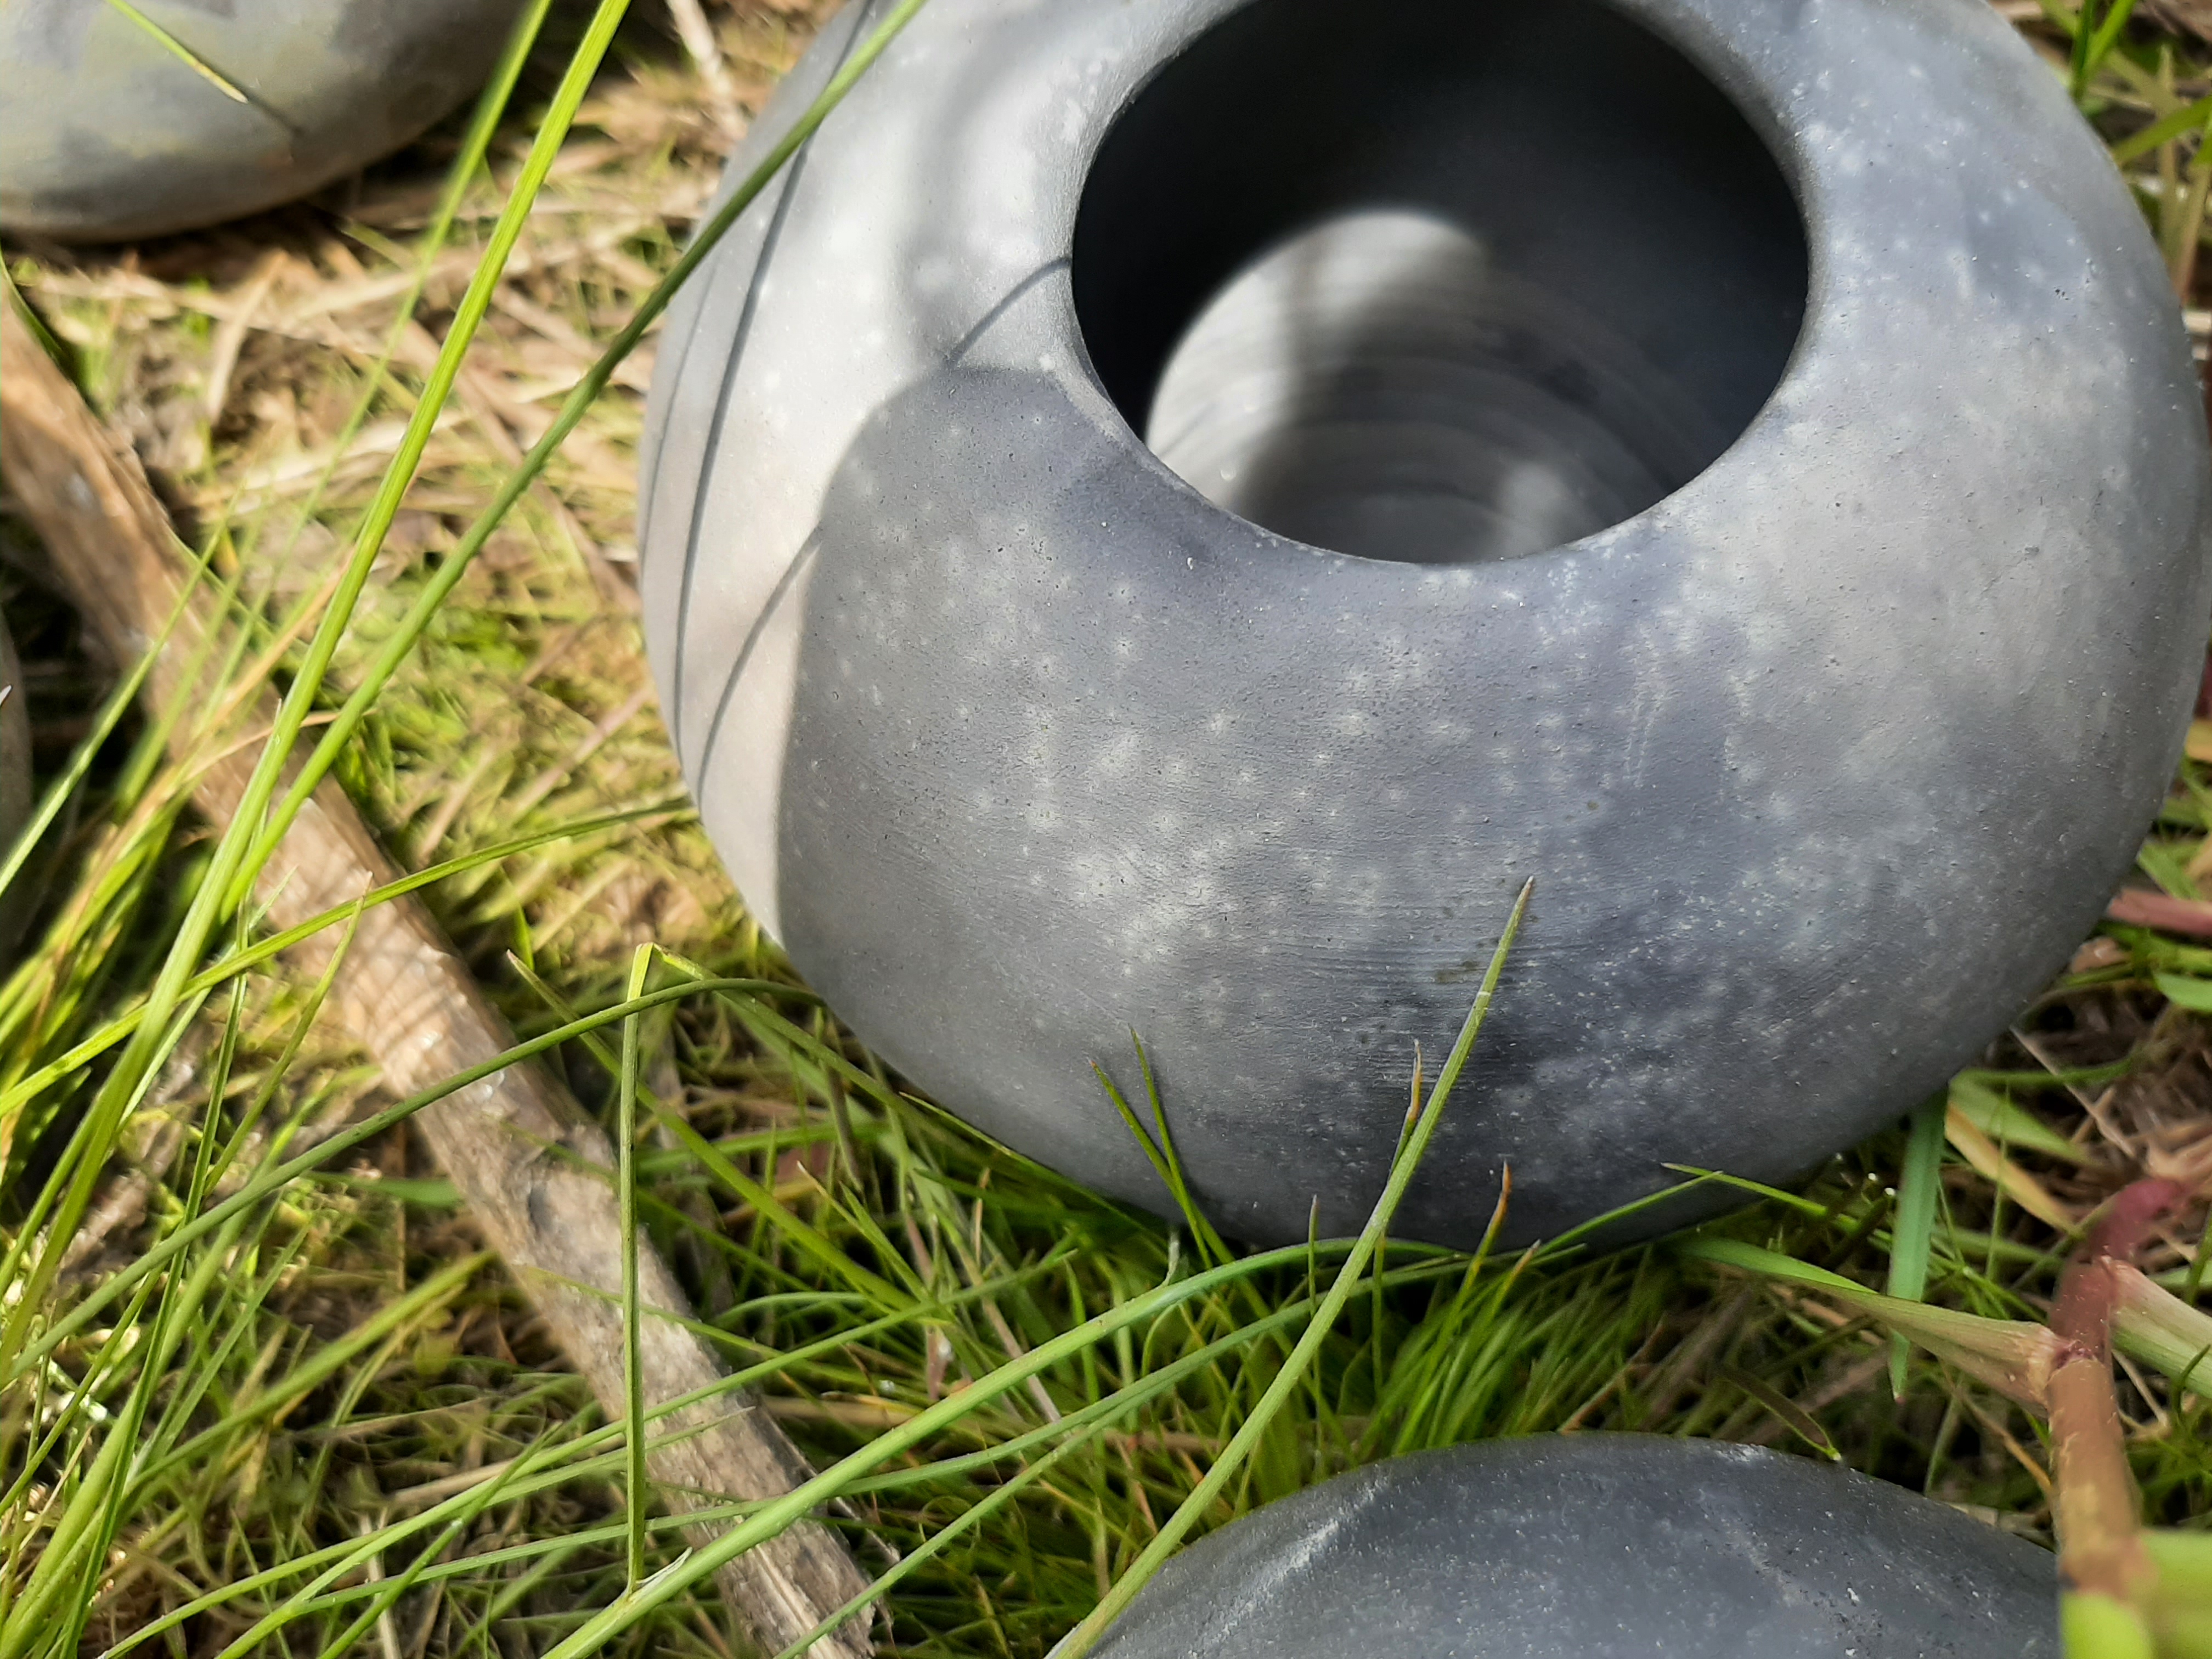
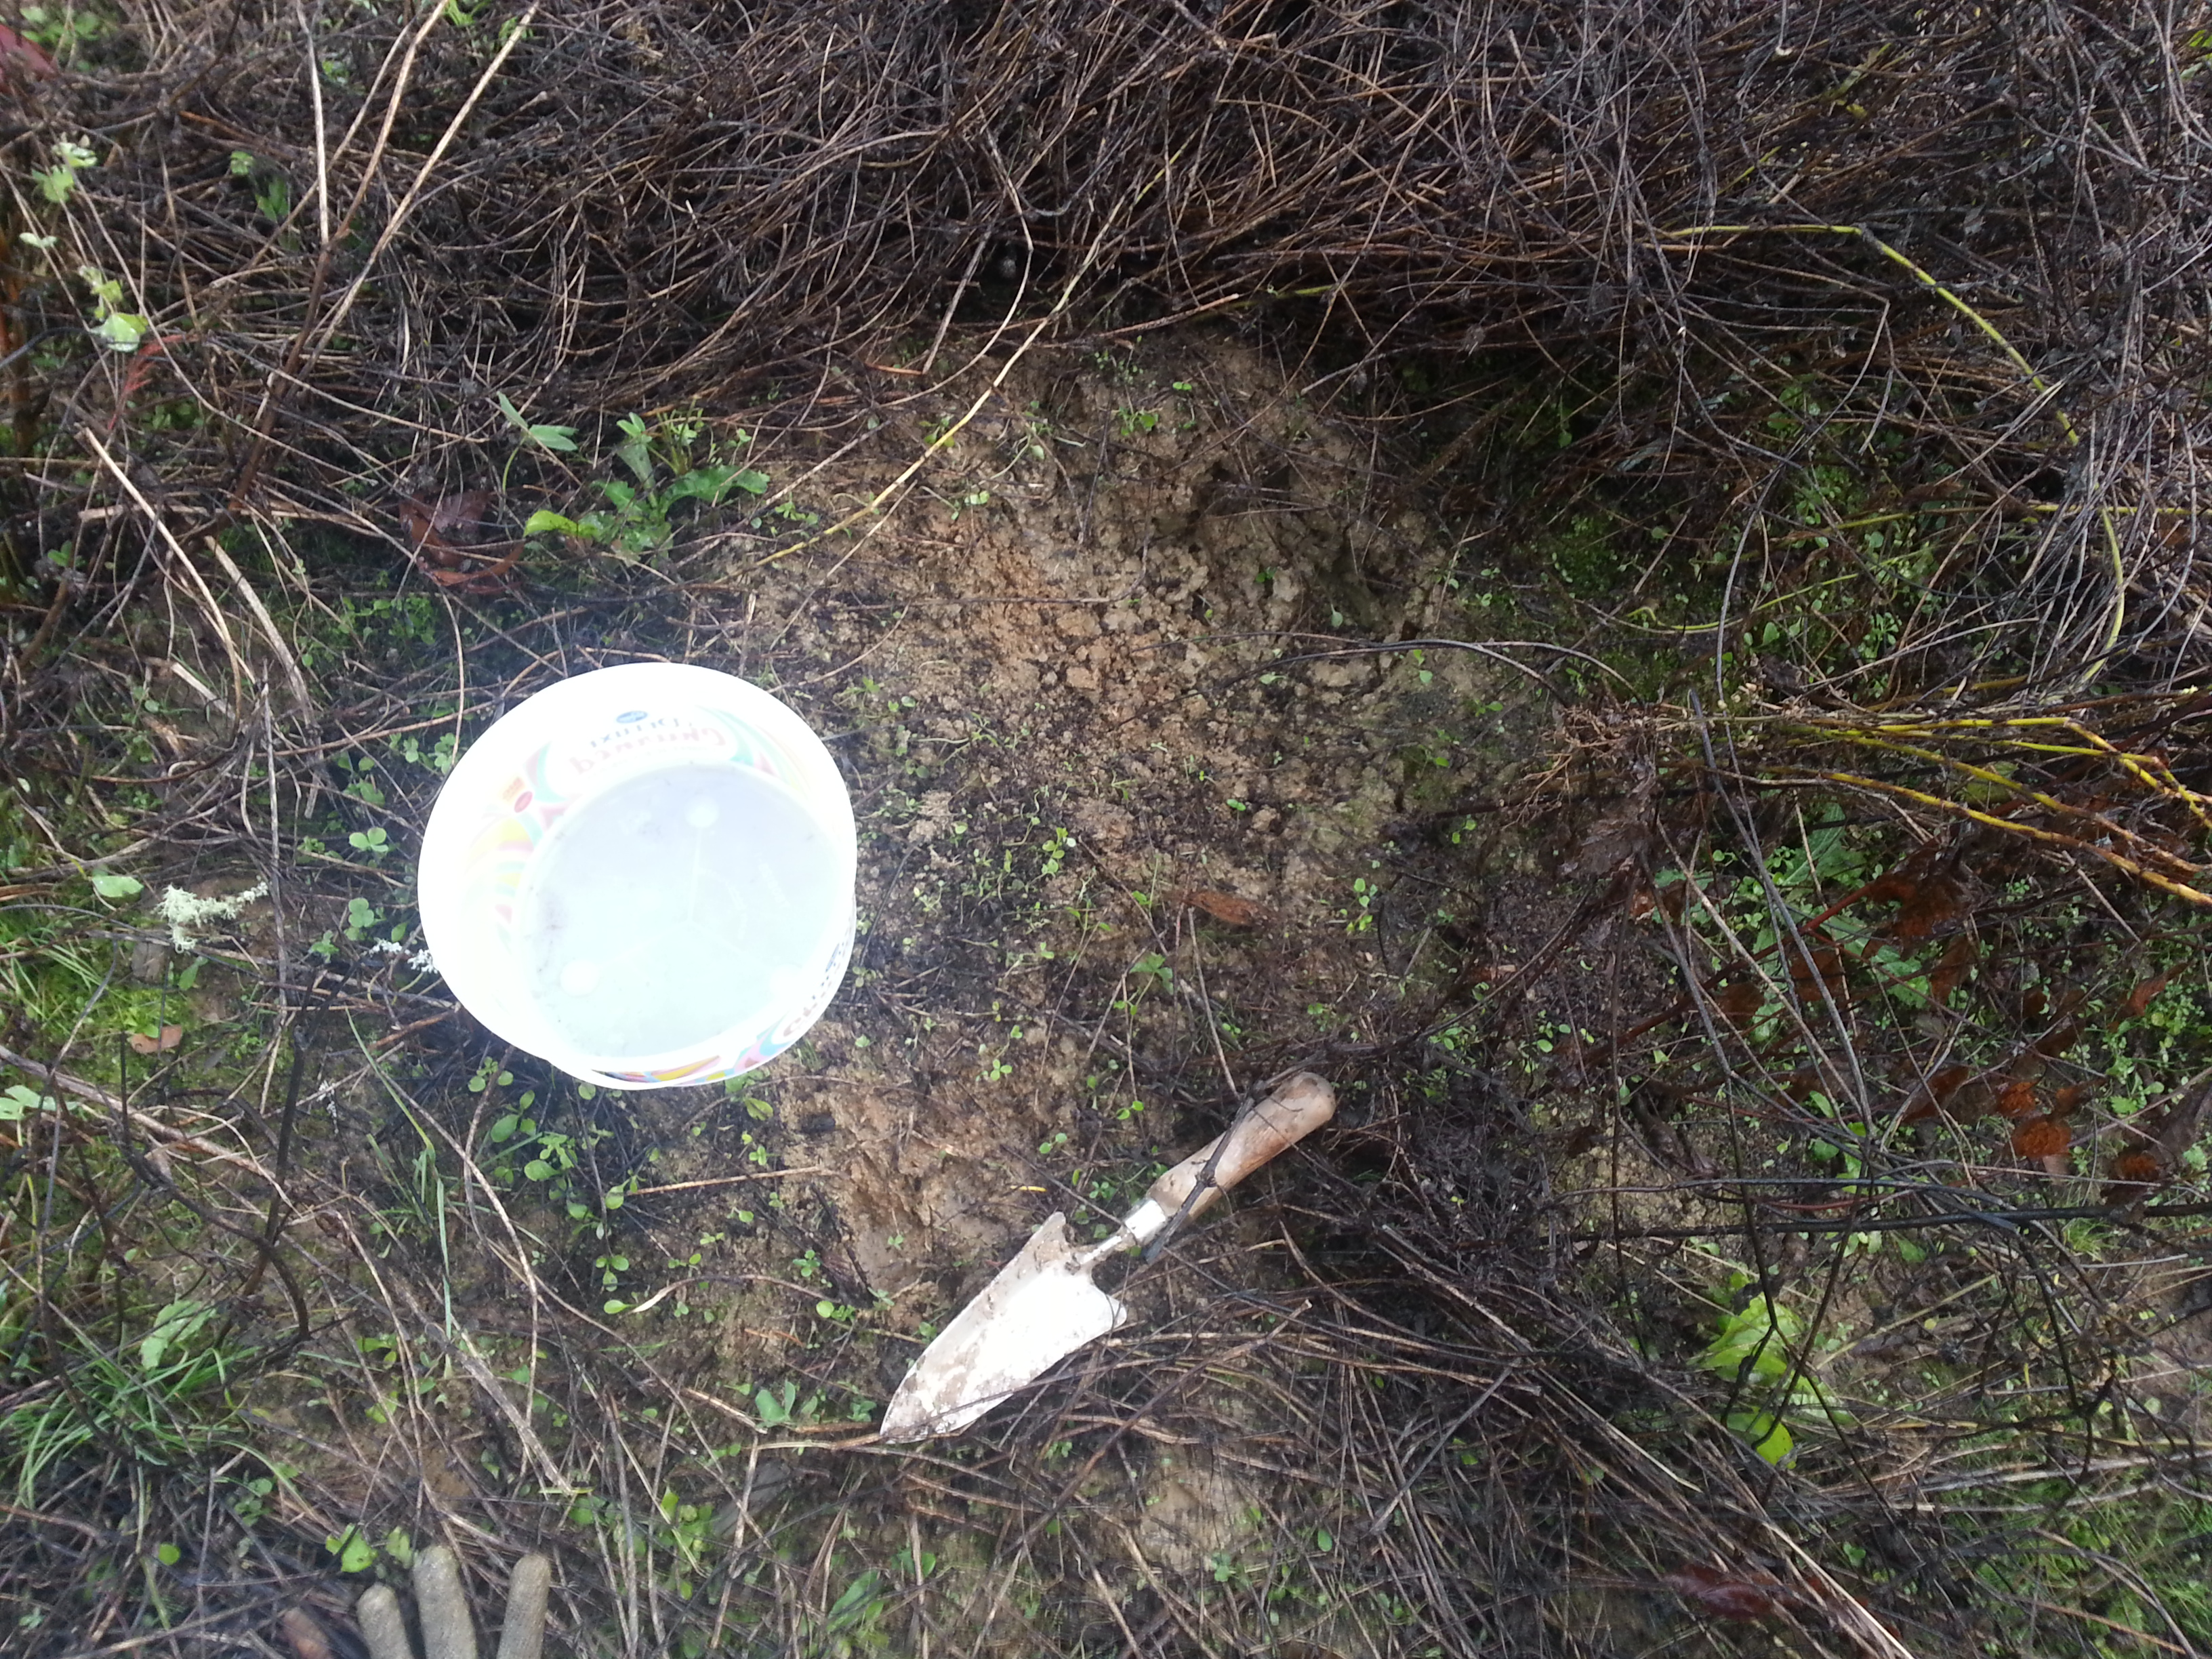
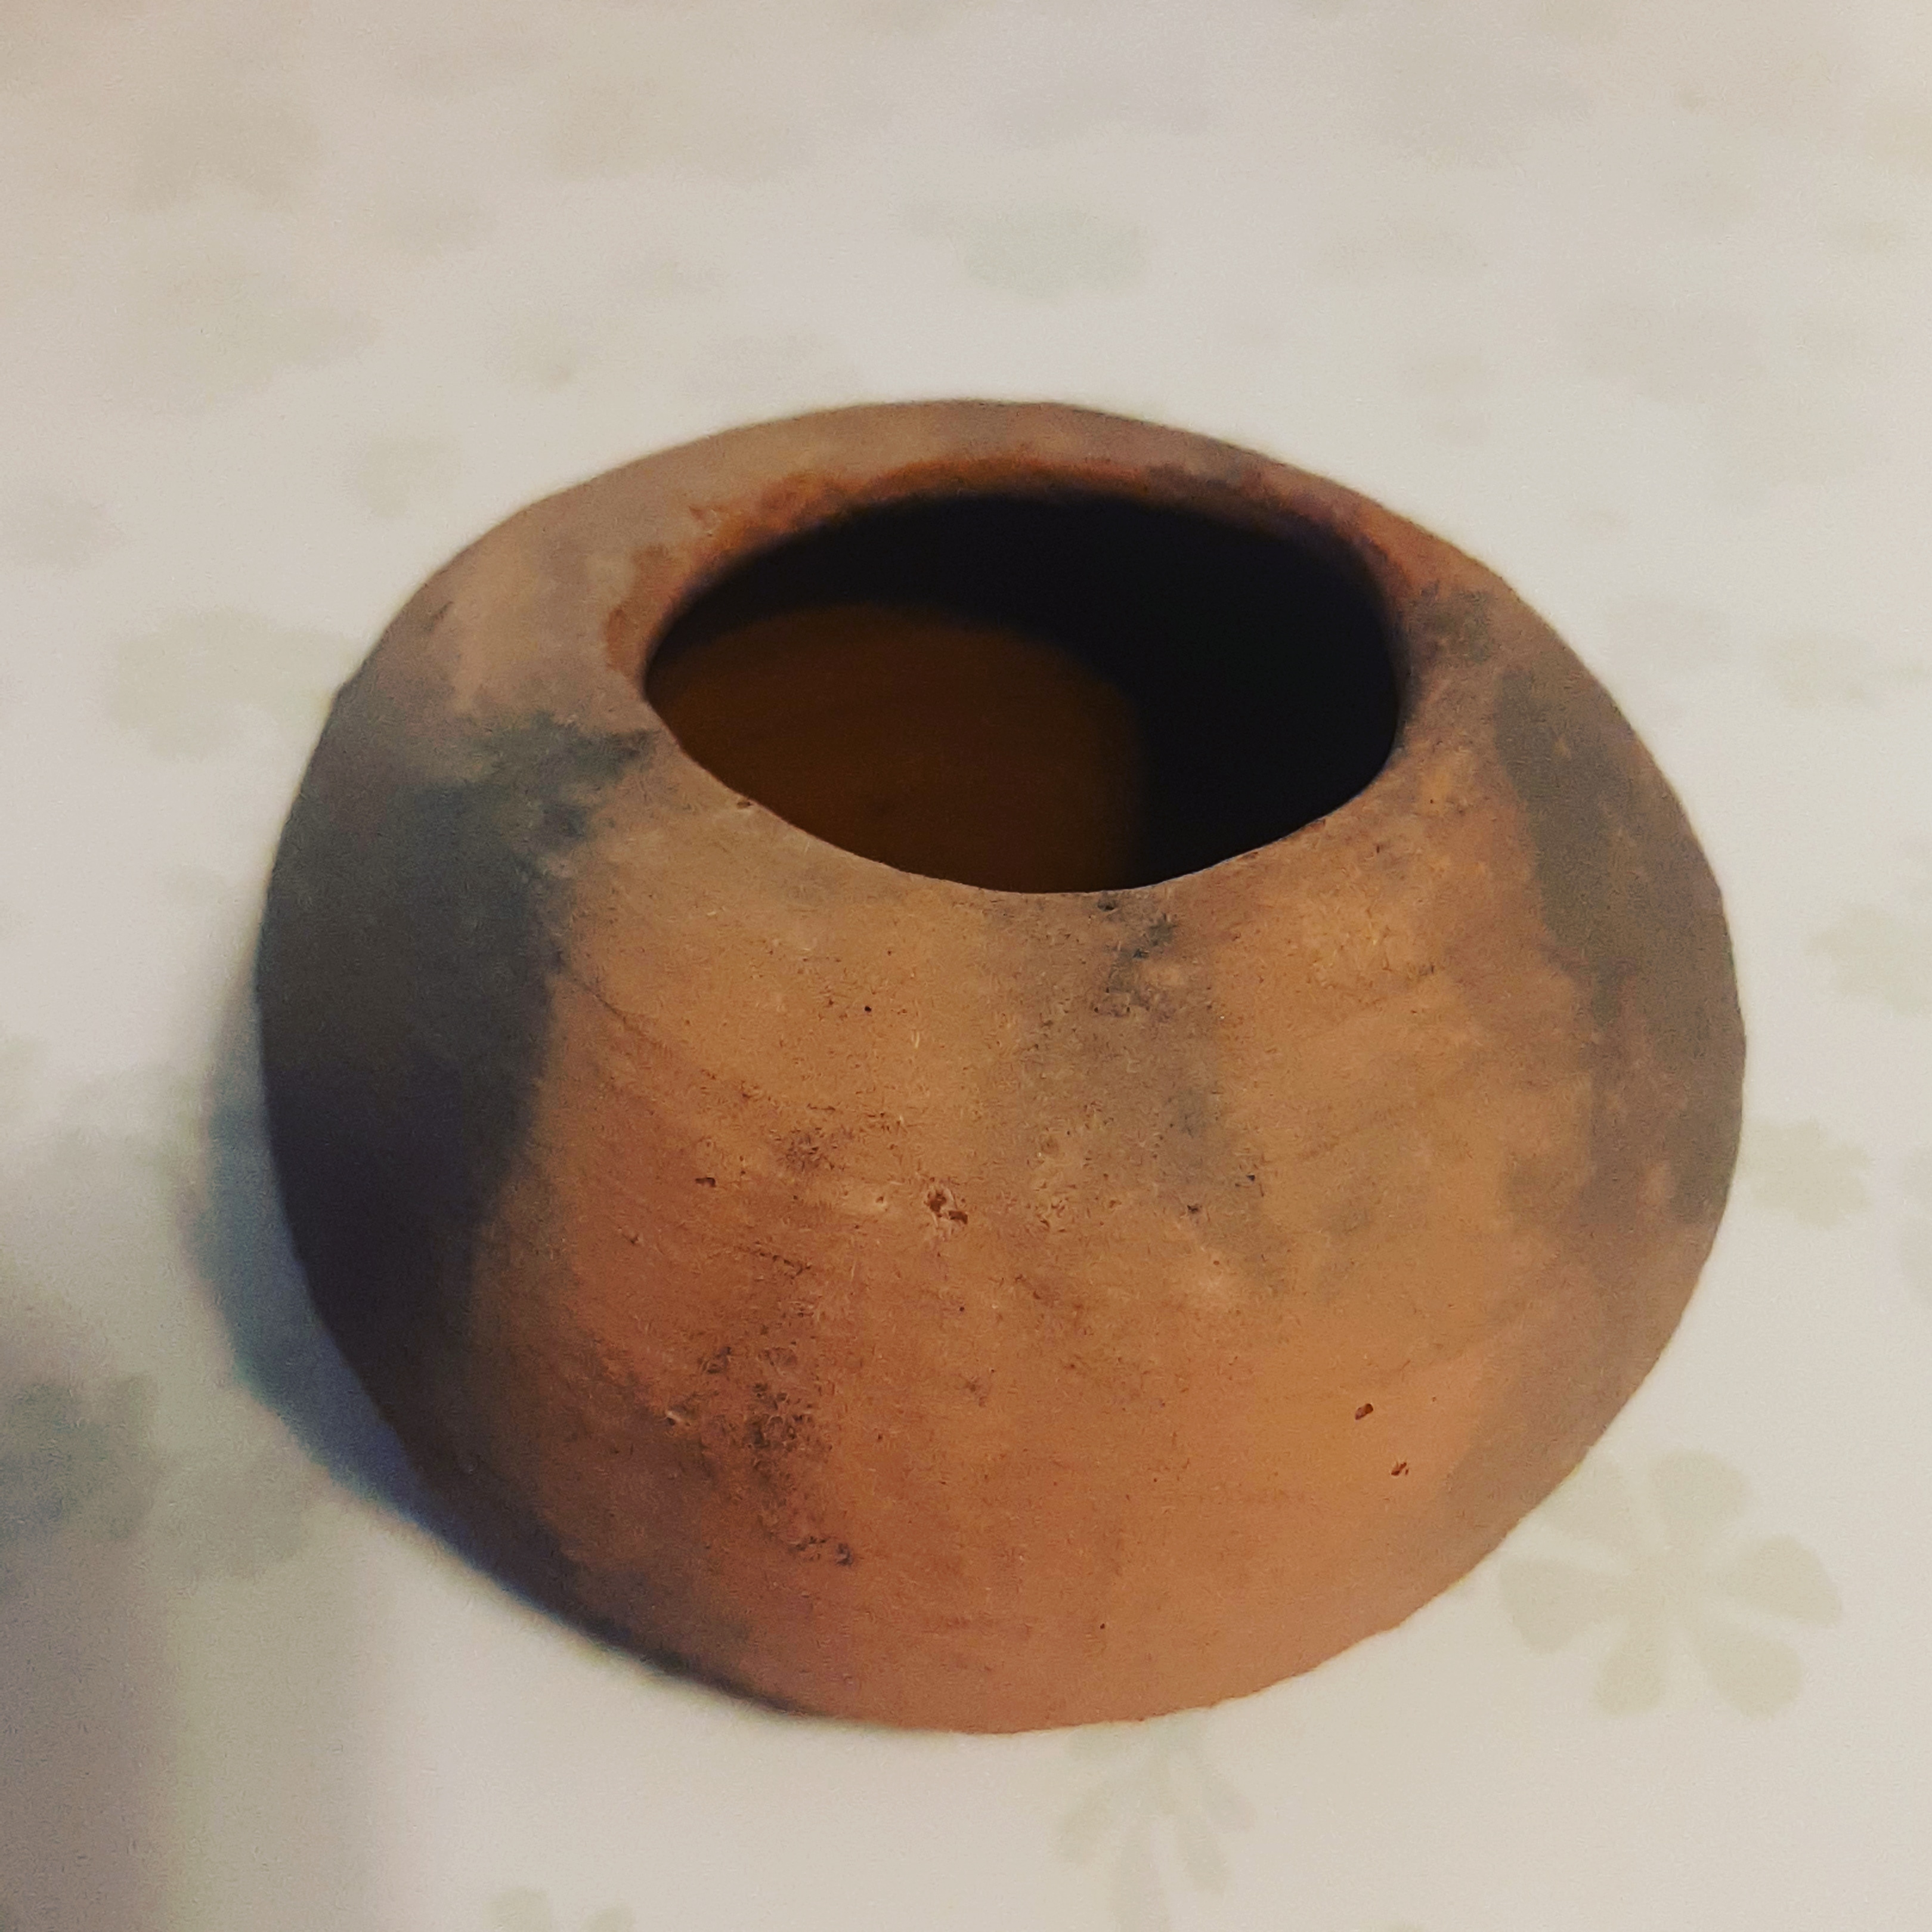
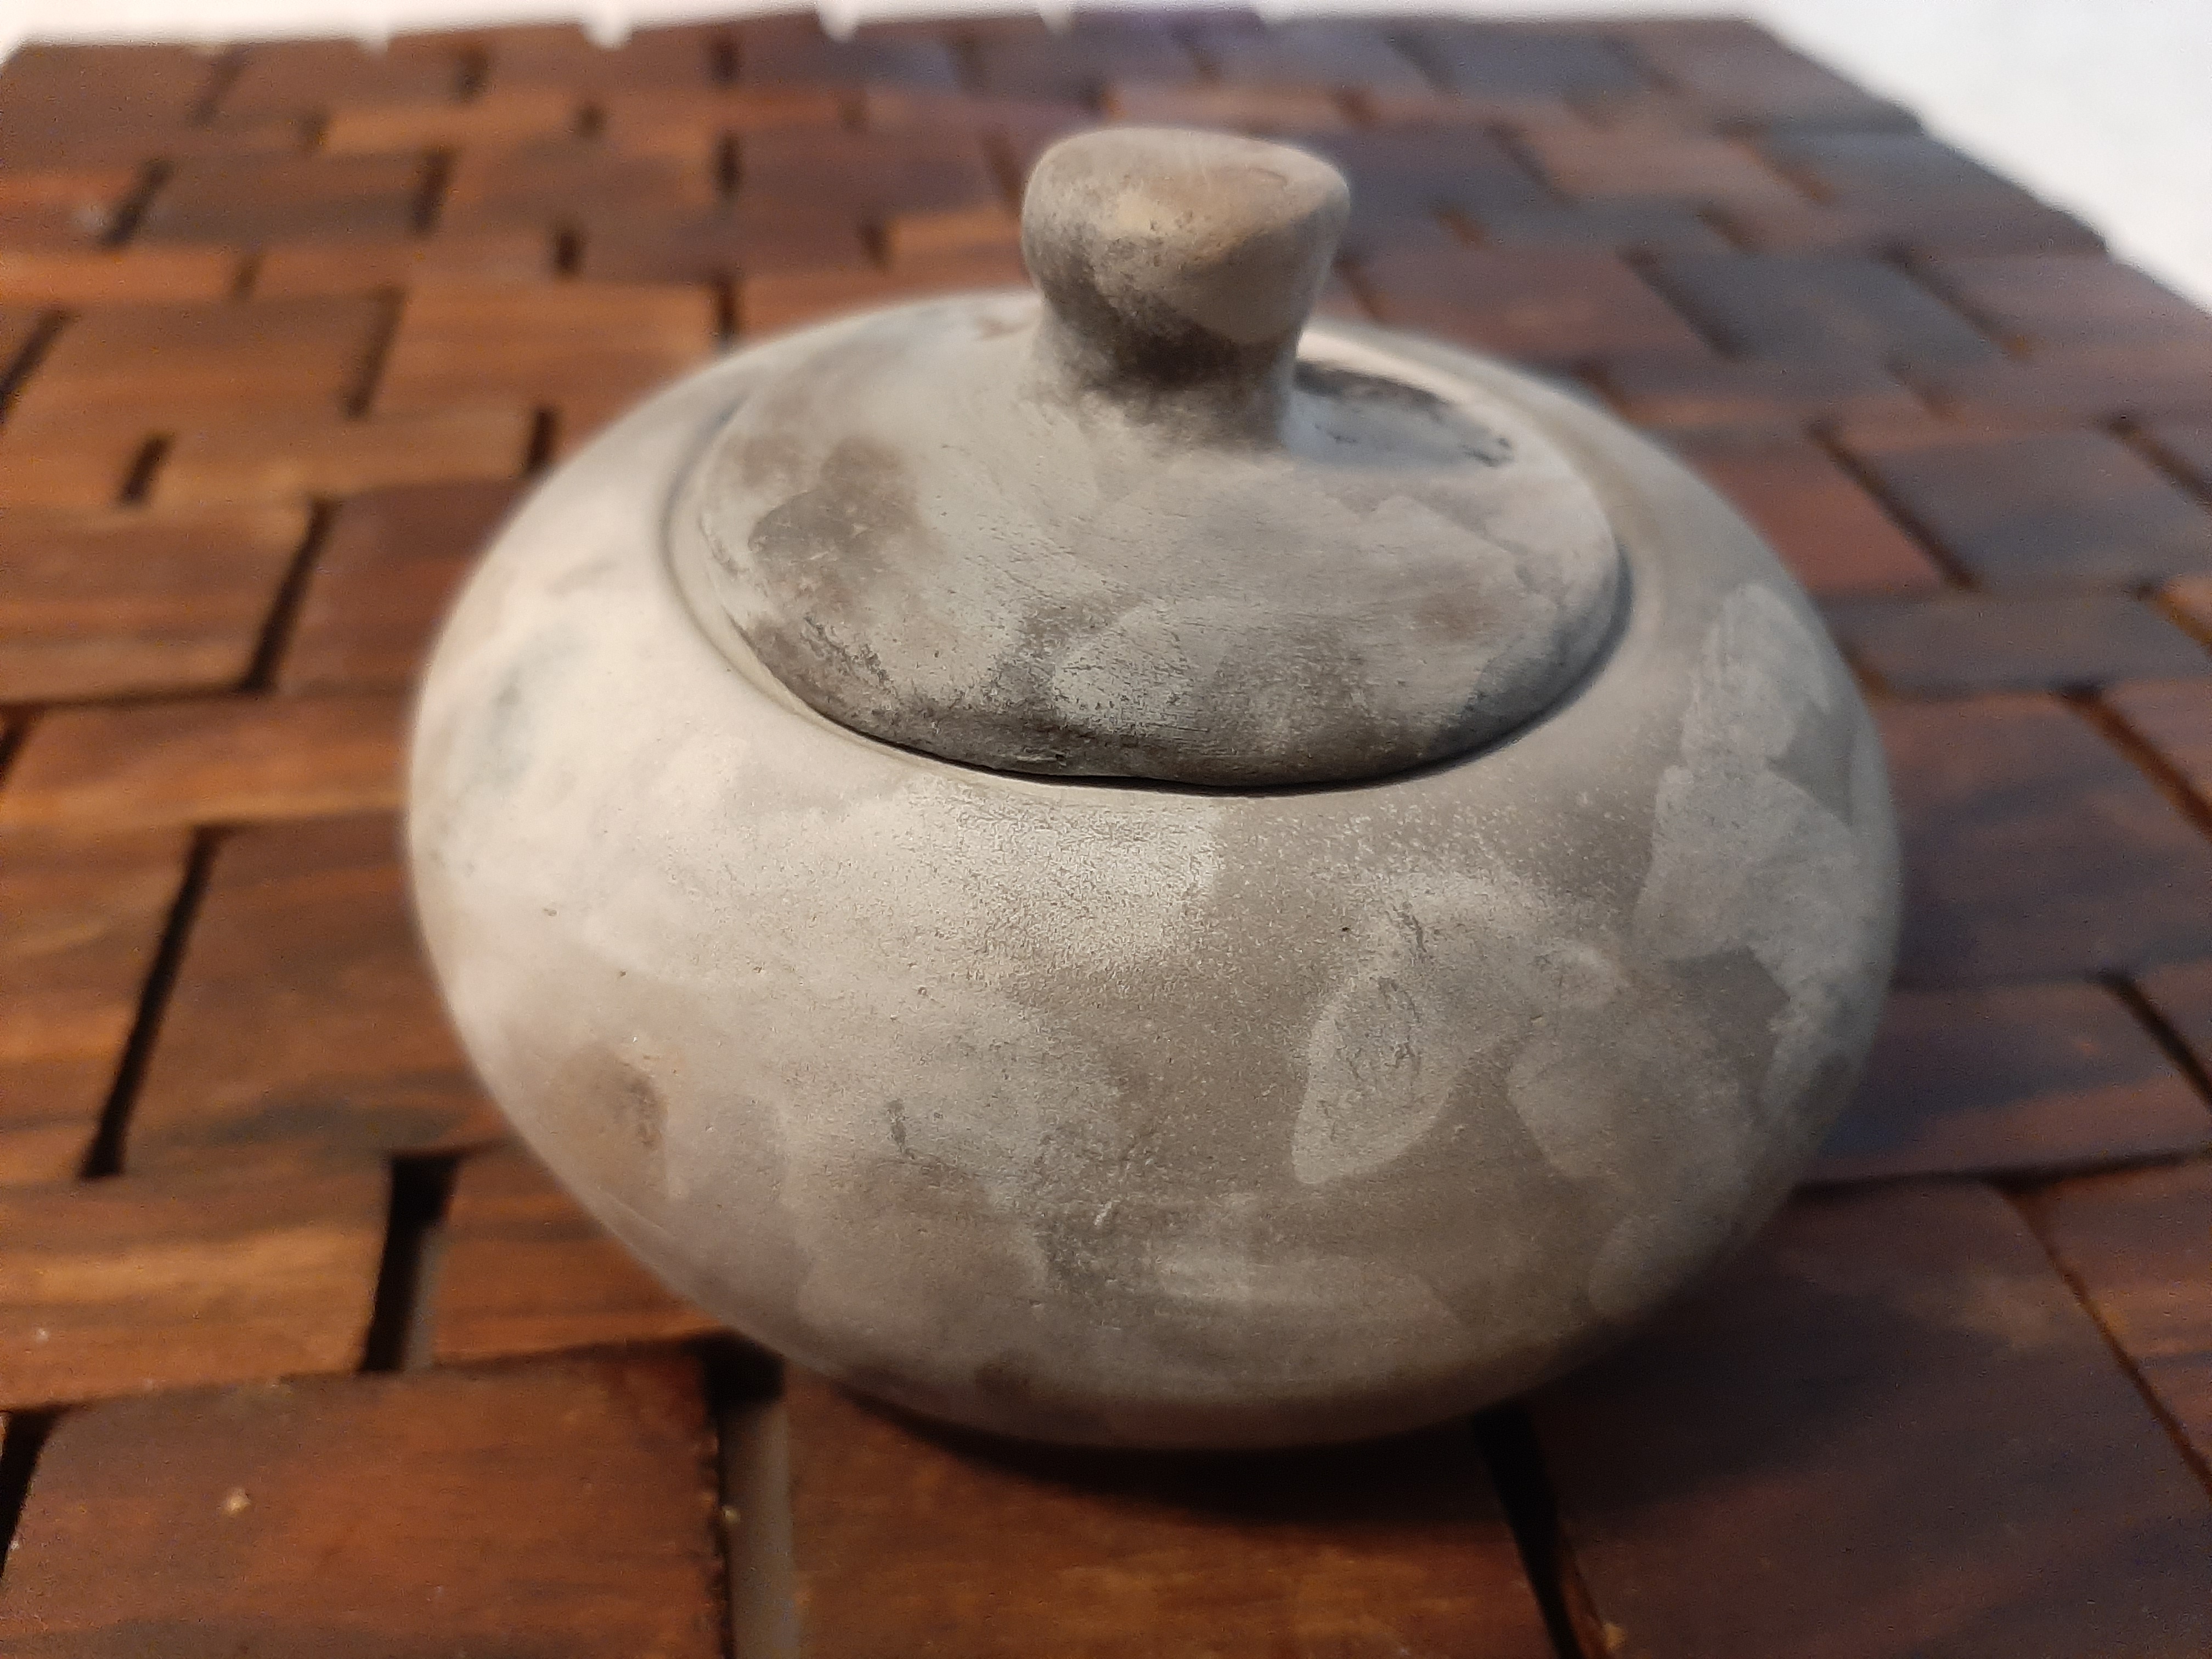
One effect to work with is simply oxidation. If you put pots in a fire, you can get some really interesting smoky effects, though you don’t get a lot of control.

Soap dishes fired bare in a pit-fire

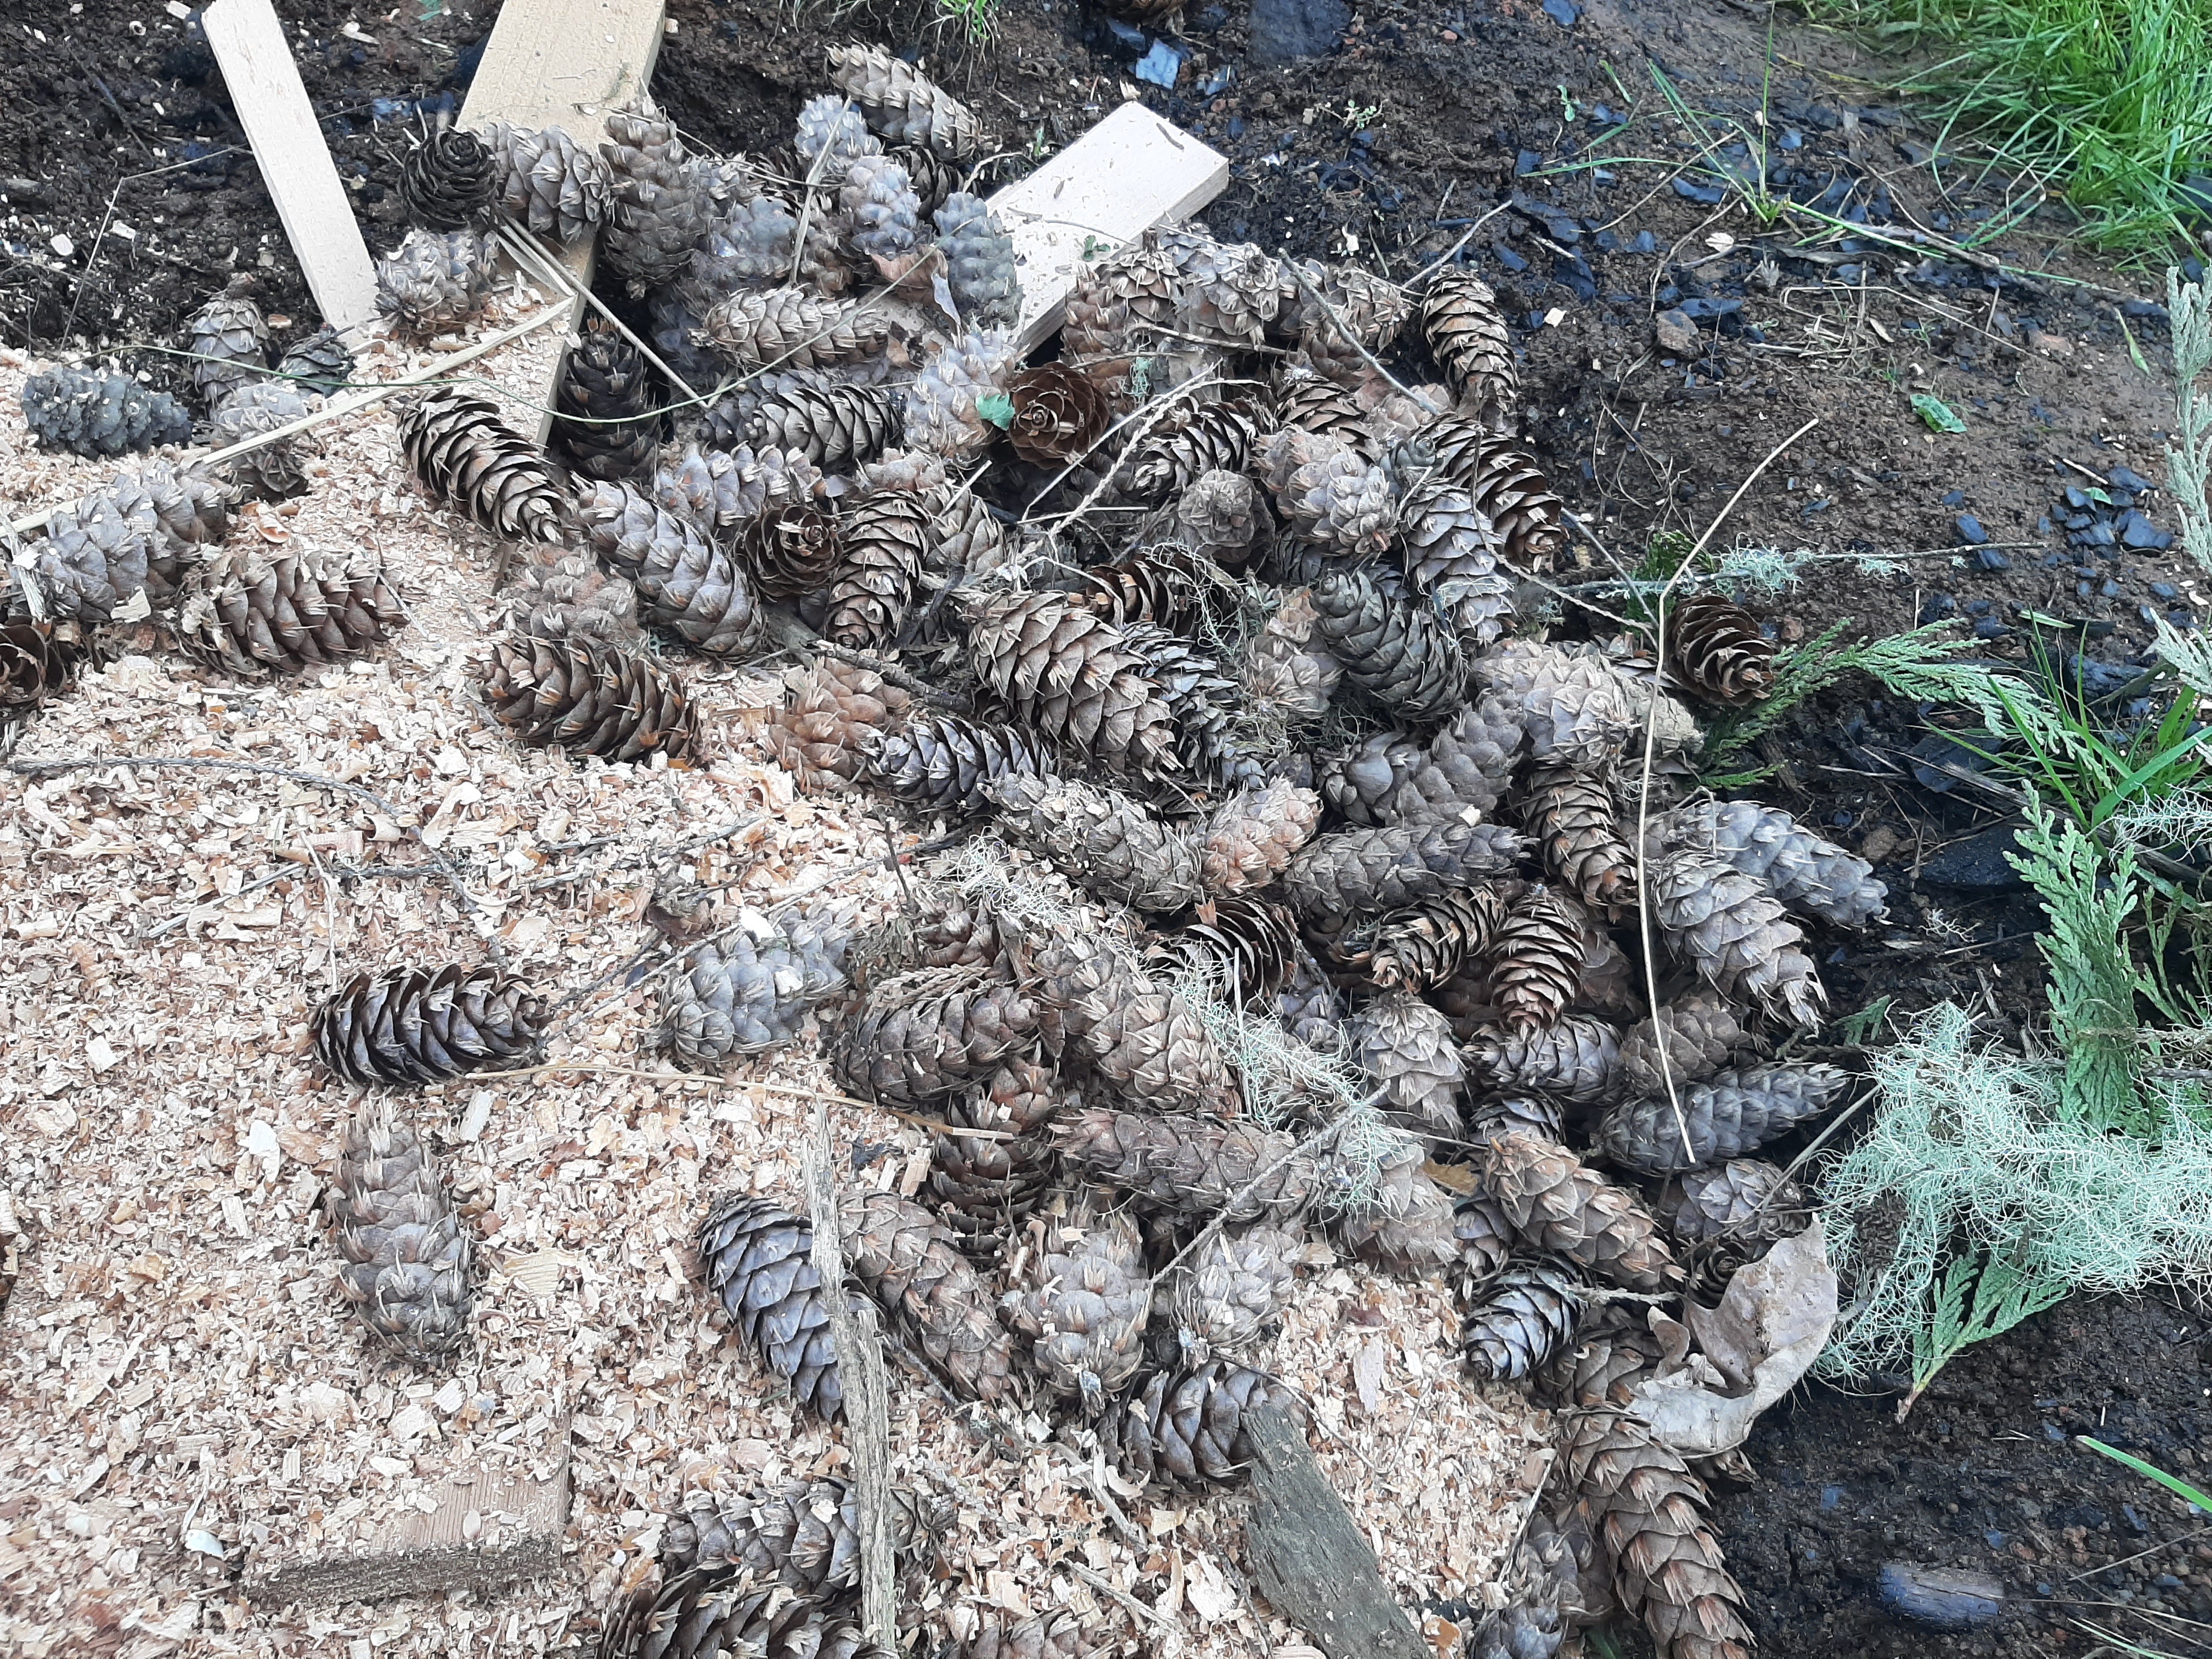
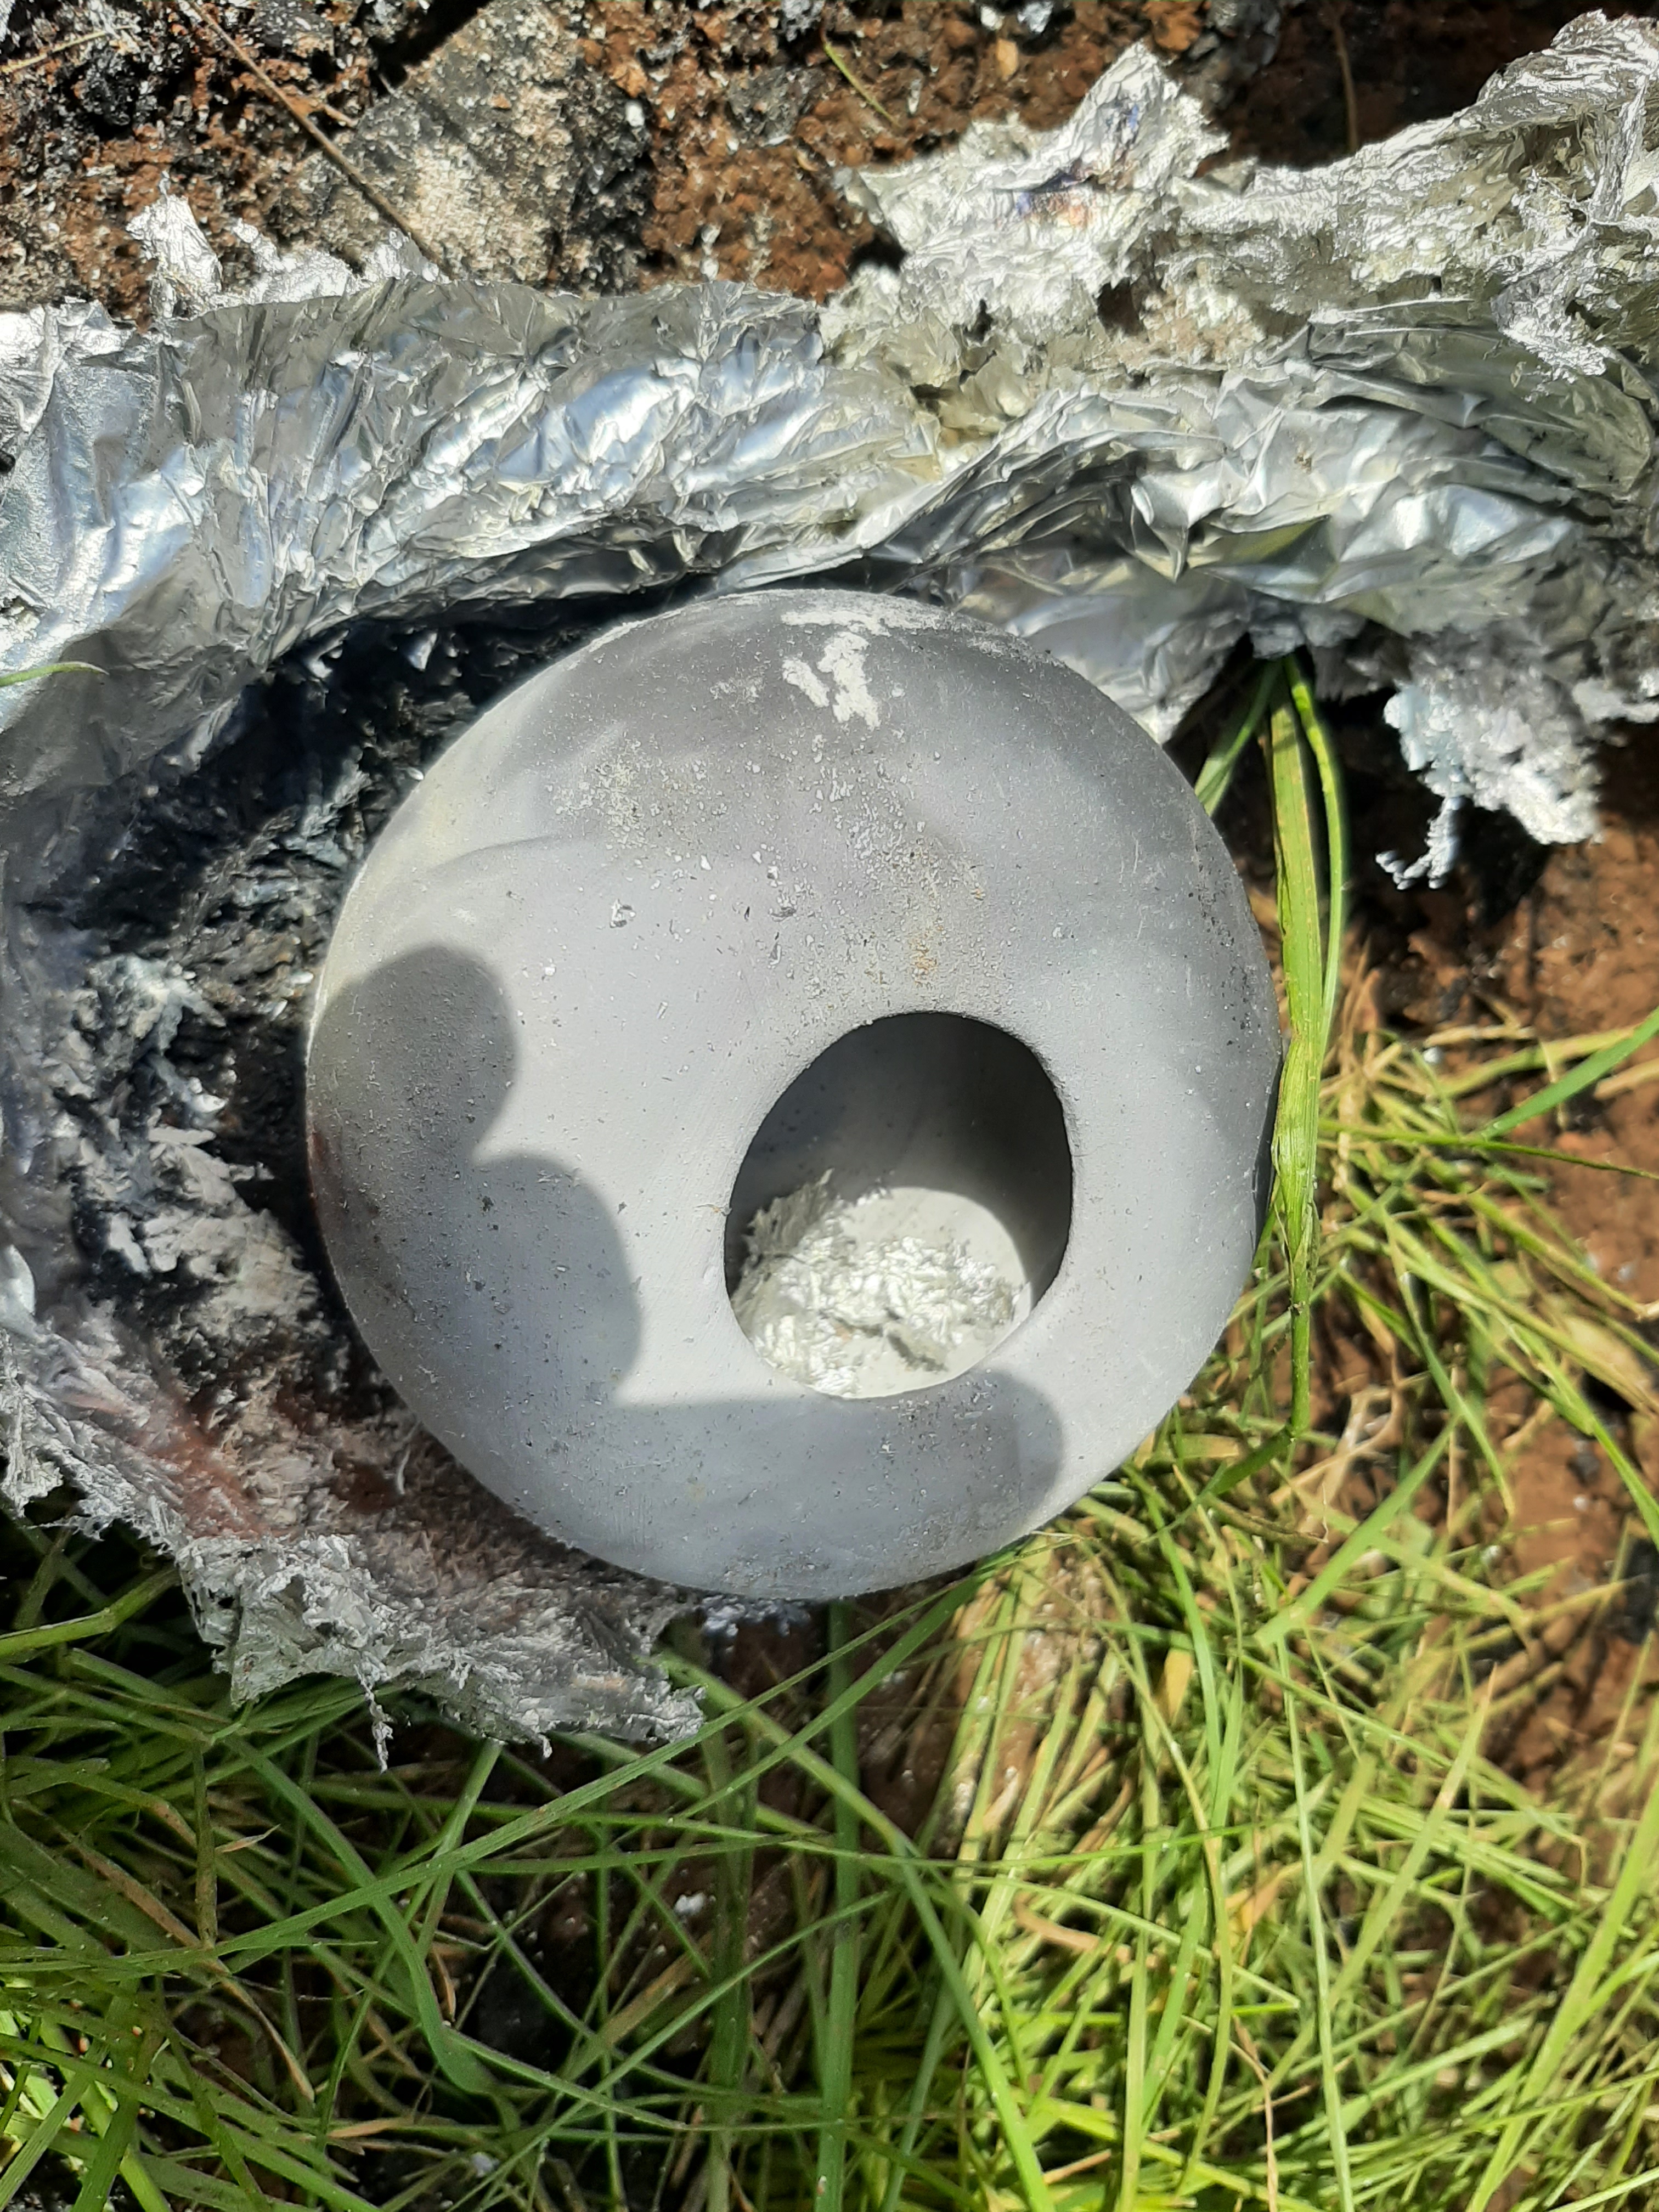
One way to get more control is to wrap them up with organic matter that will smoke and mark the surface.

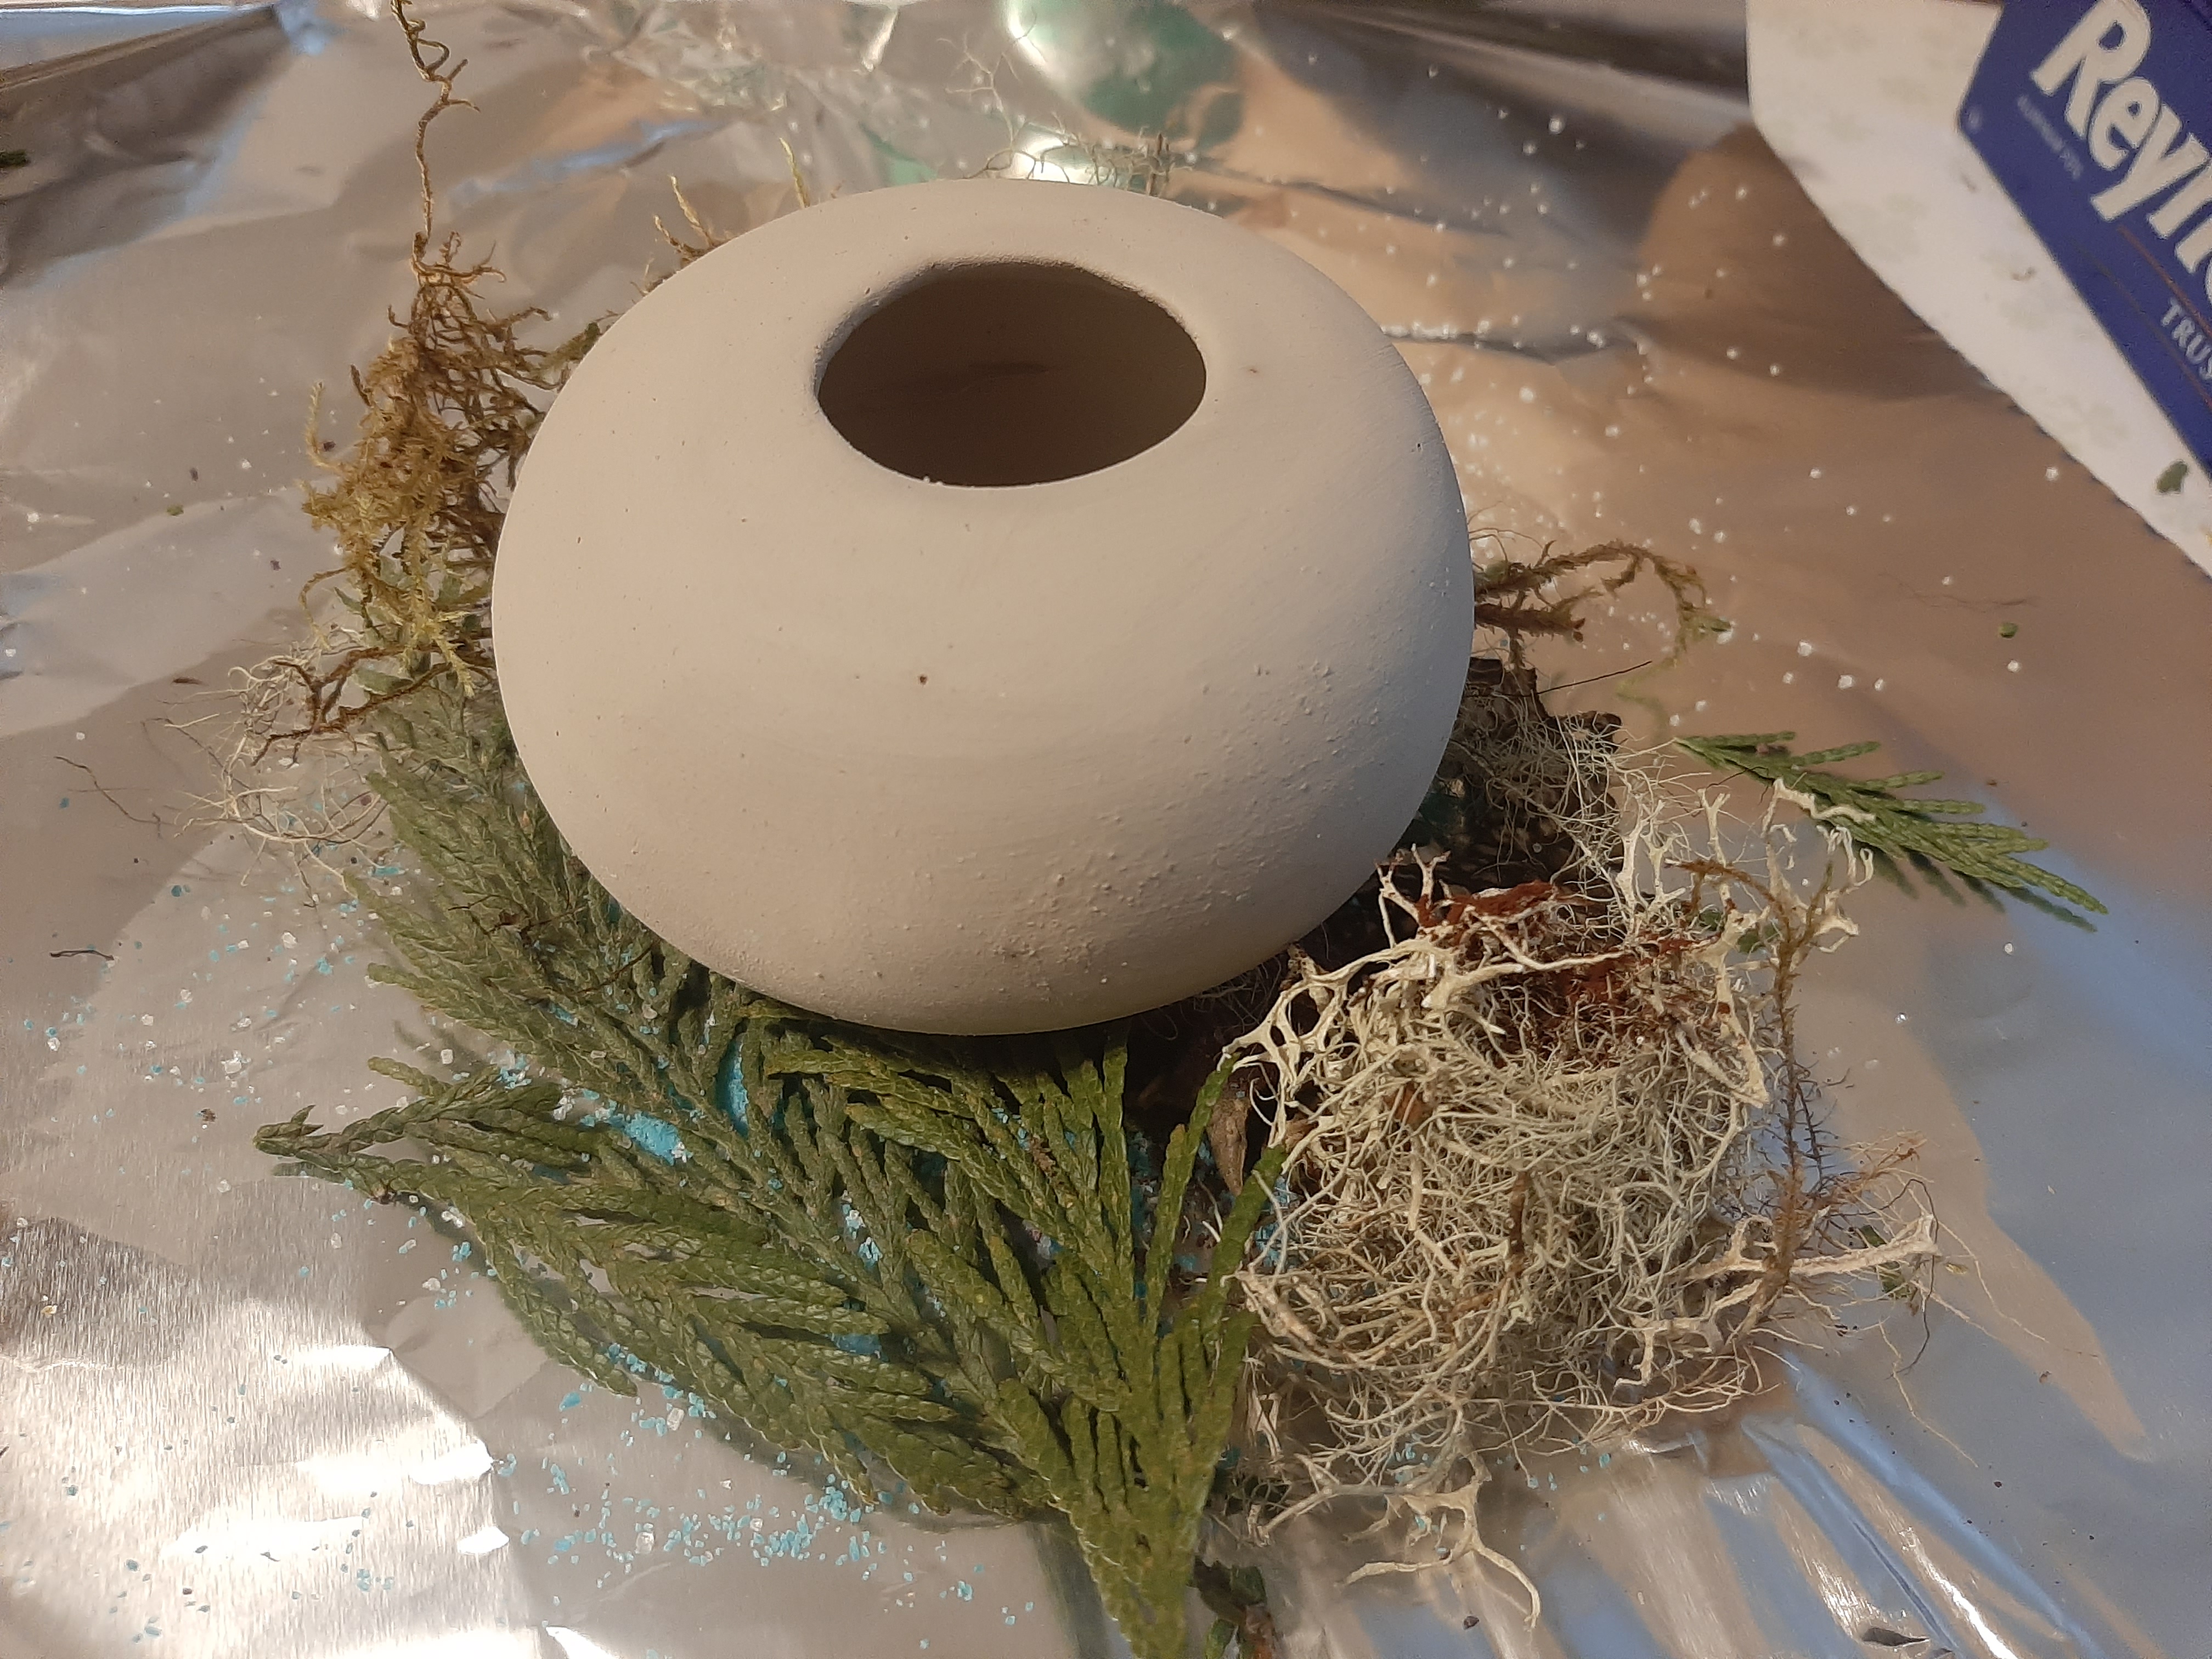
On one of these you could actually pick out the shape of the foliage it was wrapped up with. I think I’ve concluded that just a couple of small pieces of organic matter work best, so as to only ‘smoke’ portions of the pieces.

Shadows of cedar foliage

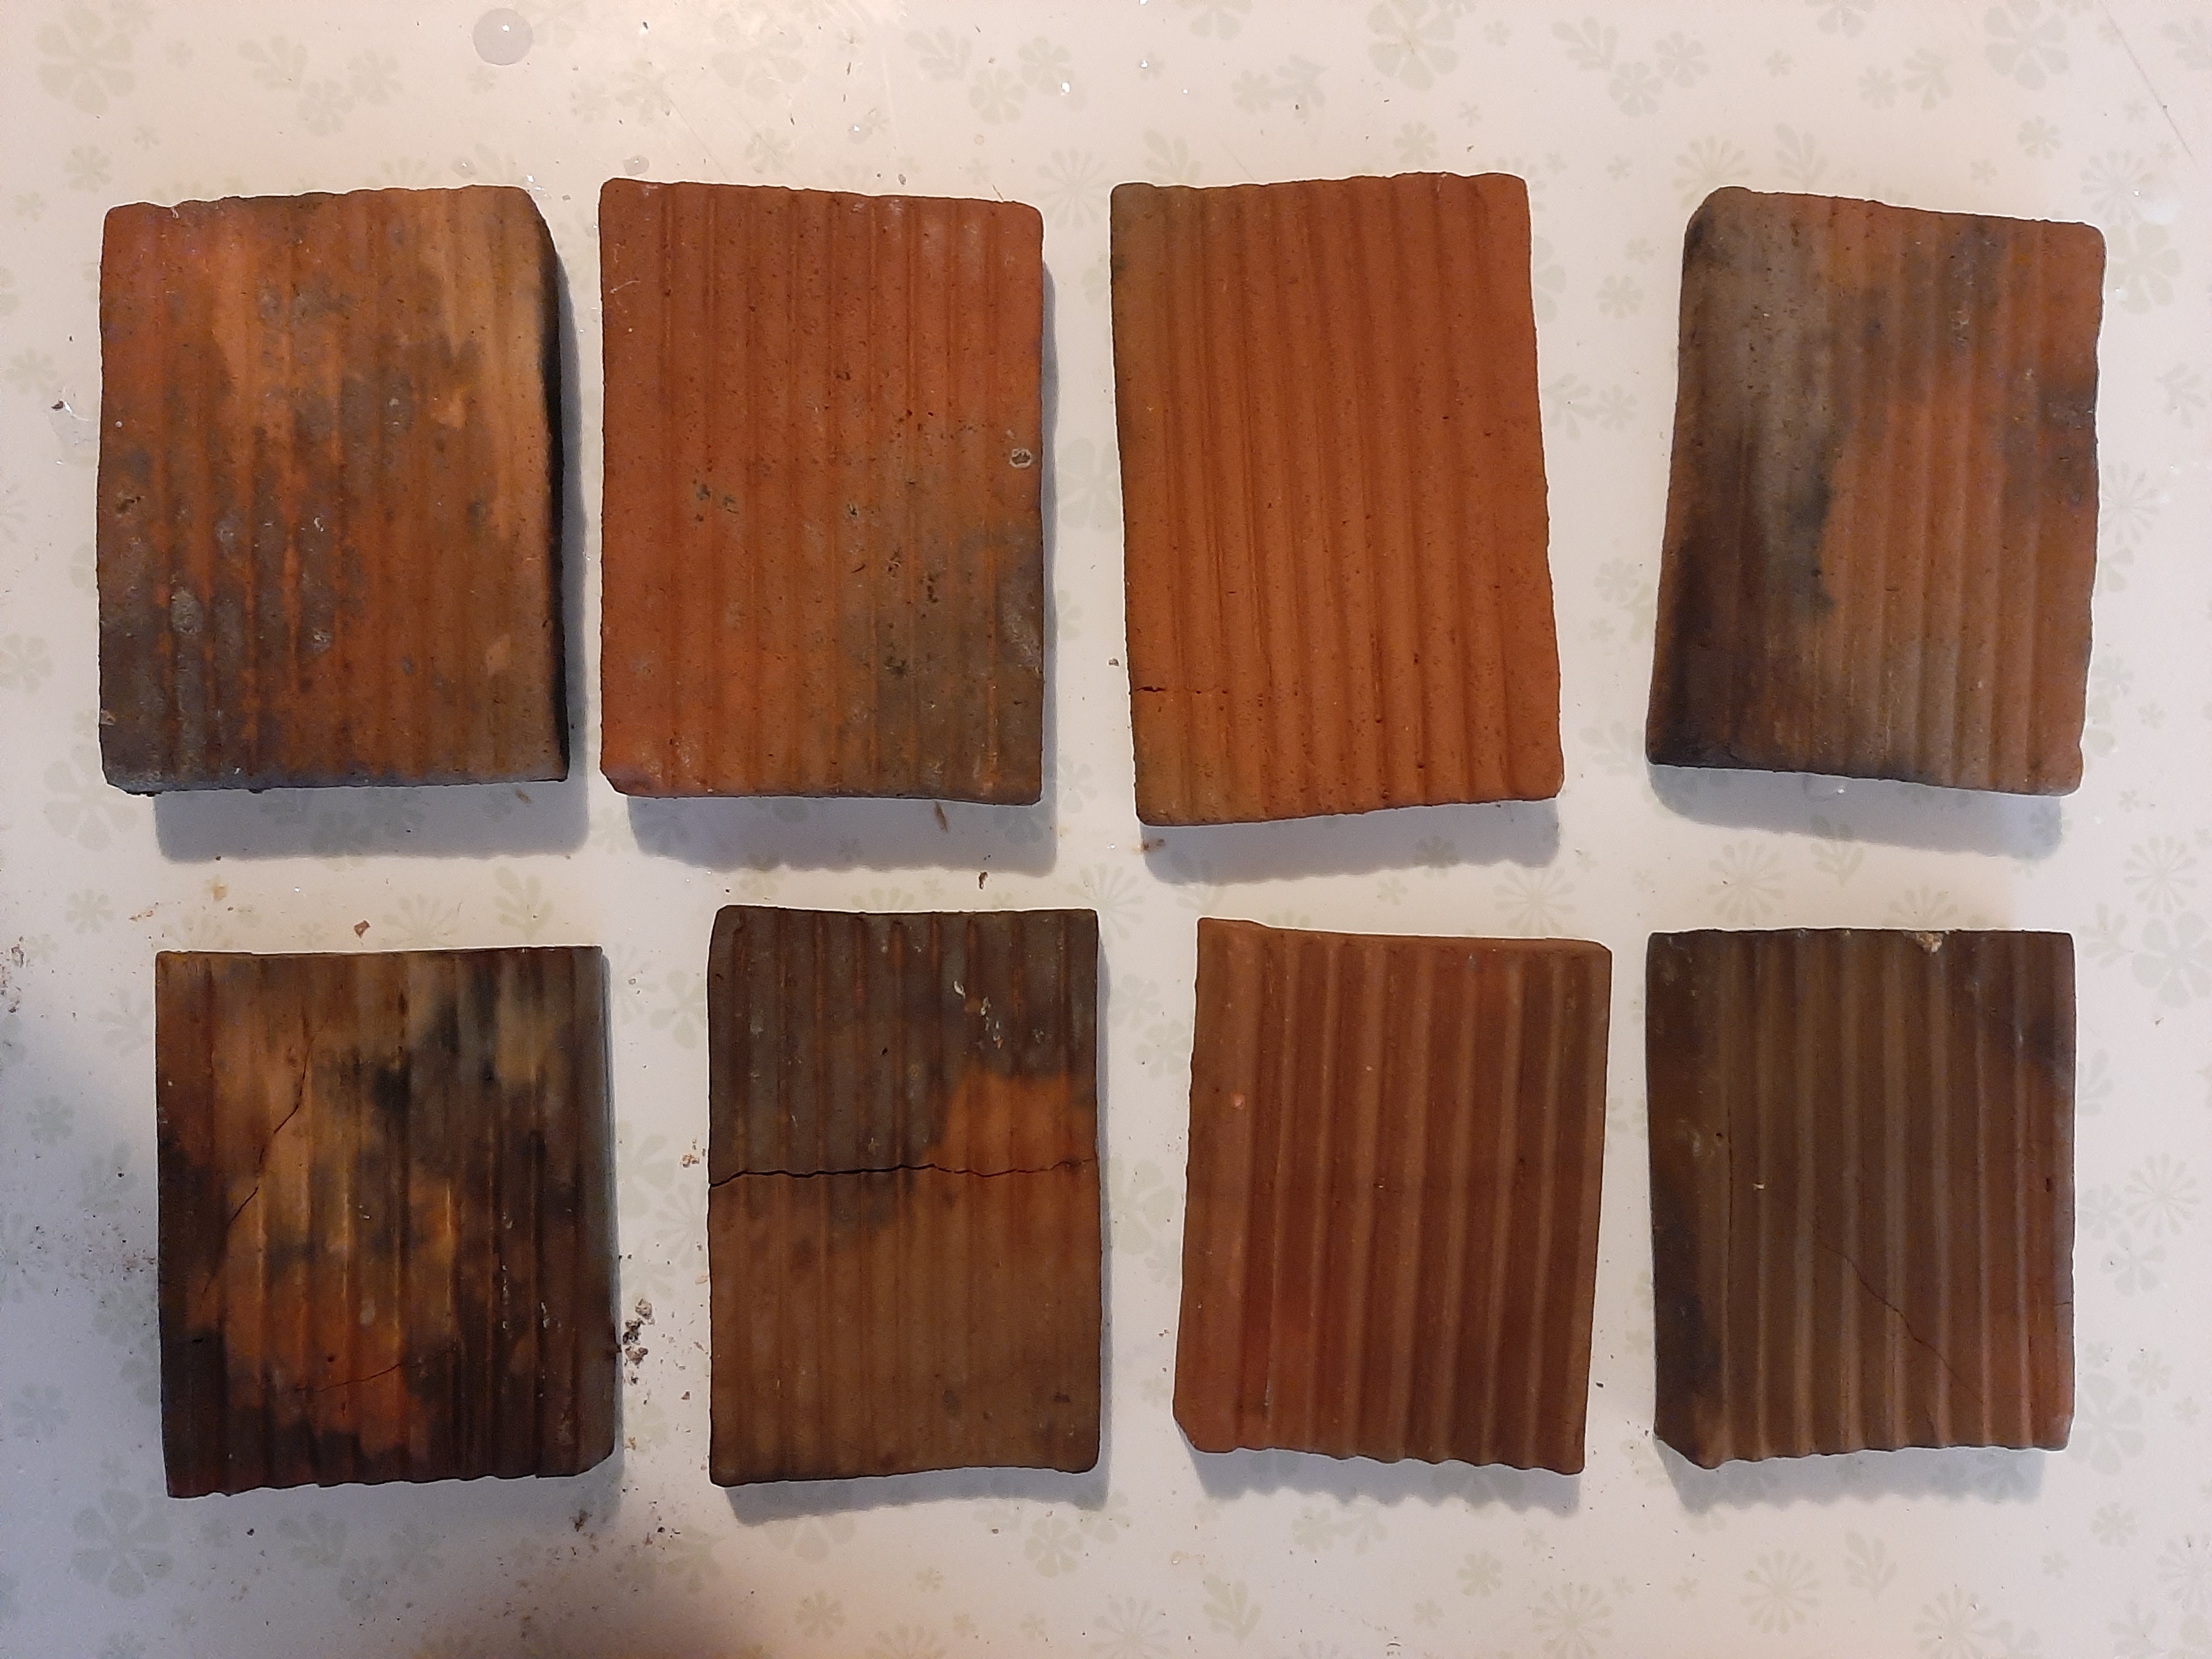
To promote more interesting effects, I also paint some of my pots with oxides. You can do this by mixing them with slip, as in the below examples (from top left: iron oxide slip painted on and design added sgraffito style, bands of iron oxide and copper carbonate slips, same pot fired, copper carbonate slip, cobalt oxide slip, band of iron oxide slip). I used 50:50 iron oxide to clay, and more like 1:20 for the copper carbonate and cobalt oxide since it sounds like they blacken very easily. The iron oxide gives a nice red; the others seem less predictable.

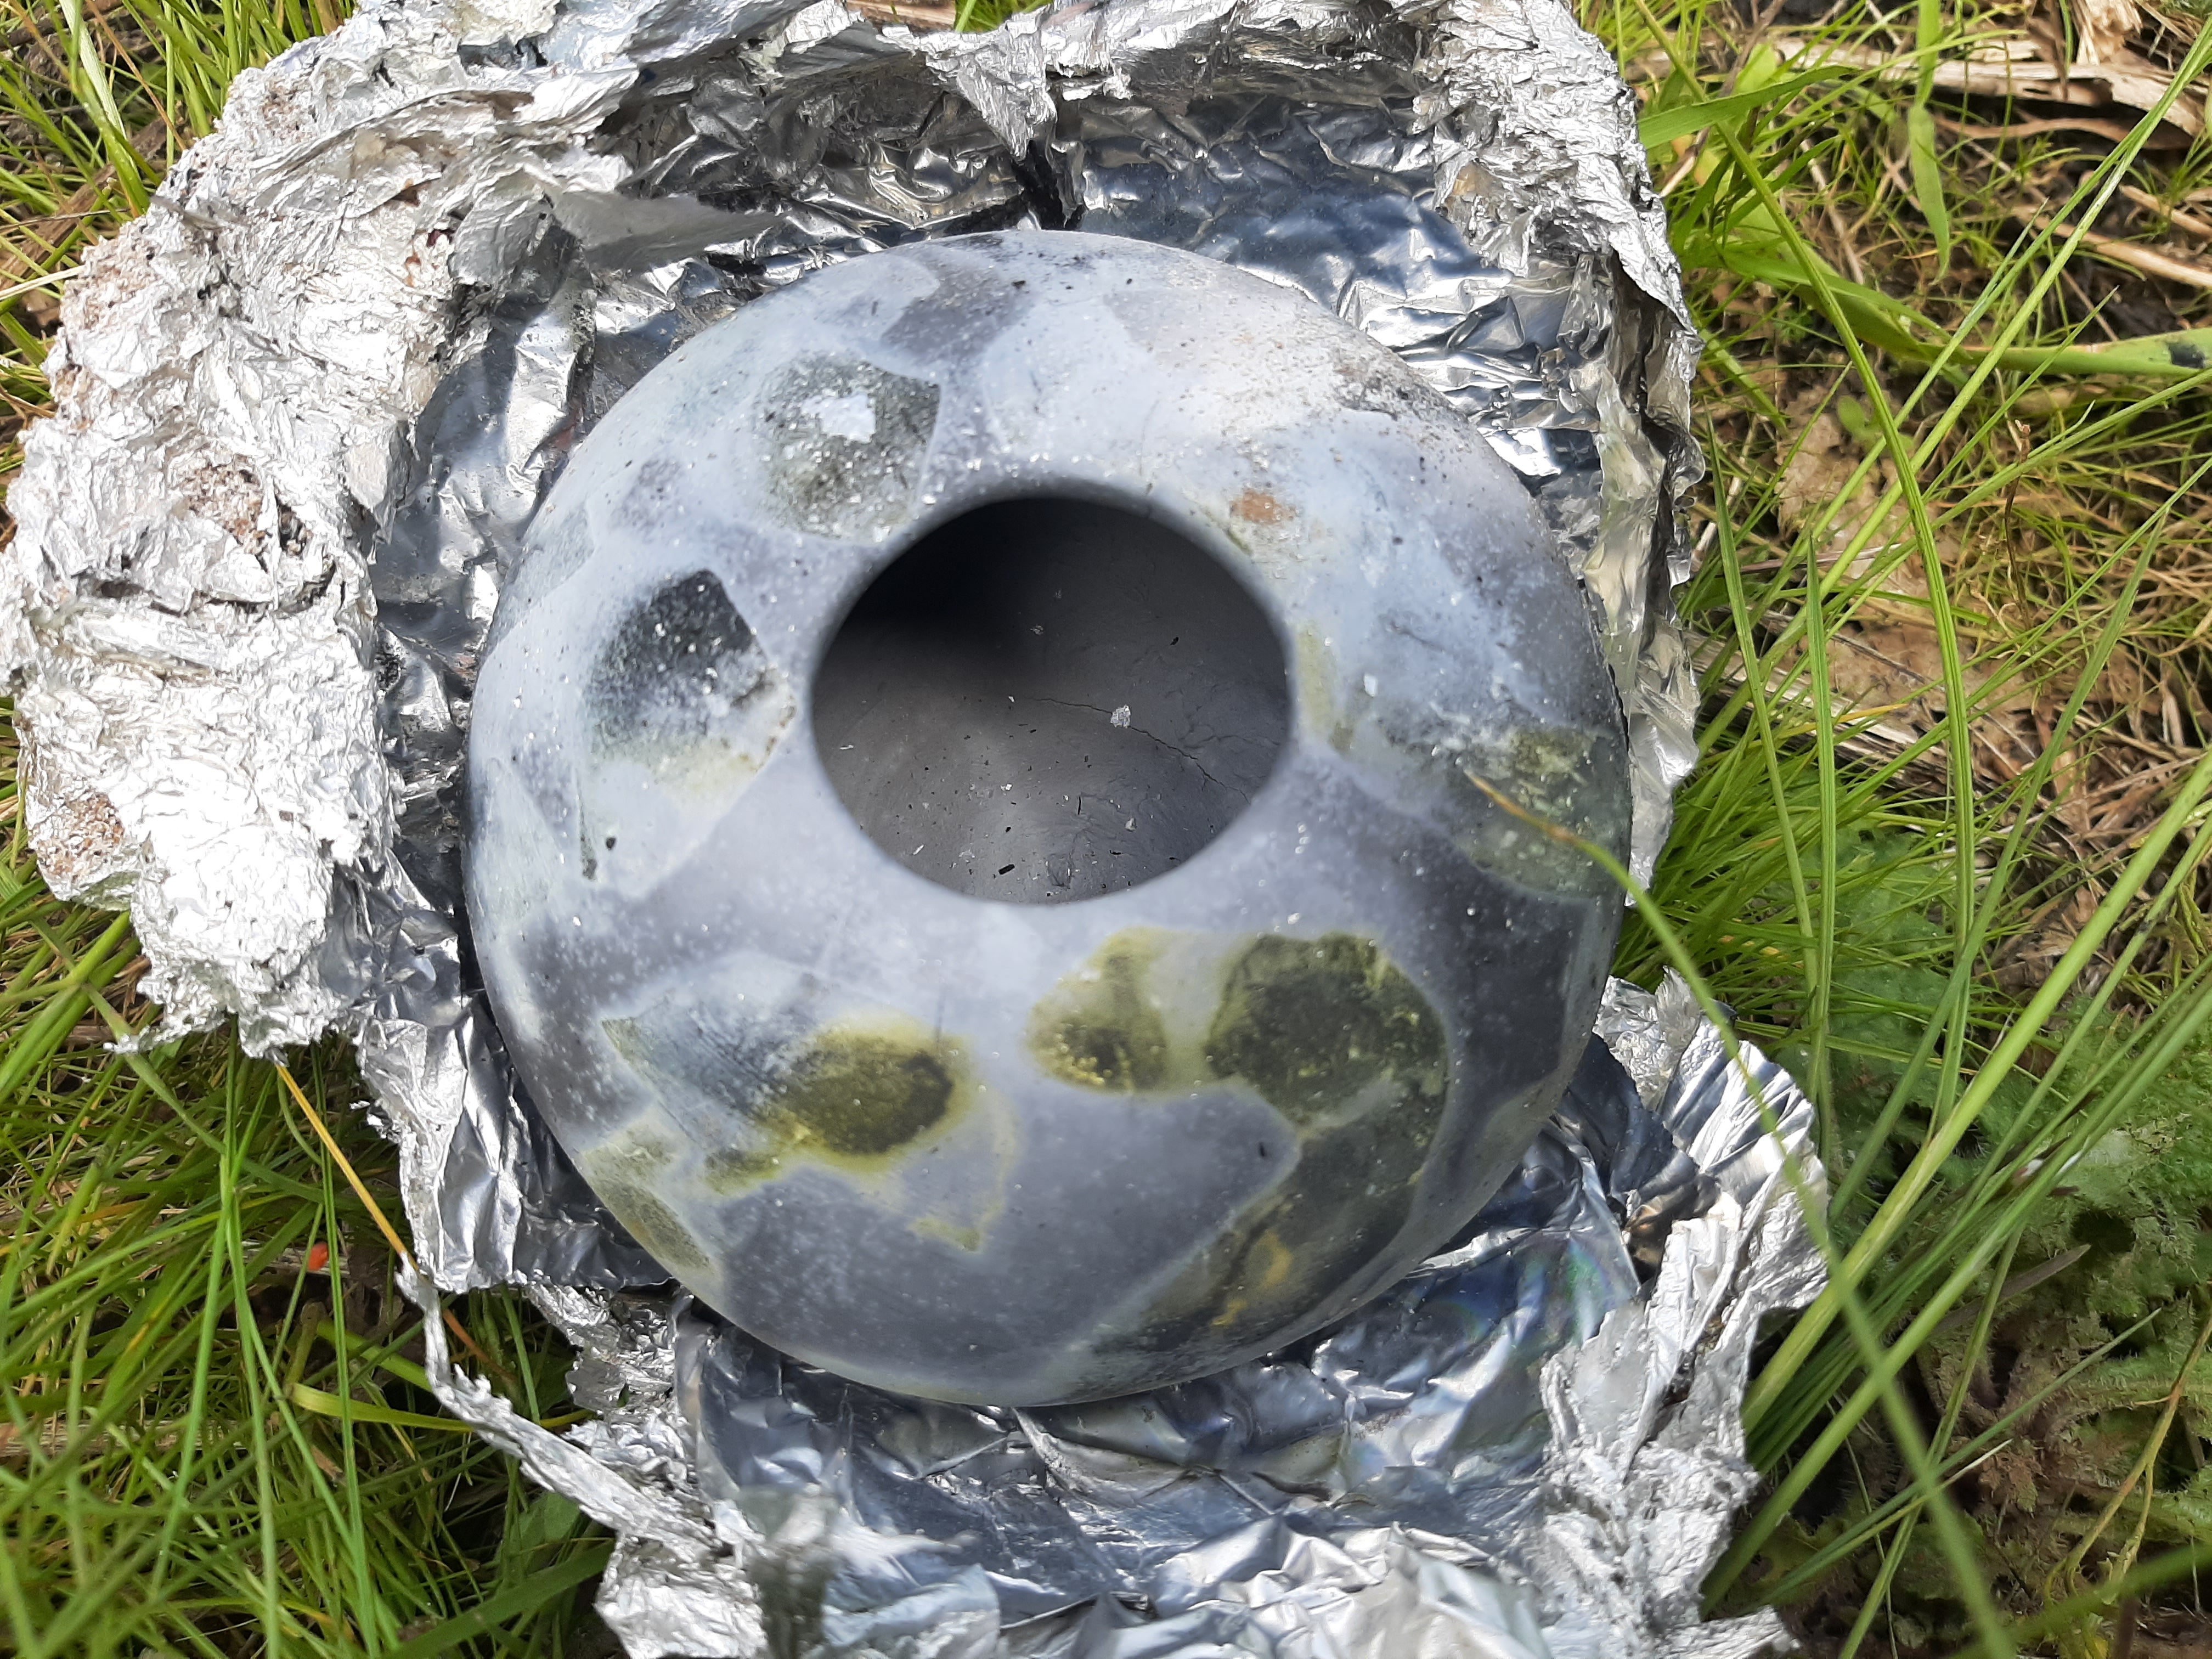
You can also just paint them on neat, which I did in rough brushstrokes on the below examples. Note: the top left pot showed some hints of green from the copper carbonate, which stayed after washing off the pot and I absolutely loved, and I was thrilled when the second one along which I did by the same method came out with these glorious green patches–but this time they washed off! Always unpredictable, I suppose. In my first (top-left) experiment, I put just a little organic material in with the pot, and got a really interesting mix of oxidations; in subsequent experiments, I suspect I put a little too much organic matter, which resulted in darker shades all around.

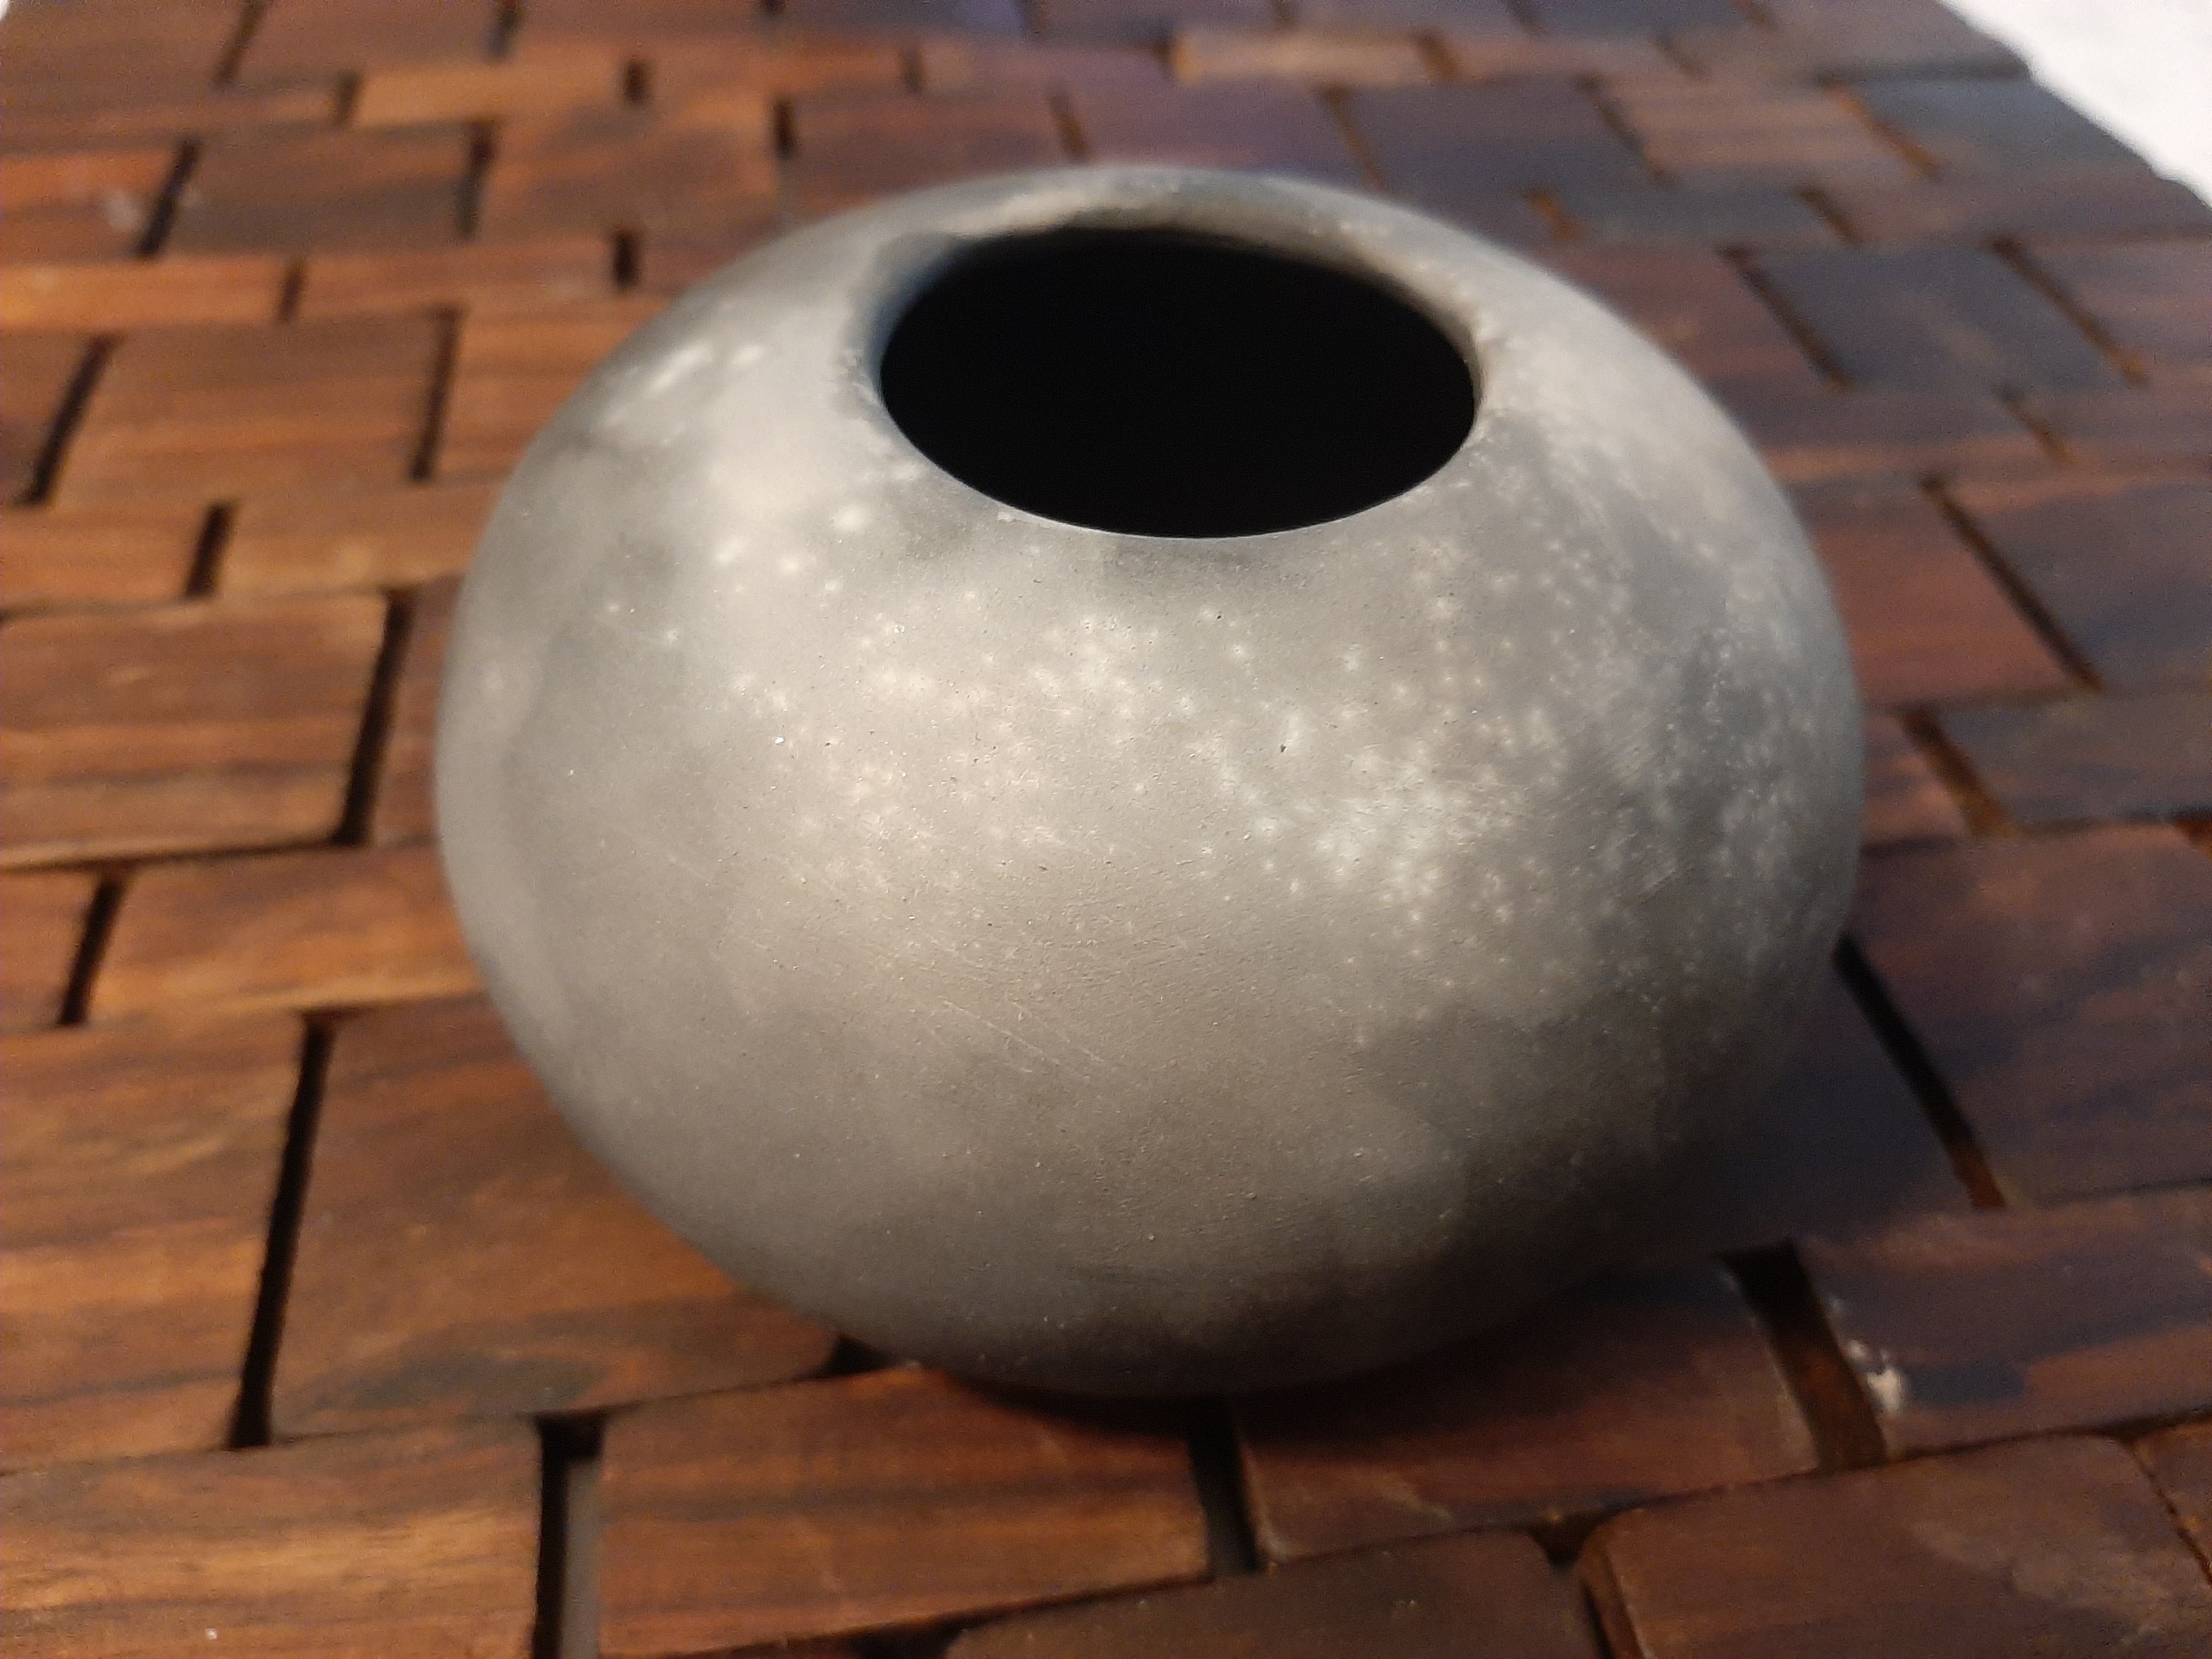
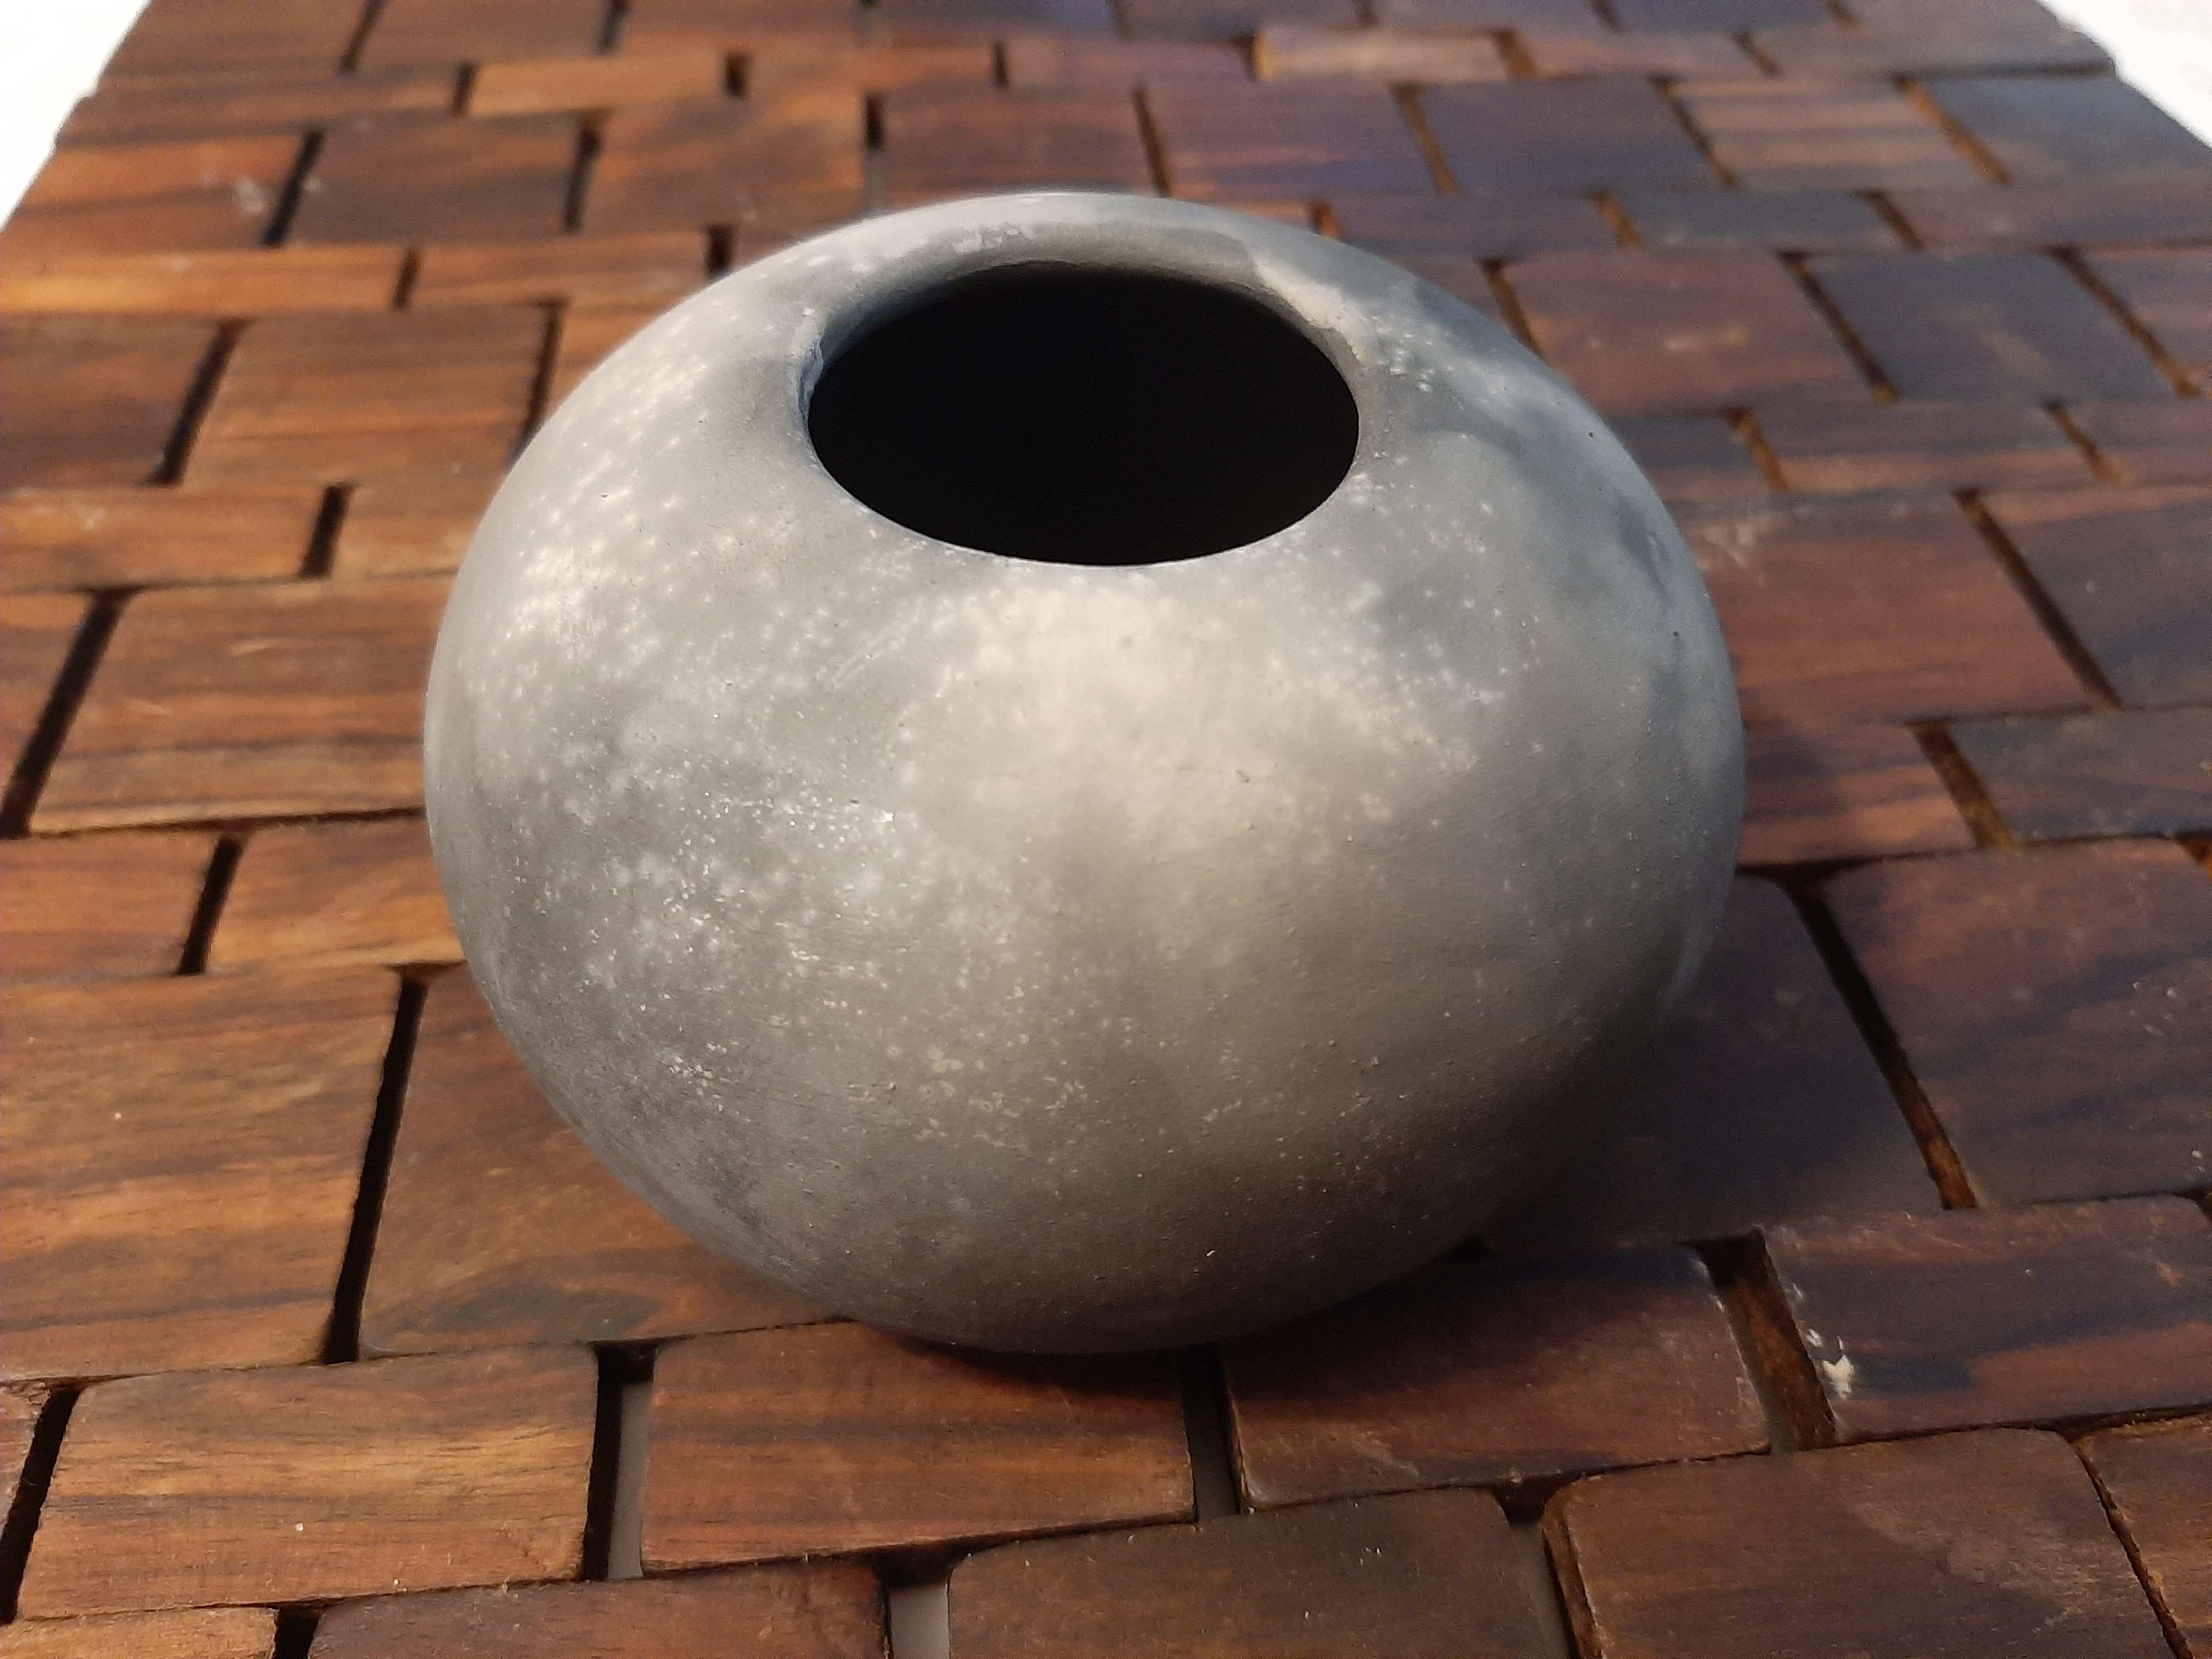
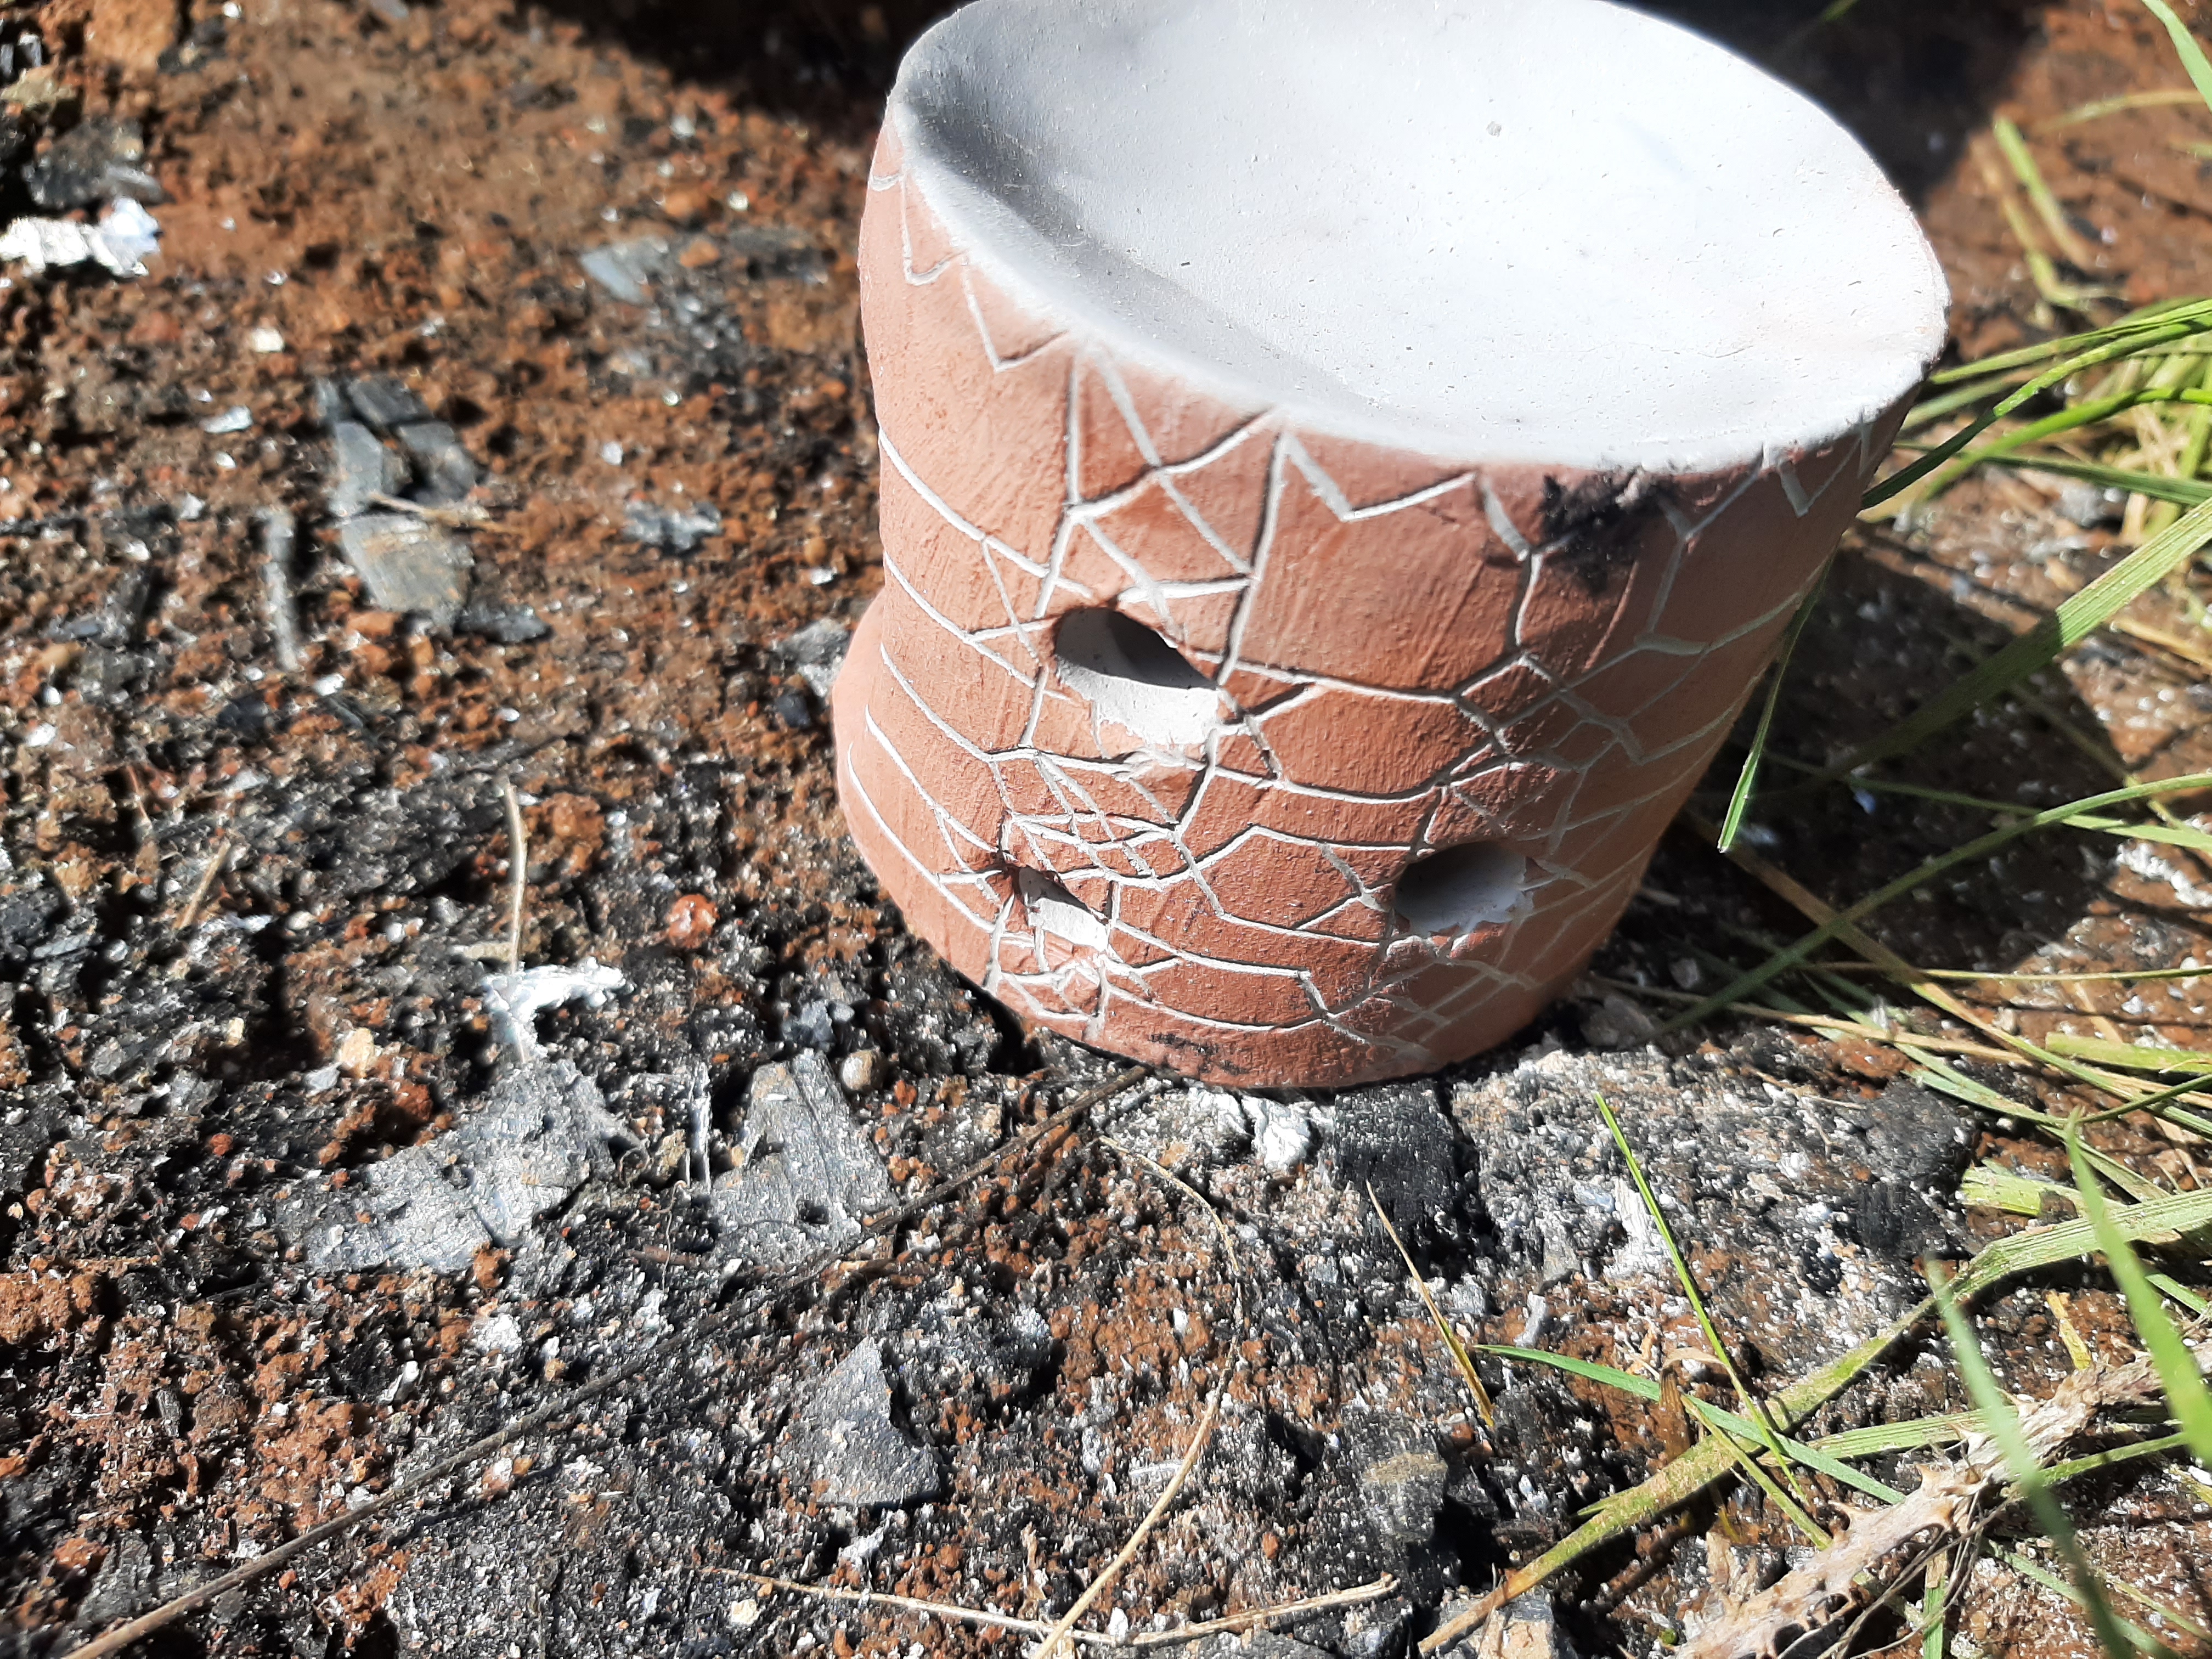
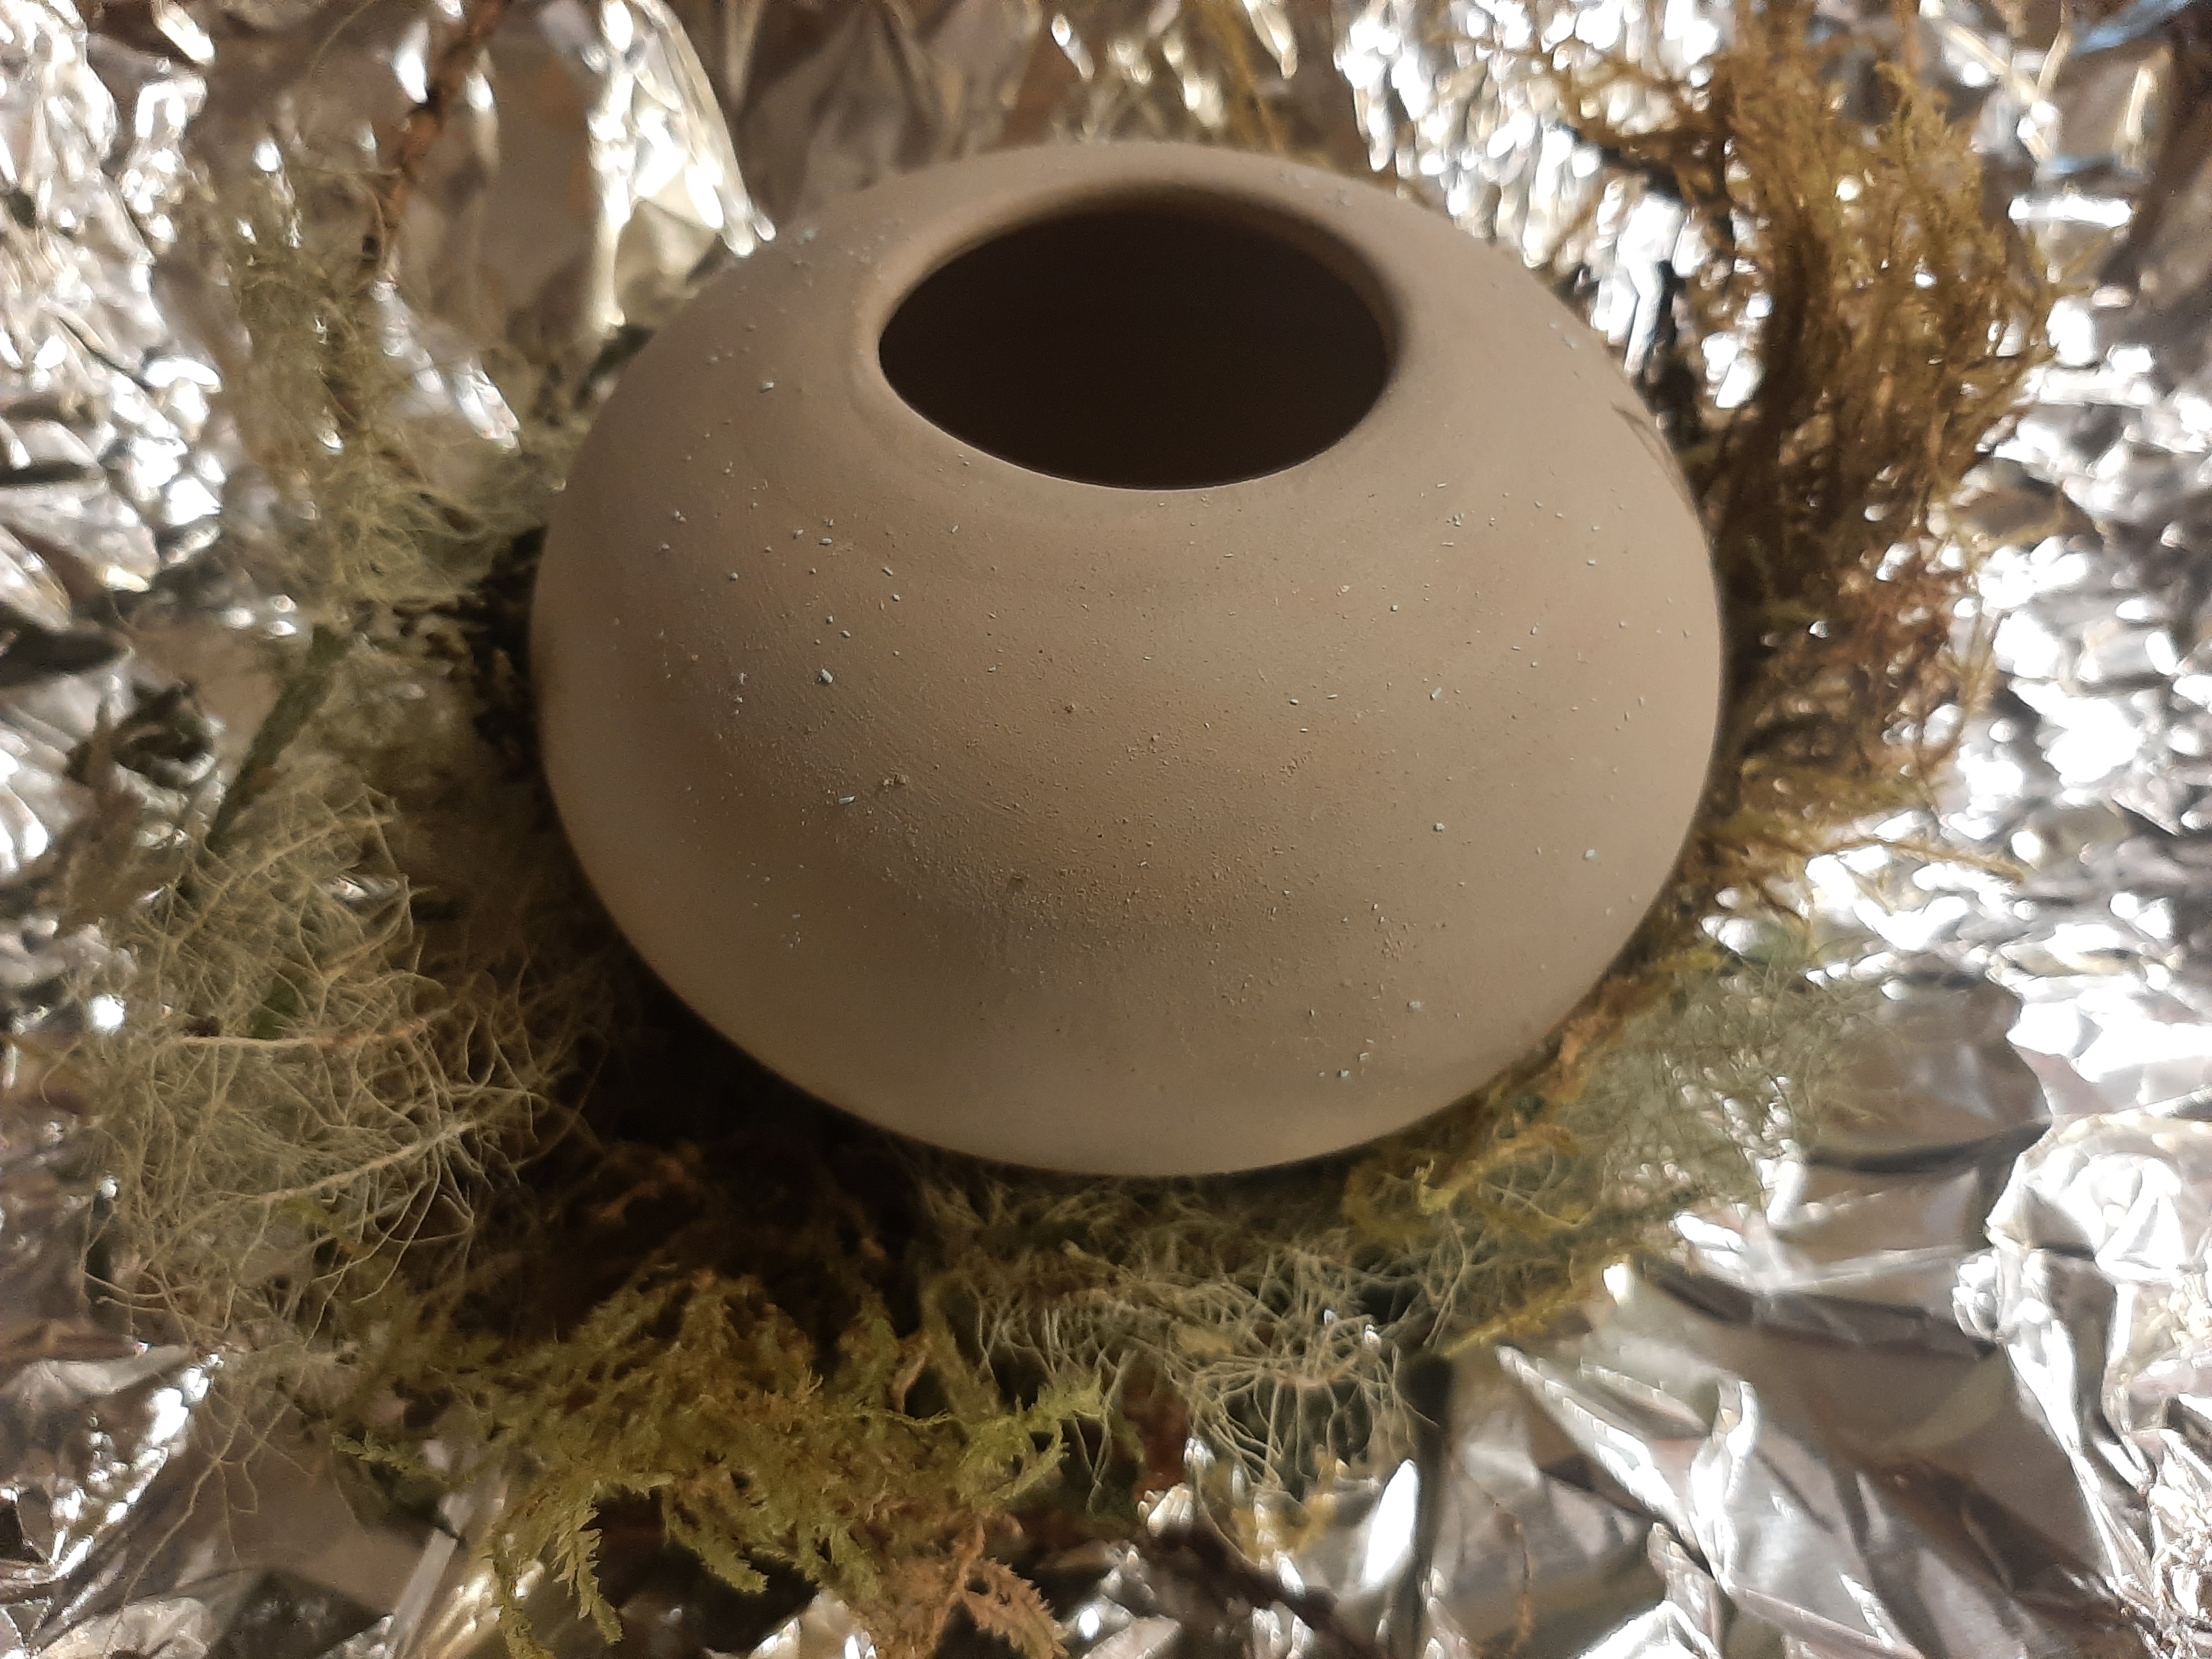
Finally, I recently started painting pots with a wash of copper sulphate–the kind used to kill slugs! This, for reasons I have yet to learn, creates some really interesting, crystalline, starry-looking effects. I noticed that the wash as it dries on the pots sometimes forms crystalline patterns; I also remember there being a few undissolved chunks left on one of the pots, and I wonder which of these created the effect.

Advertisement

Pit-firing pottery

I haven’t yet built myself a kiln, and all my pots are fired in a pit. This is less difficult than you might think! The fire needs to reach temperatures above 1000°F (around 540°C) for a sustained period (12 hours or more is good) to become pottery, and the higher you go the stronger the pots generally will become (though some clays, likely to include clay dug wild, can’t take really high temperatures, and might start to deform around 1900°F). This sounds daunting but bonfires can reach really high temperatures, and if you dig a pit for your fire then you give it a better chance to retain heat and stay at usefully high temperatures for longer. I use kindling, sawdust, logs, and a variety of oxides and other bits and pieces to create interesting effects. The pots have to be unglazed, since the ash, wood and so forth would stick to the glaze, so I use oxides to create interesting effects, plus the unpredictability of the fire makes for exciting results.

What this firing does is to remove the molecular water in the clay, while also burning off any remaining organic matter. You’ve already dried your pots very well (or should have, otherwise they’ll explode), so you’ve allowed all of the water to evaporate that you possibly can, so the water molecules in between the sheets of clay molecules have escaped (which is why the pieces shrink as they dry).

The firing then makes molecular changes to the clay that allow even more water to escape, and create far stronger bonds between the clay particles. Clay minerals are made up of sheets of tetrahedral silicon dioxide (SiO2) and octahedral aluminium oxide (Al2O3), which are linked together through bridging oxygen atoms. On the aluminium oxide surfaces of the ‘sheets,’ some of the oxygens can be found in the form of OH groups, and there are also OH groups within the structure. (Side note: there are two main types of clay minerals: those with one sheet each of the silicon and aluminium oxides and those with two sheets of silicon oxide enclosing a sheet of aluminium oxide. The most important of these is kaolinite, which is a 1:1 mix with plate-like particles stacked in layers linked by hydrogen bonds, though there is generally a mix of different minerals in a given clay.)

When the clay is heated to 1000°F and above, these OH groups combine and one oxygen and two hydrogen atoms are driven off in the form of water, leaving clay particles that are bonded more strongly by bridges of oxygen alone:

[clay]-OH + HO-[clay] → [clay]-O-[clay] + H2O(g) 

This is a gradual process, and the length of the firing affects how many bonds have been re-formed and thus how strong the piece will be. (Source for the above four paragraphs: Stephen Breuer 30 June 2012, “The Chemistry of Pottery,” RSC Education, accessed June 23, 2022, https://edu.rsc.org/feature/the-chemistry-of-pottery/2020245.article.)

To fire my pieces, I have dug myself a big hole in the ground. When a fire is thus contained, it is insulated by the ground around it which helps the temperatures to stay higher for longer–plus it’s safer, since the fire is well contained.

A hole

I start out by lining the hole with a couple of layers of kindling, plus sawdust. I have been using Western Redcedar; it’s known as good kindling, and I luckily acquired a whole bunch of sawdust from the same wood. I then pack my pieces in the pit, with kindling and sawdust all around them. I’ve recently been doing a lot of saggar firing: wrapping the pots in tinfoil with interesting organic matter and oxides (more on this in a later post), which creates interesting effects and also seems to provide a bit of protection against what can be a quite violent firing method. Without these wrappings, I’ve had pots heat too quickly on the outside, and lose chunks all over the outside. I infer that the tinfoil helps them to heat up more slowly and evenly and gives them a better change of survival. I used to fire a lot more pots bare, and I have the feeling that my land-dug clay actually weathers this better, but this is unconfirmed speculation.

Pots in fire, mostly wrapped, with one thrown in without

I then cover them well in sawdust, dry organic matter, pinecones and so forth, and build a fire with logs on top. The idea is that the fire on top burns and drops embers, which gradually ignite the sawdust below, such that the pit gradually heats.

I watch the fire for a while until it burns down; sometimes I then cover it, e.g. with turf, which helps to contain the fire, keep the heat in and create more intense oxidation effects. Sometimes I don’t. I then leave it, generally overnight, to burn down. NOTE: I only pit-fire during the wettest parts of the year, when the risk of the fire spreading is extremely low. Then I wait in trepidation, and set out with a trowel to dig them out the next day.

As you can see, on this occasion the one bare pot lost its outsides! As I said though, this doesn’t always happen and leaving them exposed to the fire can create some wonderful effects.

Here are some of the pots from this round:

In the next post, I will write a bit about the methods I use for firing with oxides. These pots are I think essentially bisque fired: fired at a low temperature, and still porous, though they will no longer dissolve in water! I make some flowerpots and vases and to make those usable, I just put them in the oven at home with a chunk of wax inside and roll it around until it melts all over and absorbs a little into the walls of the pot, and that to some extent seals the pot so that it will hold water better.

Home-tanning a sheepskin

I started out with a sheepskin that had been salted and dried, I believe right after slaughter.

The first step is to clean it, which is reasonably easy using a wire wheel. It’s important to take off the salt, the membrane, which is easy when it’s dry, and any remaining fat or flesh. It’s best if you can get the latter two off immediately since anything left behind will cause the skin to start degrading immediately which causes the hair to slip. Whether you can control that depends on where you’re getting your hides from, and it’s not the end of the world!

The next step is to soak and wash it. This is a serious business when a sheep has led a rich, adventurous life–this skin was muddy and full of burrs, and I went through several rounds of washing with dish soap, then shampoo and conditioner, as it turned progressively whiter–very satisfying.

Then, it needs to drain and be oiled. I use a shop-bought tanning oil, which works fine, though I’m interested in trying more traditional methods like brains! I towel-dried the wool to help it along, applied oil and let it sit folded skin-inward for 12 hours, then opened it out to start the drying process.

When drying, the key is to work and stretch the skin as it dries, to pull the fibres apart. As it dries, portions turn darker, at which point you can stretch the skin and it turns white as the fibres pull apart. If it dries too quickly this becomes really difficult and it’s best to just wet it again. I did this three times for this skin, re-oiling each time, before getting a result I was happy with.

The final step is to give the skin a good finish and trim it. I like to go over it one more time with the wire wheel to give it a soft surface–it’s best to do this before you trim, since it’s hard to get up close to the edge! The edges are often not as well stretched and conditioned as the rest, and it’s satisfying to trim off the scruffy edges. Finally, I gave this one a brush over to make it really fluffy.

How to dig and process clay: part 2

Once you have dug some soil, the next stage is to dry it out, completely. This is very important! Spread it out in a tray.

No photo description available.

Leave it for several days to really dry out. When it is completely dry, you can slake to mush. Add water to your very dry soil (it might help if you break up any big lumps), and let it sit for 12 hours or so. Left undisturbed, it will quietly dissolve. It’s quite strange how this happens, but it really works. You need to really resist stirring it for a few hours, and then the water works its way in and the mud just falls apart. it’s quite strange to see.

Once it has completely dissolved, you can get your hands in there and stir it around thoroughly, making sure it is completely combined with the water. What you have now is essentially a bucket of slip, with some interlopers: some pieces of organic matter, and some sand and silt. The good thing is that they will now reveal themselves!

Let your bucket sit for a short while. You don’t want it to settle too much, but this is a good opportunity to get out any big pieces and to let it become really homogenous.

Next up, you’re going to filter your mixture. You can buy filters that sit in the top of a bucket but while you’re getting started a large sieve will go a long way. I use a 120 mesh sieve from a ceramics shop. Pour the layer of watery clay through the sieve.

It might take a while to go through, and moving it around with your hands is really helpful. A clay particle is something like 0.002 mm across, so you can use a pretty fine mesh.

Here’s what was left in my sieve after filtering two small buckets of mud

Once your slip is filtered, you can leave it in a bucket or tray to settle. When it’s had a good while to settle, you’ll see clear water on top, which you can then pour off. Then you can leave it in the sun or a warm place to dry out a bit. Test it every now and again to see what the consistency’s like, and when it’s at the stage you want it to be for working, bag it up.

How to dig and process clay: part 1

PART 1: acquiring the clay

There’s a *lot* of great clay around Oregon. I first started on this mission because I found some veins of perfect, thick, sticky grey clay on our land, and it just looked like what you’d buy in a bag from a craft supply shop.

I met a ceramicist once who argued that there is no hard line between mud and clay. Mud, or soil, always includes a certain proportion of clay particles. Soil is a composed of five ingredients: minerals, soil organic matter, living organisms, gas, and water.

That mineral component is the largest, and is divided into three size classes: clay, silt, and sand (Figure 1). The percentages of particles in each of these three size classes is what makes up the soil’s texture. Because of their size, those tiny clay particles make for a very dense, sticky substance.

Source: “Different Types of Soil – Sand, Silt, Clay and Loam,” The Constructor, September 26, 2018, https://theconstructor.org/building/soil-types-sand-silt-clay-loam/25208/.

If you want to produce something that is easy to work and is strong, you’ll want to look for a soil with a high clay content, and then do some filtering so that you end up with a greater proportion of those tiny particles.

Look for areas where water sits on top of the ground and doesn’t drain away easily. That’s a sign of a high clay content, because it suggests that the soil isn’t very porous. There’s usually somewhere between 8 and 18 inches of topsoil before a layer of dense clay, so if you’re digging for some reason, that’s a good opportunity to acquire some clay-rich soil. Here in Oregon, there is a lot of clay-rich soil, and I happen to have a piece of ground that got totally turned over recently, which has given me a great opportunity to access good clay. You can see that the section in the middle is grey and sticky-looking, and isn’t supporting as many plants as the areas around it!

There are better and worse soils to start with, but actually I’ve had awesome success with quite different kinds. My stepdaughter found some amazing black mud on a hike and we gave that a try, and it was weird as anything to shape but it fired beautifully, with some obvious texture and some amazing red hues. If there’s a lot of organic matter in it that’ll give you problems (though we’ll get the biggest bits out in the next step), and the grey sticky stuff is the easiest to model with and will give the strongest results, but I encourage experimentation.