I haven’t yet built myself a kiln, and all my pots are fired in a pit. This is less difficult than you might think! The fire needs to reach temperatures above 1000°F (around 540°C) for a sustained period (12 hours or more is good) to become pottery, and the higher you go the stronger the pots generally will become (though some clays, likely to include clay dug wild, can’t take really high temperatures, and might start to deform around 1900°F). This sounds daunting but bonfires can reach really high temperatures, and if you dig a pit for your fire then you give it a better chance to retain heat and stay at usefully high temperatures for longer. I use kindling, sawdust, logs, and a variety of oxides and other bits and pieces to create interesting effects. The pots have to be unglazed, since the ash, wood and so forth would stick to the glaze, so I use oxides to create interesting effects, plus the unpredictability of the fire makes for exciting results.
What this firing does is to remove the molecular water in the clay, while also burning off any remaining organic matter. You’ve already dried your pots very well (or should have, otherwise they’ll explode), so you’ve allowed all of the water to evaporate that you possibly can, so the water molecules in between the sheets of clay molecules have escaped (which is why the pieces shrink as they dry).
The firing then makes molecular changes to the clay that allow even more water to escape, and create far stronger bonds between the clay particles. Clay minerals are made up of sheets of tetrahedral silicon dioxide (SiO2) and octahedral aluminium oxide (Al2O3), which are linked together through bridging oxygen atoms. On the aluminium oxide surfaces of the ‘sheets,’ some of the oxygens can be found in the form of OH groups, and there are also OH groups within the structure. (Side note: there are two main types of clay minerals: those with one sheet each of the silicon and aluminium oxides and those with two sheets of silicon oxide enclosing a sheet of aluminium oxide. The most important of these is kaolinite, which is a 1:1 mix with plate-like particles stacked in layers linked by hydrogen bonds, though there is generally a mix of different minerals in a given clay.)
When the clay is heated to 1000°F and above, these OH groups combine and one oxygen and two hydrogen atoms are driven off in the form of water, leaving clay particles that are bonded more strongly by bridges of oxygen alone:
[clay]-OH + HO-[clay] → [clay]-O-[clay] + H2O(g)
This is a gradual process, and the length of the firing affects how many bonds have been re-formed and thus how strong the piece will be. (Source for the above four paragraphs: Stephen Breuer 30 June 2012, “The Chemistry of Pottery,” RSC Education, accessed June 23, 2022, https://edu.rsc.org/feature/the-chemistry-of-pottery/2020245.article.)
To fire my pieces, I have dug myself a big hole in the ground. When a fire is thus contained, it is insulated by the ground around it which helps the temperatures to stay higher for longer–plus it’s safer, since the fire is well contained.

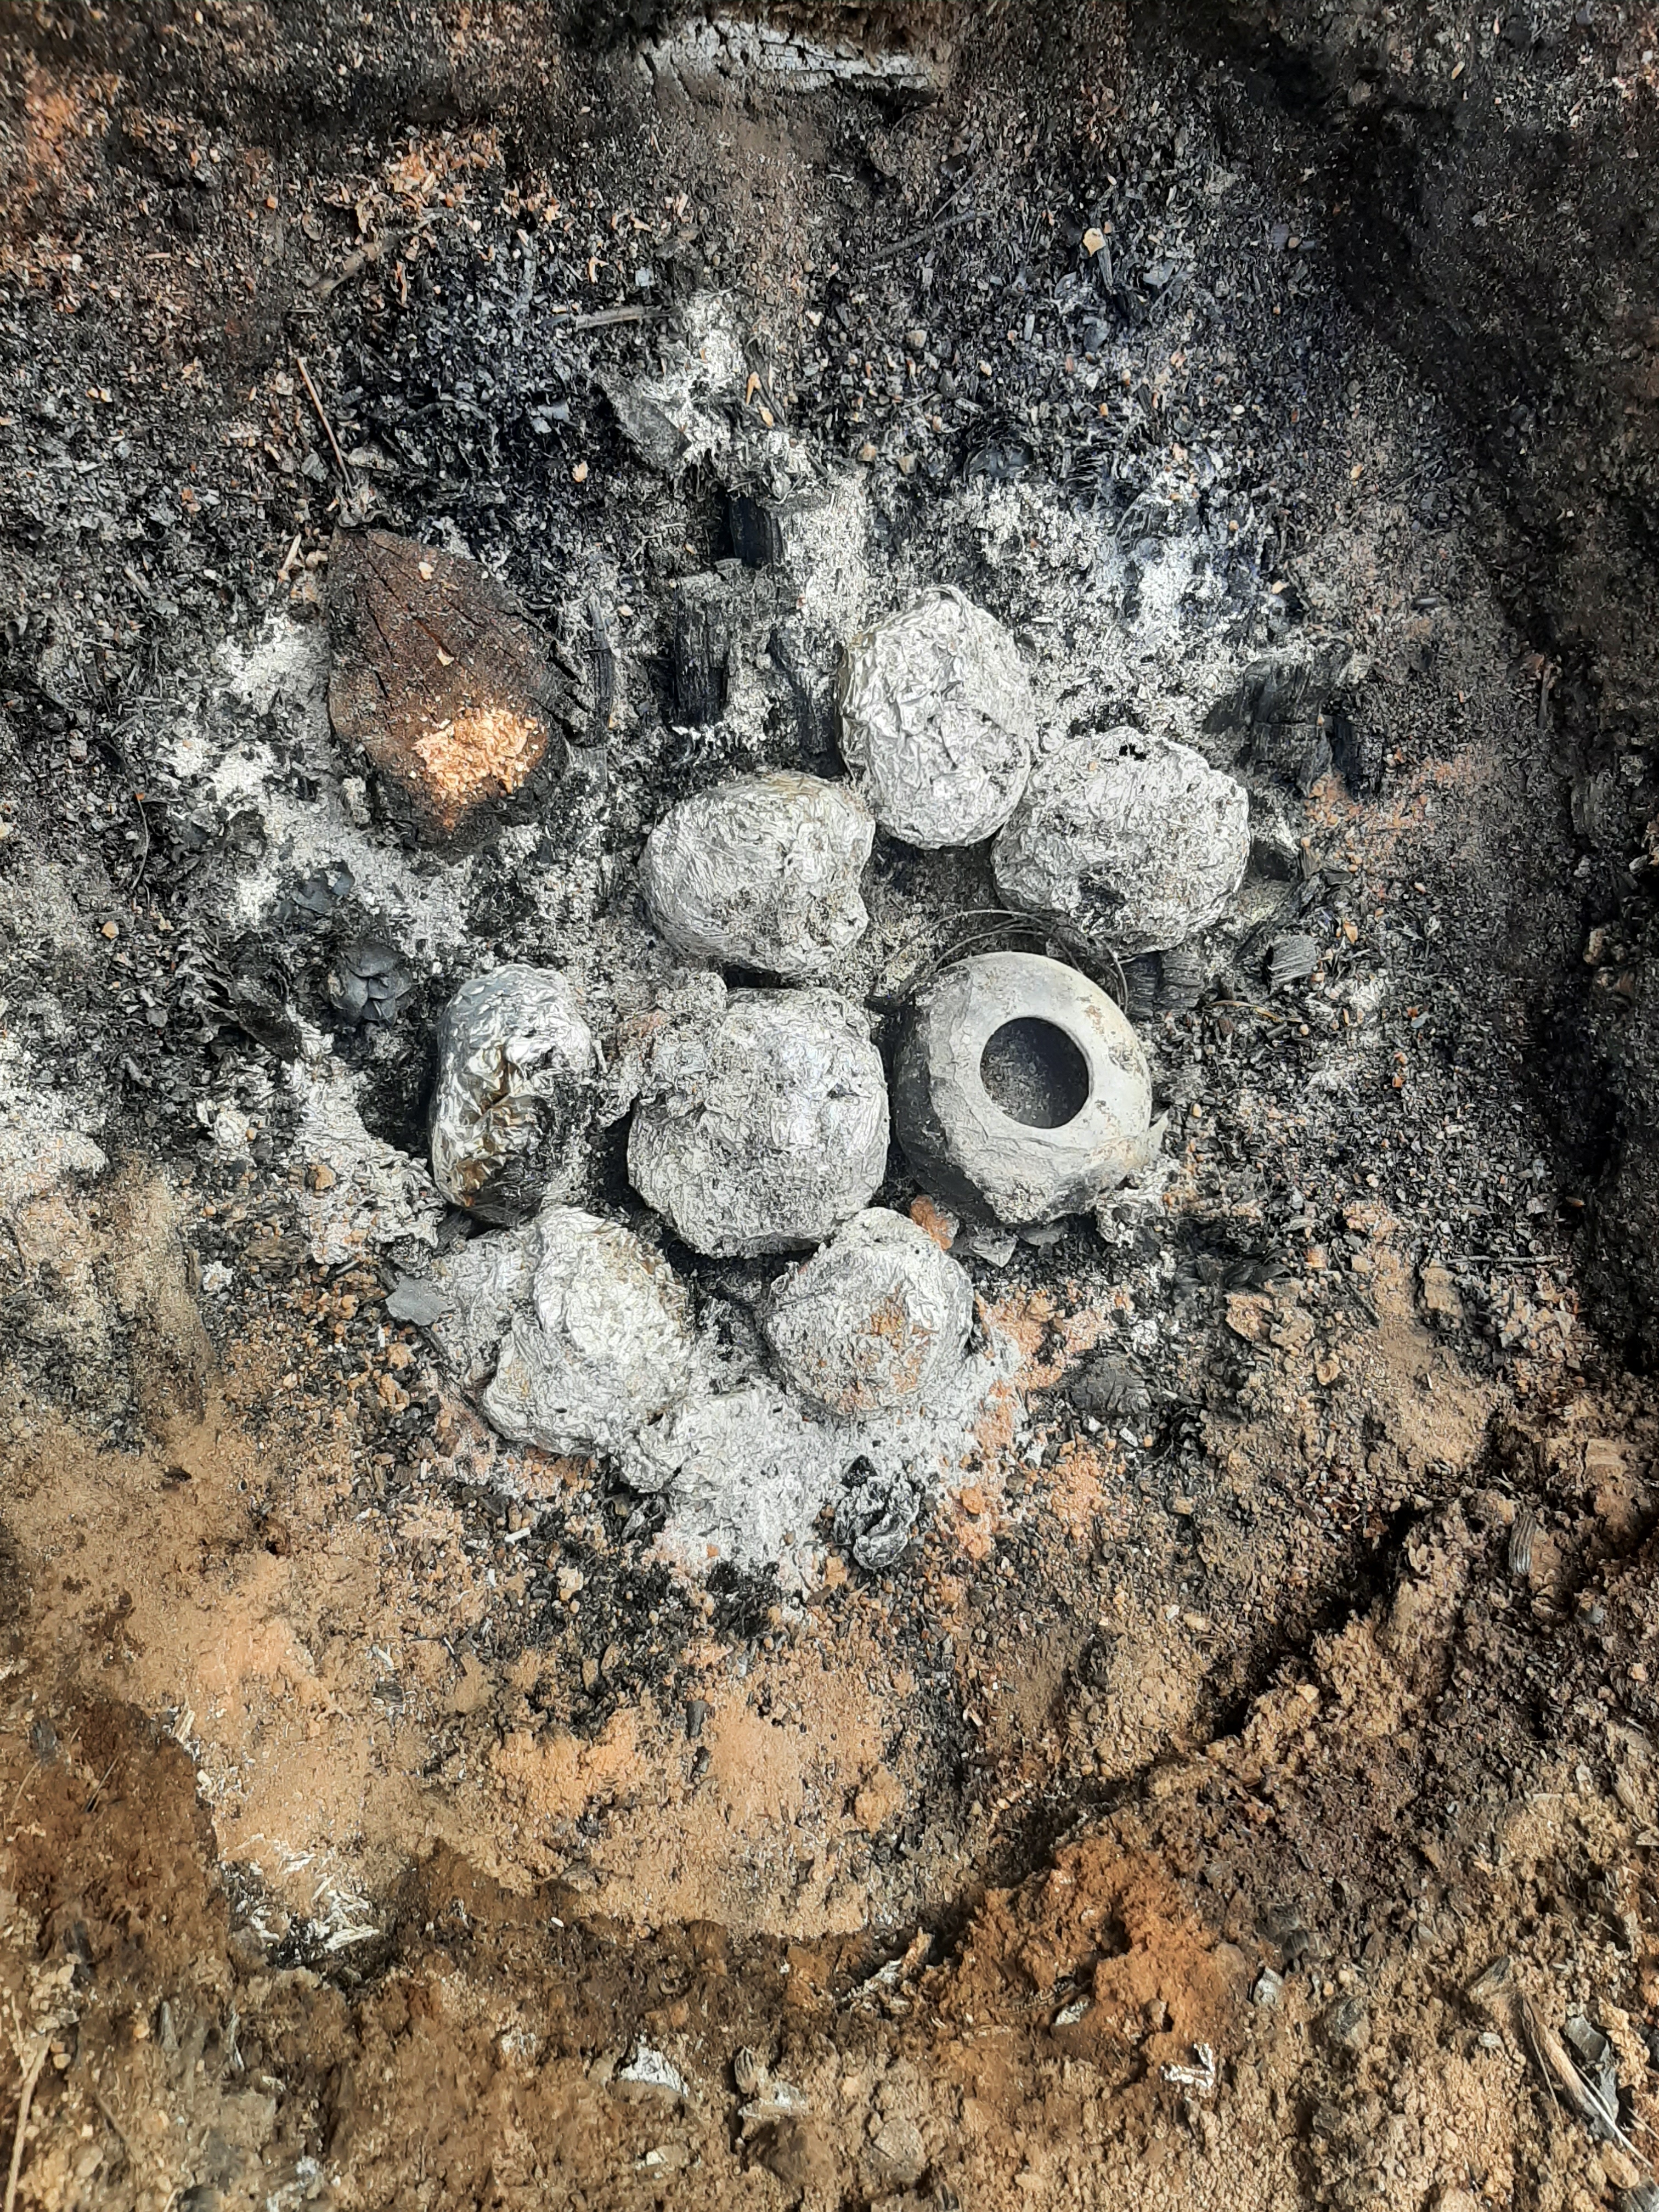
I start out by lining the hole with a couple of layers of kindling, plus sawdust. I have been using Western Redcedar; it’s known as good kindling, and I luckily acquired a whole bunch of sawdust from the same wood. I then pack my pieces in the pit, with kindling and sawdust all around them. I’ve recently been doing a lot of saggar firing: wrapping the pots in tinfoil with interesting organic matter and oxides (more on this in a later post), which creates interesting effects and also seems to provide a bit of protection against what can be a quite violent firing method. Without these wrappings, I’ve had pots heat too quickly on the outside, and lose chunks all over the outside. I infer that the tinfoil helps them to heat up more slowly and evenly and gives them a better change of survival. I used to fire a lot more pots bare, and I have the feeling that my land-dug clay actually weathers this better, but this is unconfirmed speculation.

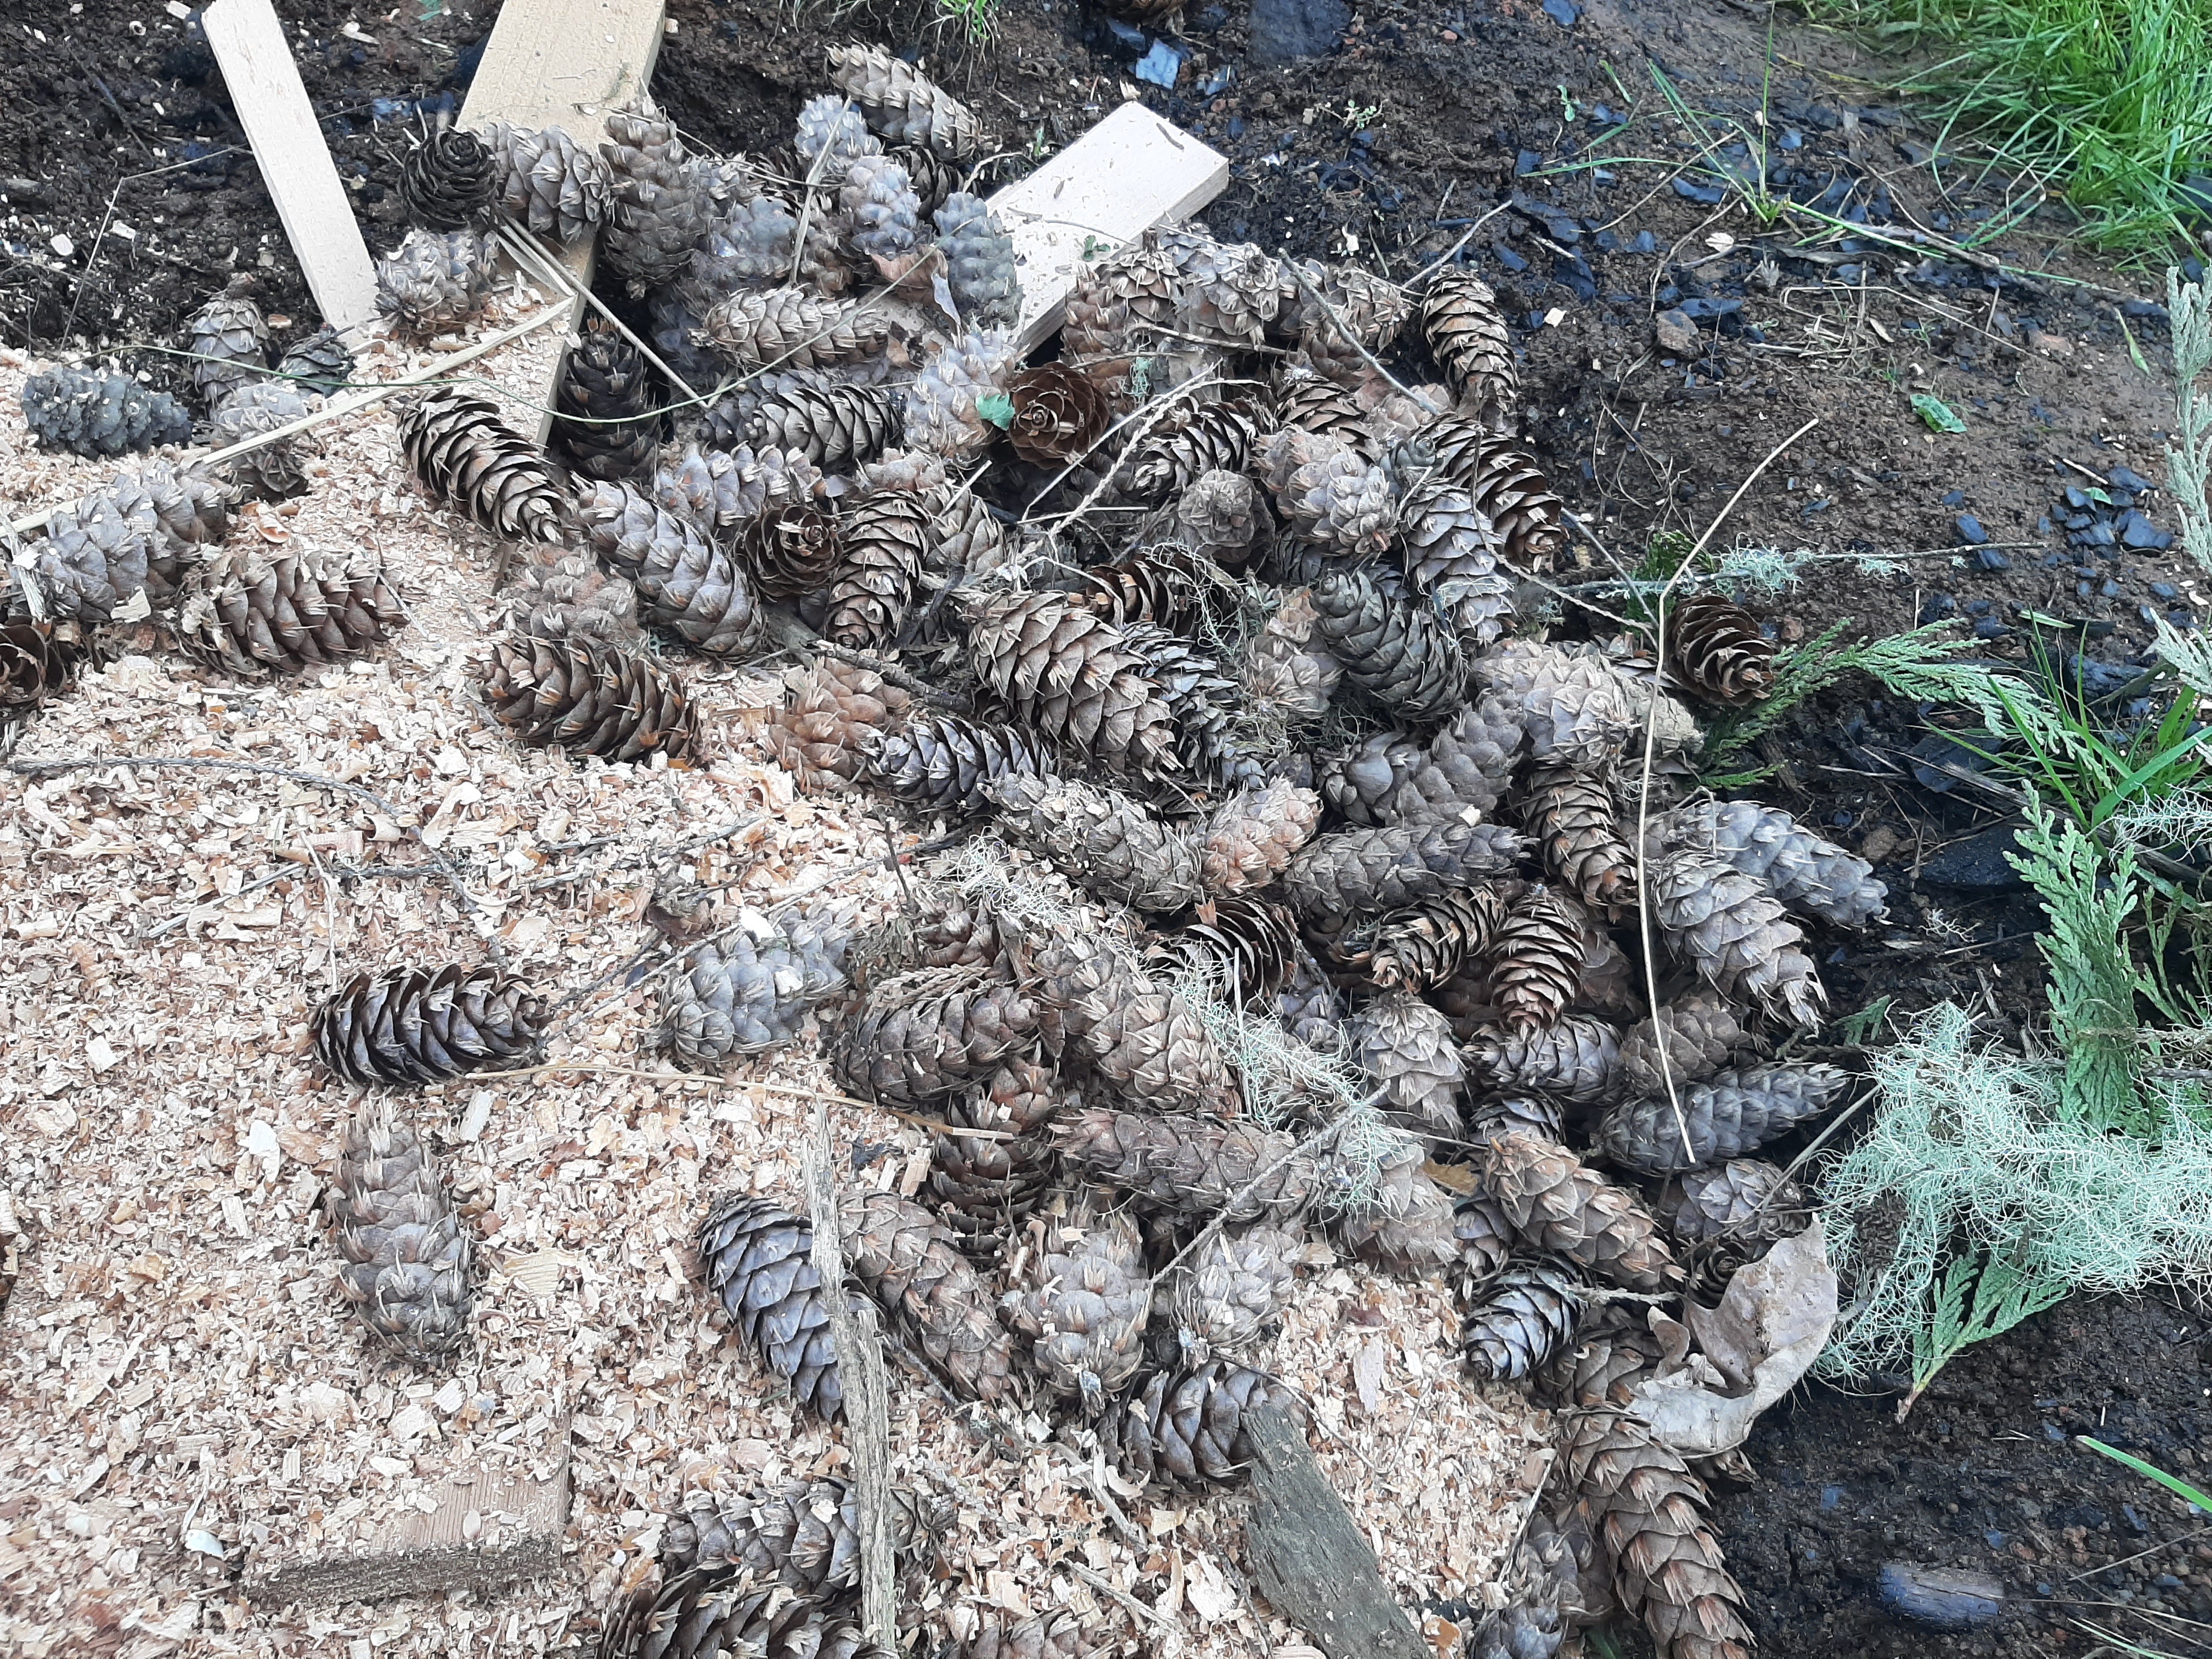
I then cover them well in sawdust, dry organic matter, pinecones and so forth, and build a fire with logs on top. The idea is that the fire on top burns and drops embers, which gradually ignite the sawdust below, such that the pit gradually heats.


I watch the fire for a while until it burns down; sometimes I then cover it, e.g. with turf, which helps to contain the fire, keep the heat in and create more intense oxidation effects. Sometimes I don’t. I then leave it, generally overnight, to burn down. NOTE: I only pit-fire during the wettest parts of the year, when the risk of the fire spreading is extremely low. Then I wait in trepidation, and set out with a trowel to dig them out the next day.
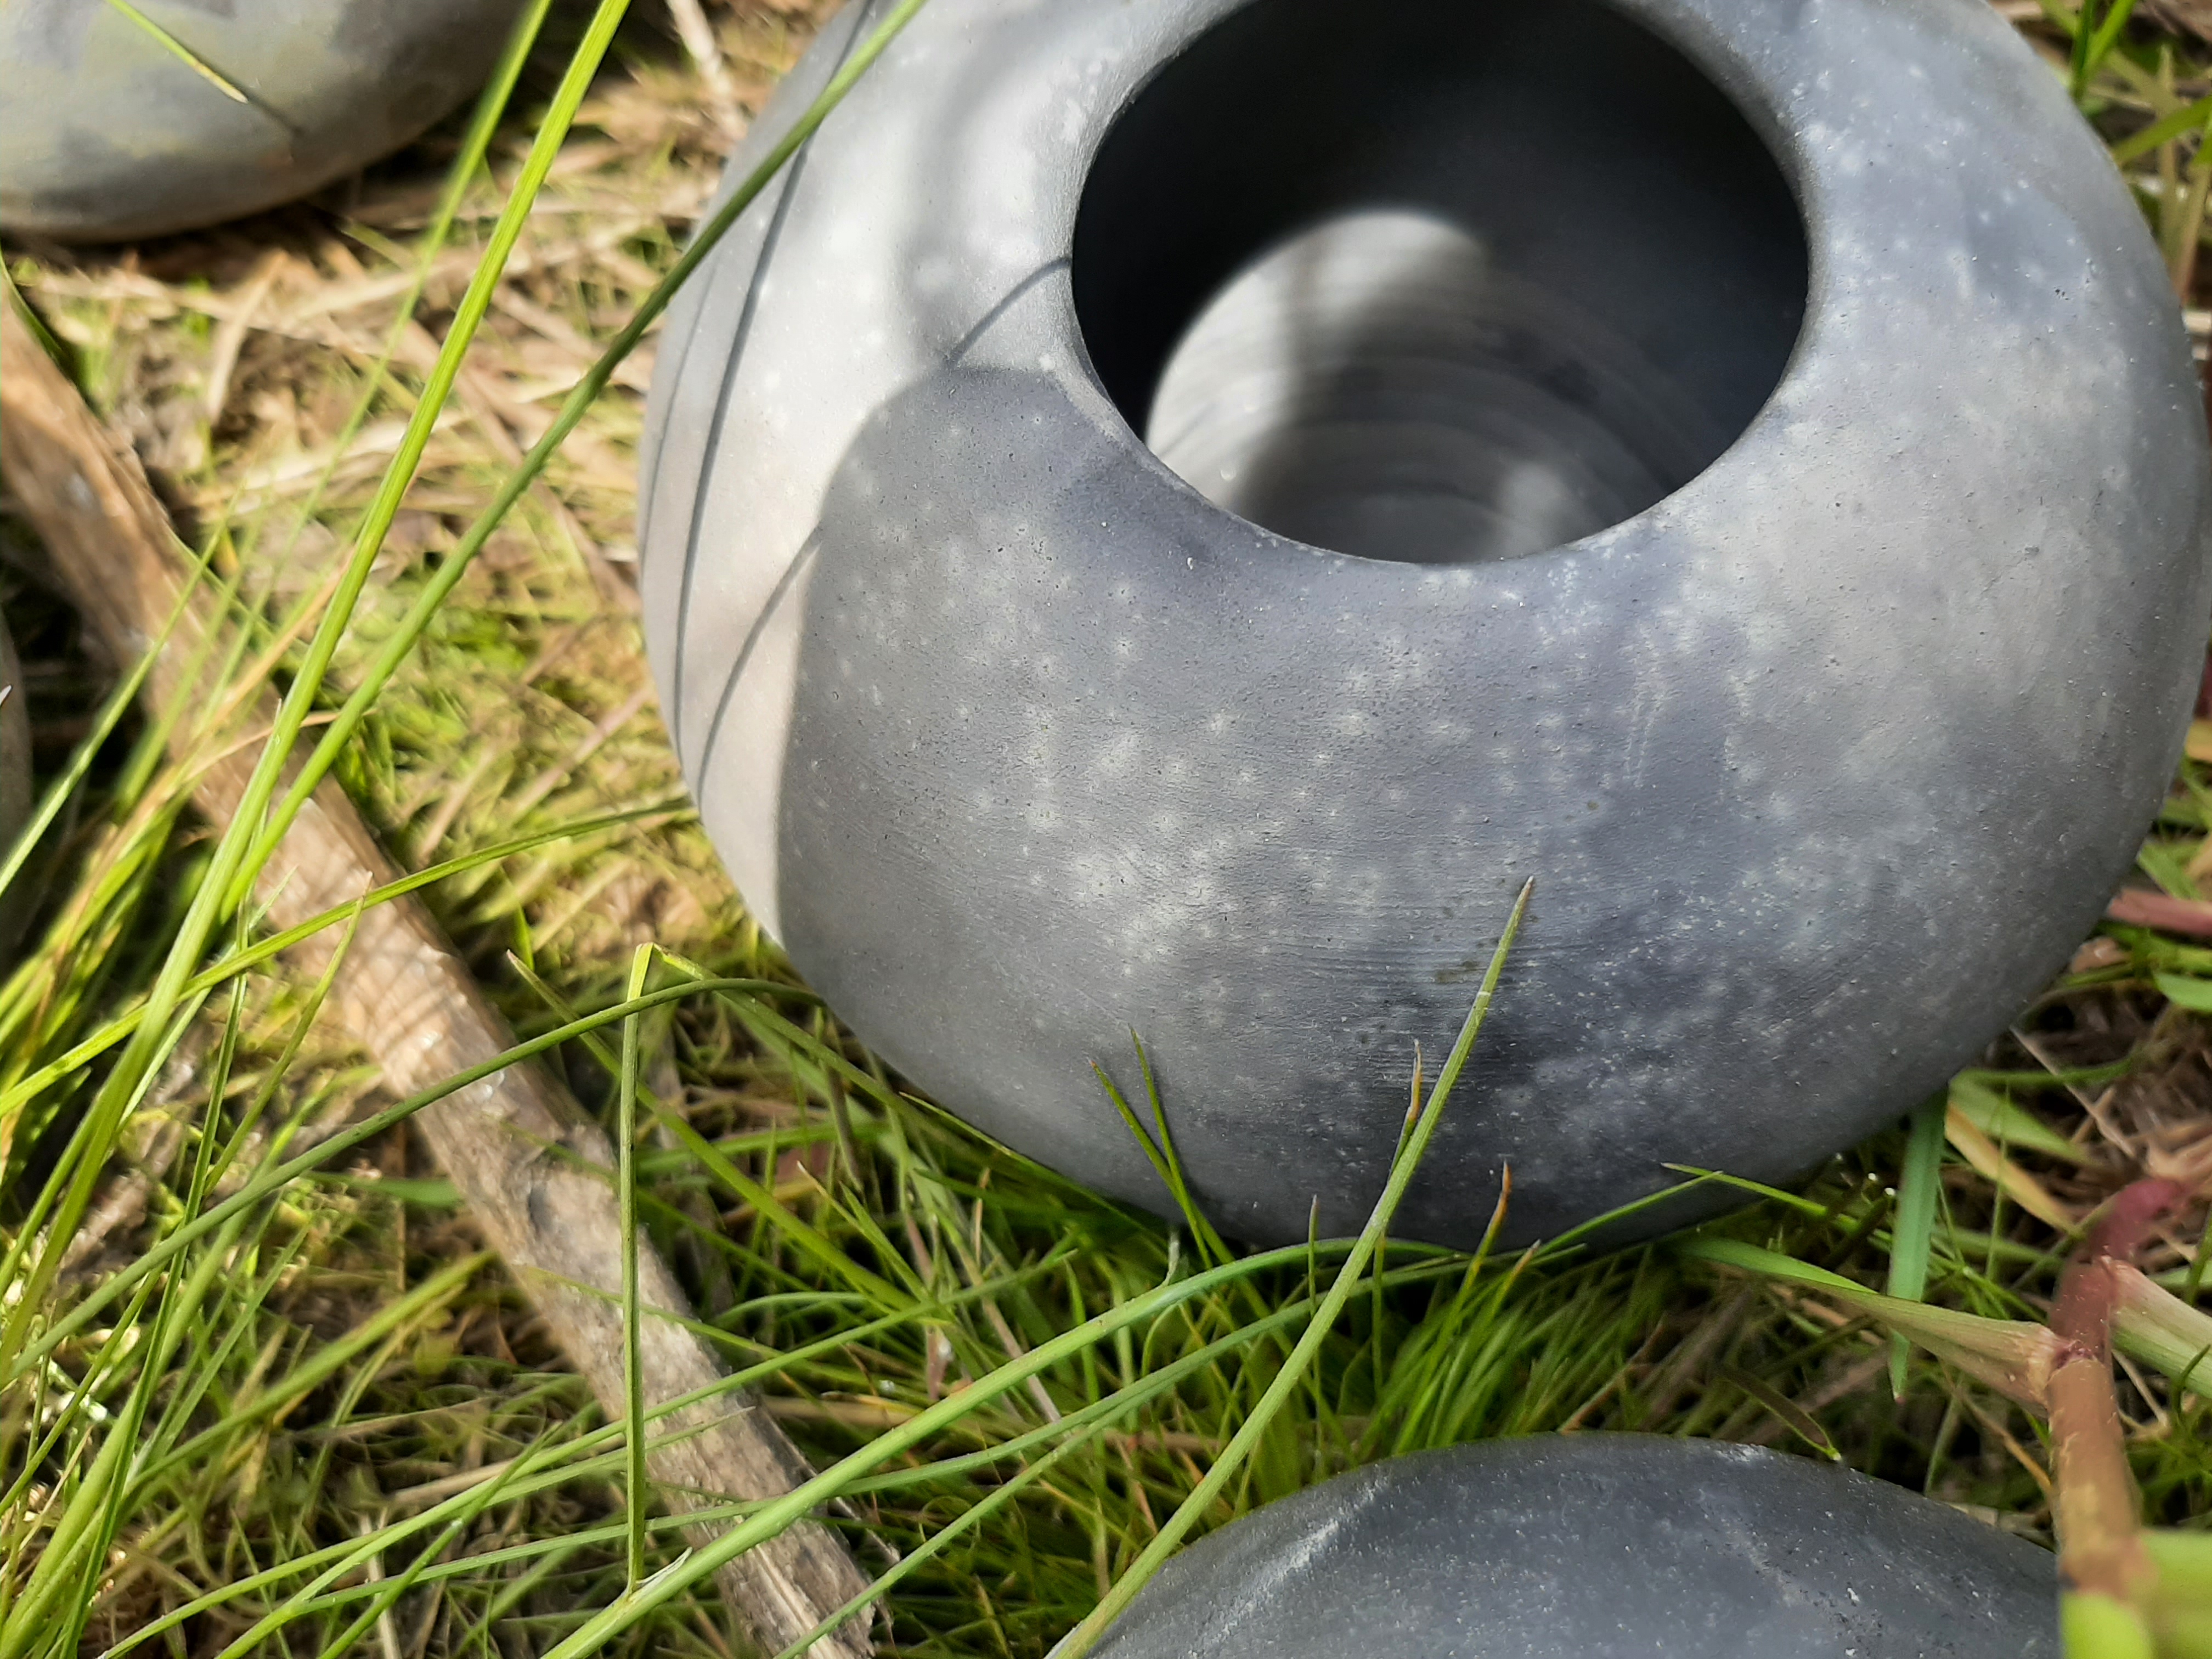
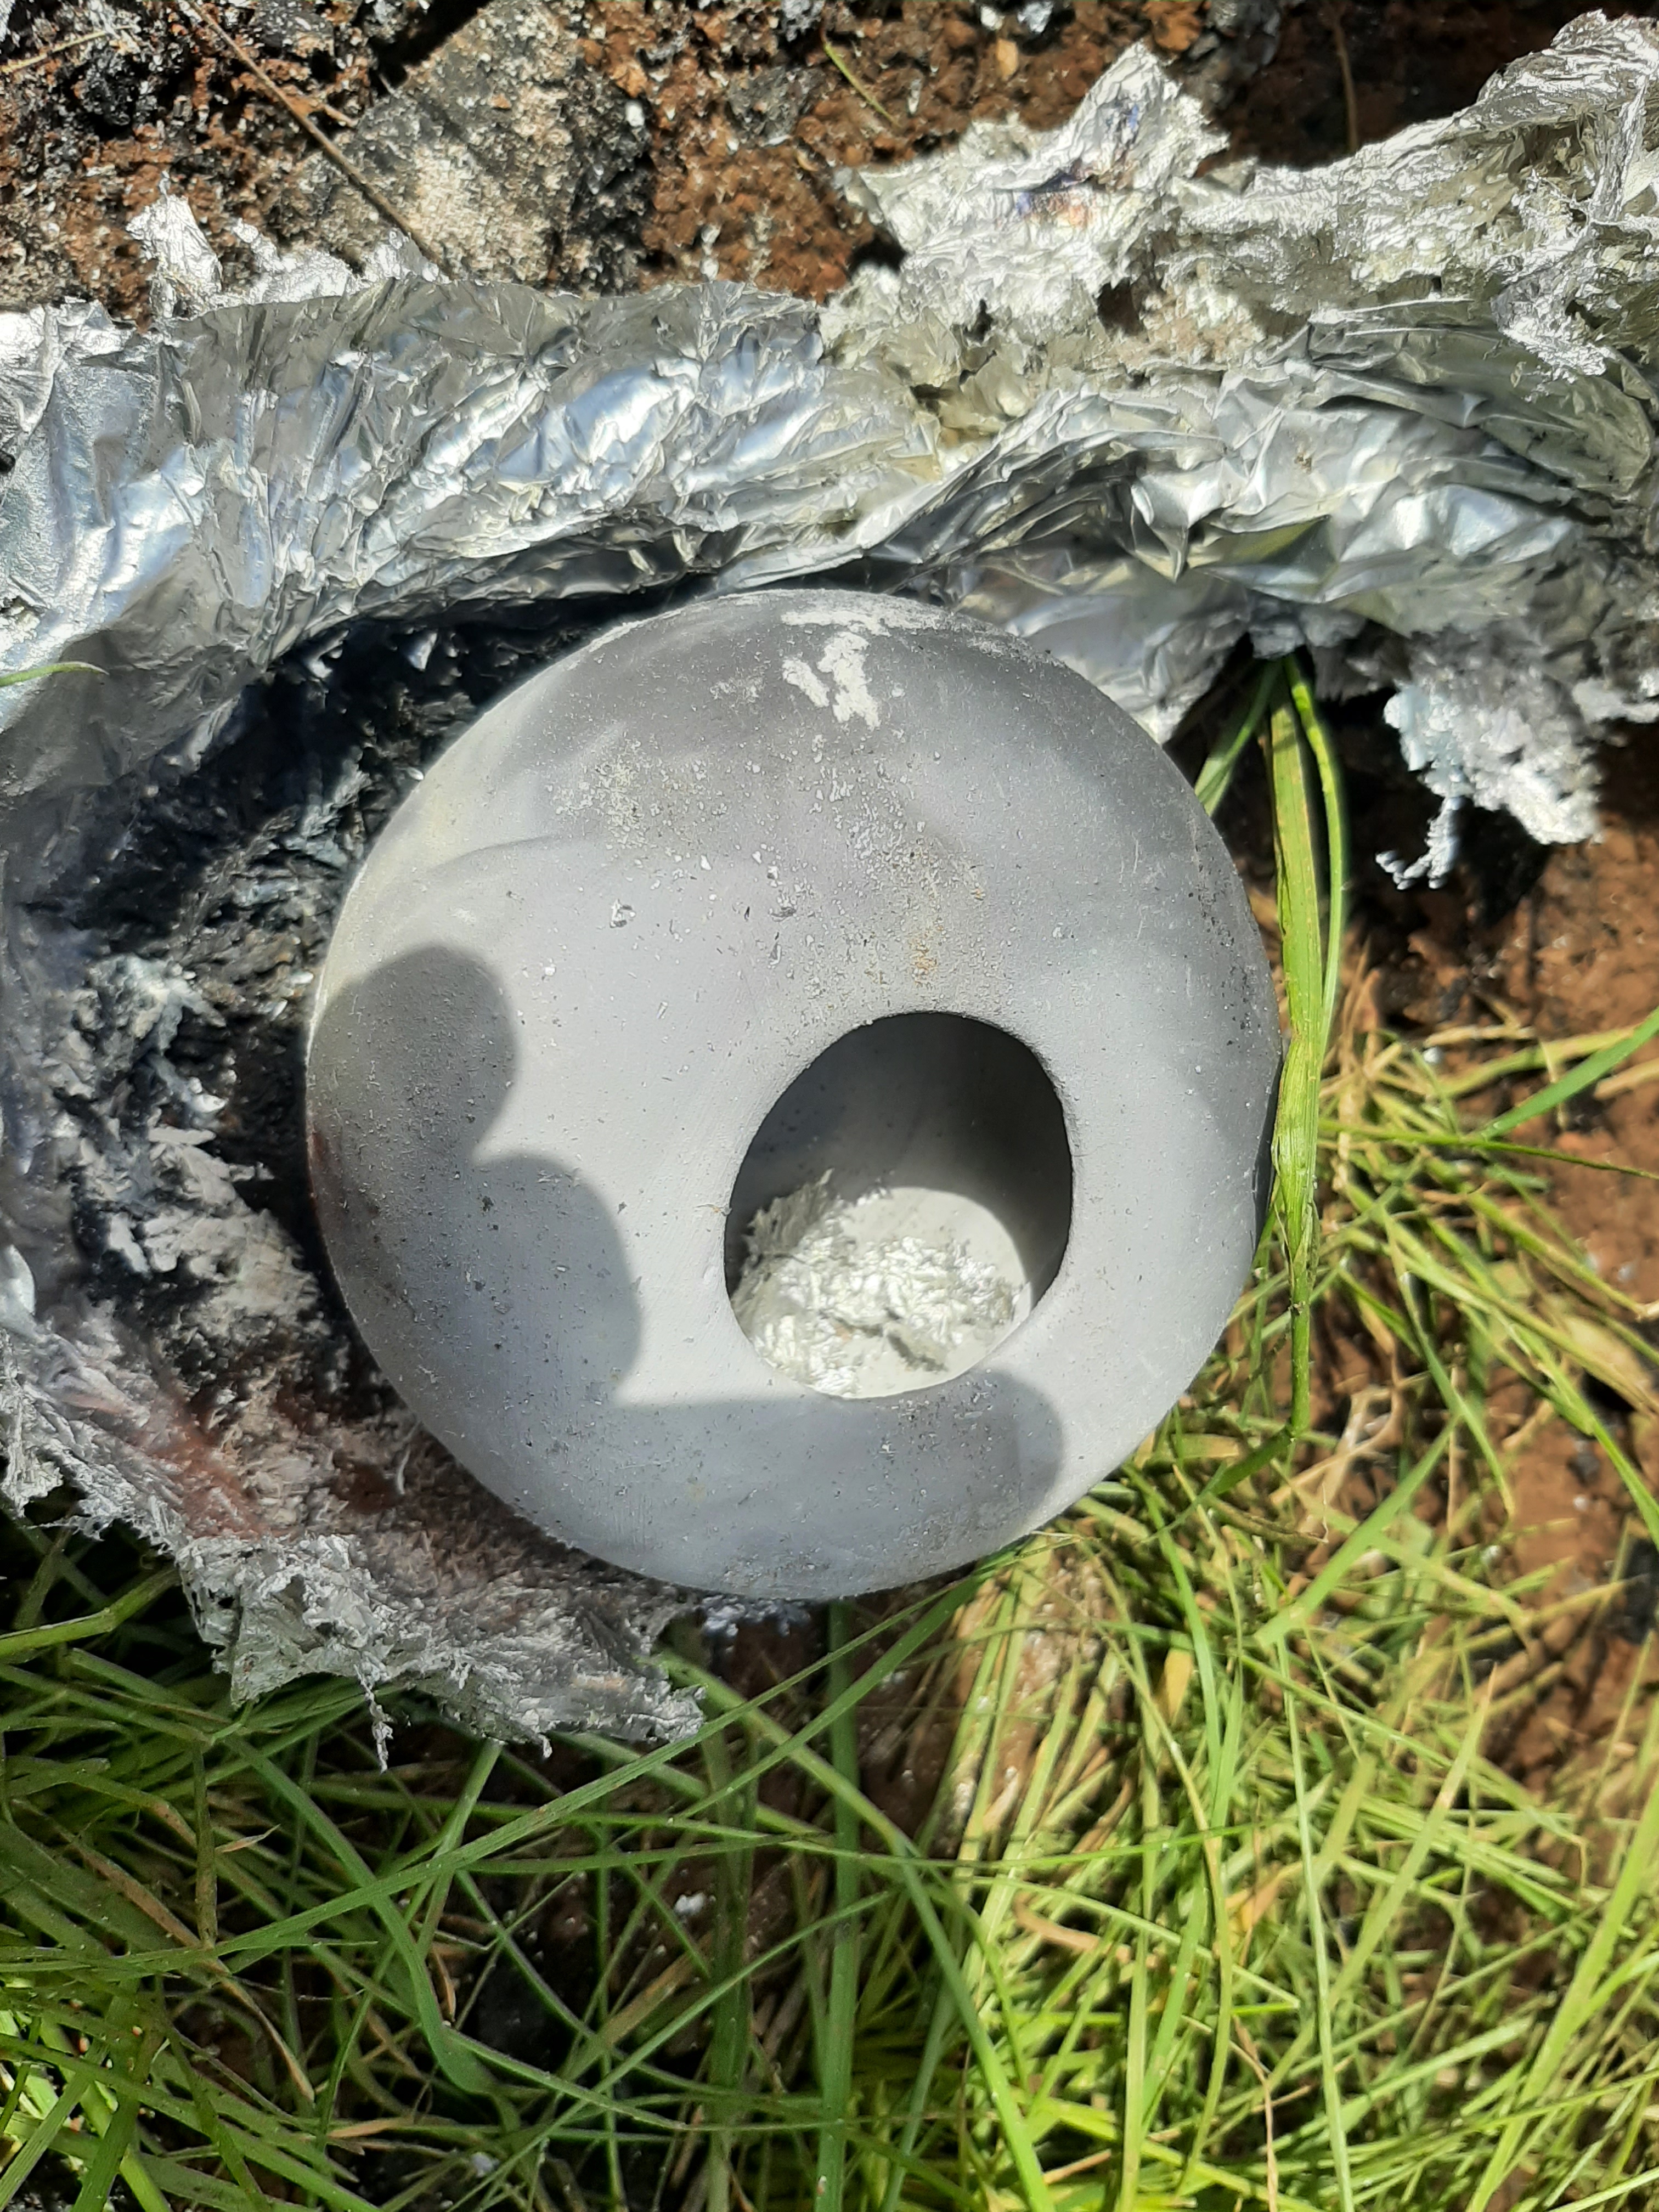
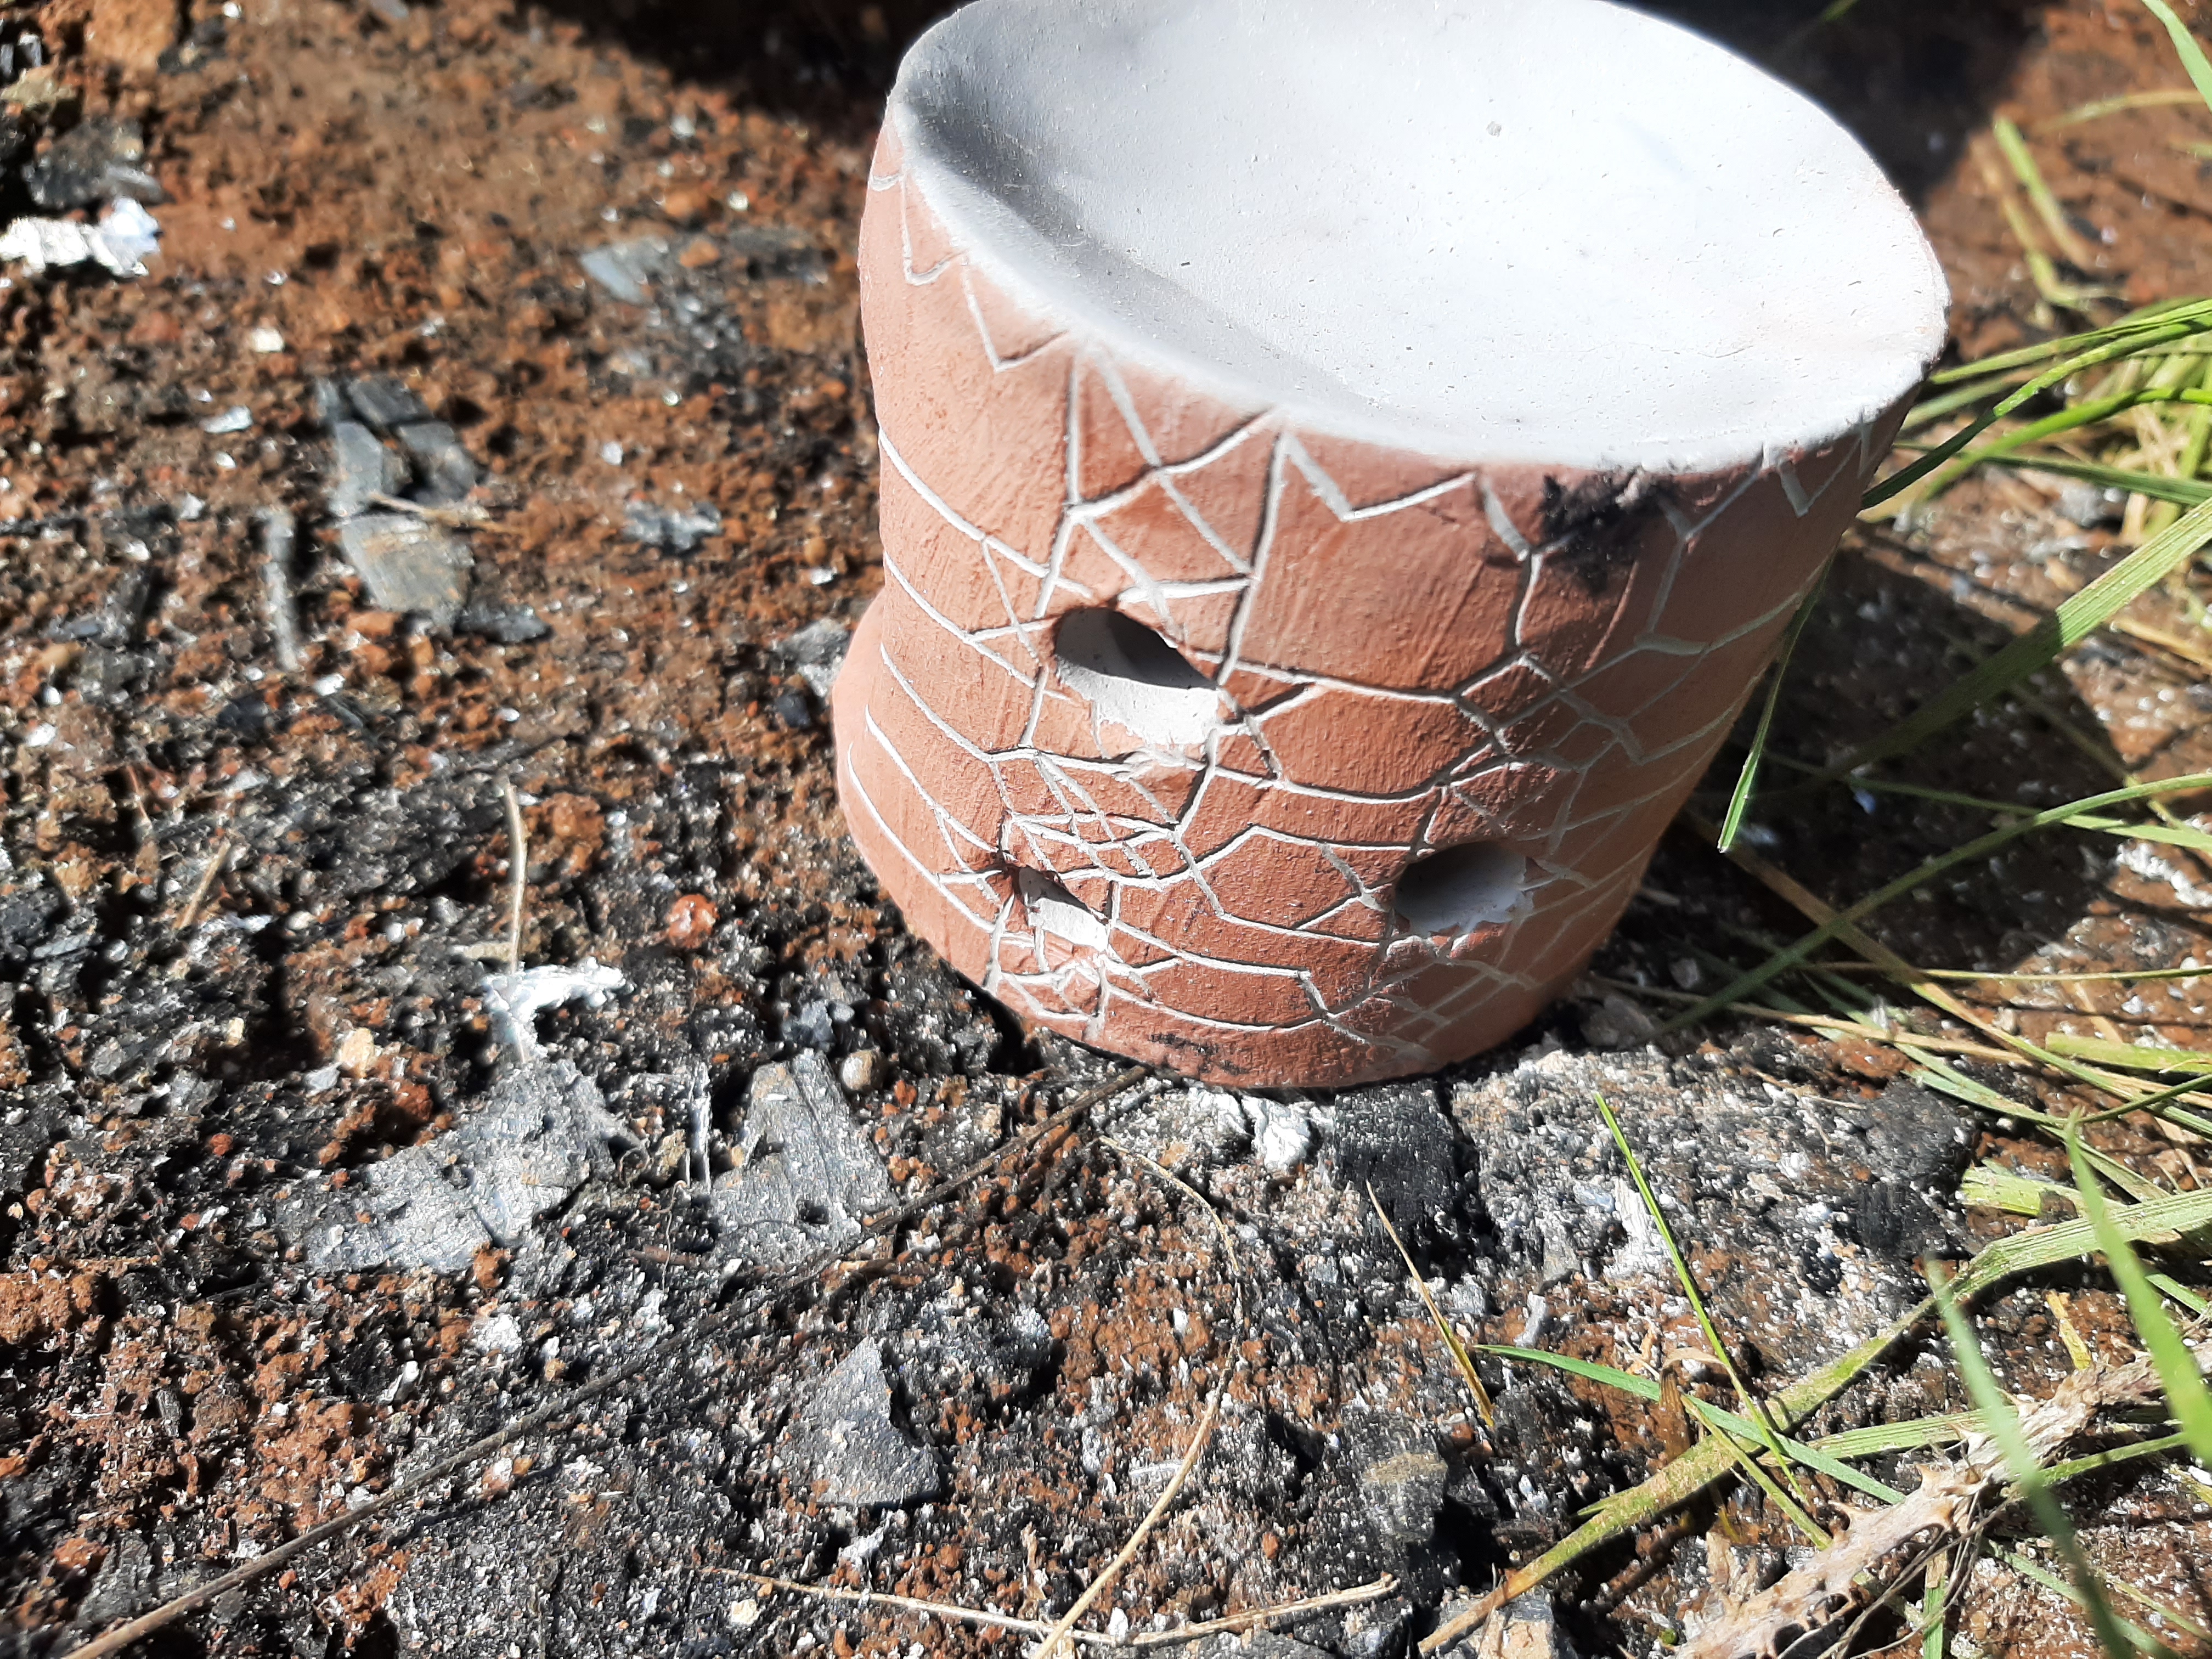
As you can see, on this occasion the one bare pot lost its outsides! As I said though, this doesn’t always happen and leaving them exposed to the fire can create some wonderful effects.
Here are some of the pots from this round:


In the next post, I will write a bit about the methods I use for firing with oxides. These pots are I think essentially bisque fired: fired at a low temperature, and still porous, though they will no longer dissolve in water! I make some flowerpots and vases and to make those usable, I just put them in the oven at home with a chunk of wax inside and roll it around until it melts all over and absorbs a little into the walls of the pot, and that to some extent seals the pot so that it will hold water better.
